Set up Google sign-in
Sign in with Google requires a Google Cloud project. You also need platform-specific OAuth credentials depending on which platforms you target.
Prerequisites
Before following this guide, make sure you have:
- A Google account with access to Google Cloud Console.
- A running Serverpod project (server, client, and Flutter app packages from
serverpod create). - The Serverpod auth module installed and configured per the authentication setup. If your project was generated with an older Serverpod version, follow that guide first to add
serverpod_auth_idp_serverandserverpod_auth_idp_flutterand to configurepod.initializeAuthServices()before continuing.
Get your Google credentials
All platforms require a Web application OAuth client (used by the server). iOS and Android additionally require their own platform-specific OAuth clients.
Create a Google Cloud project
-
Go to Create a project.
-
Enter a Project name (e.g.
My Serverpod App) and click Create.
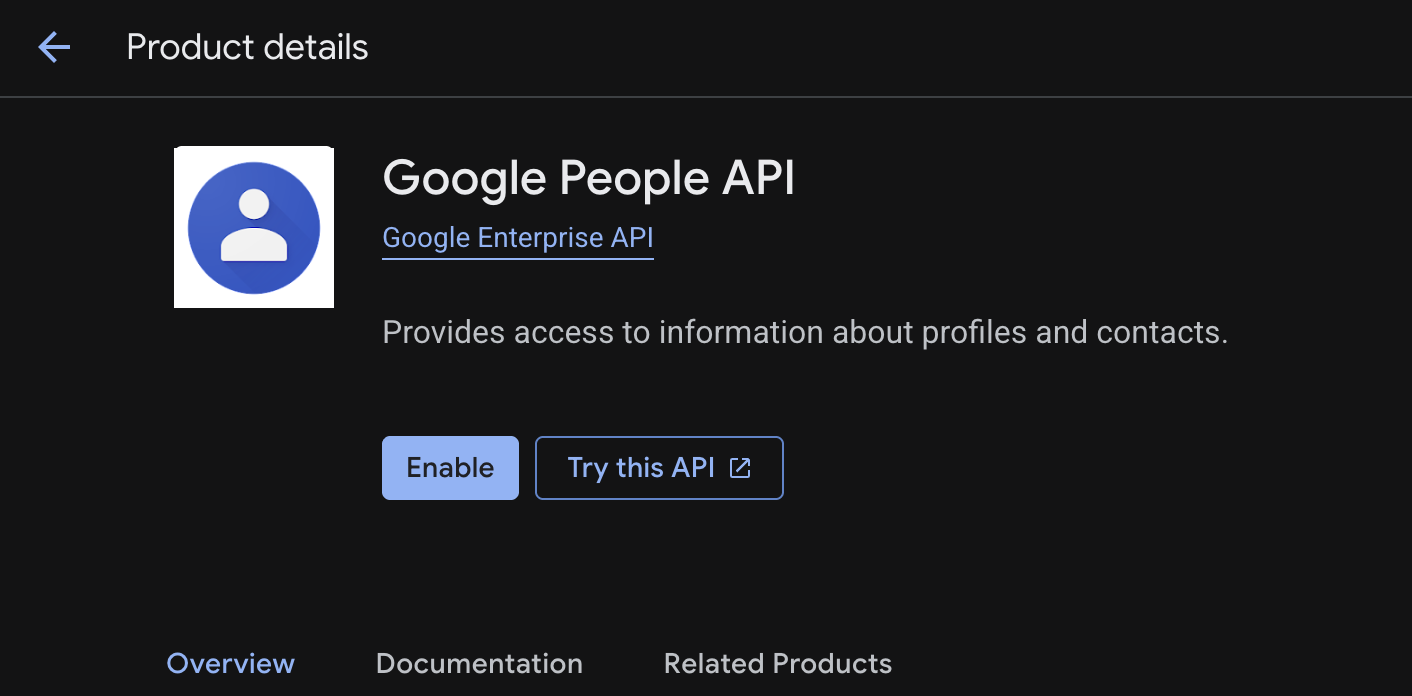
Enable People API
The People API is required for Serverpod to access basic user profile data during sign-in.
-
Navigate to the People API page in your project.
-
Click Enable.
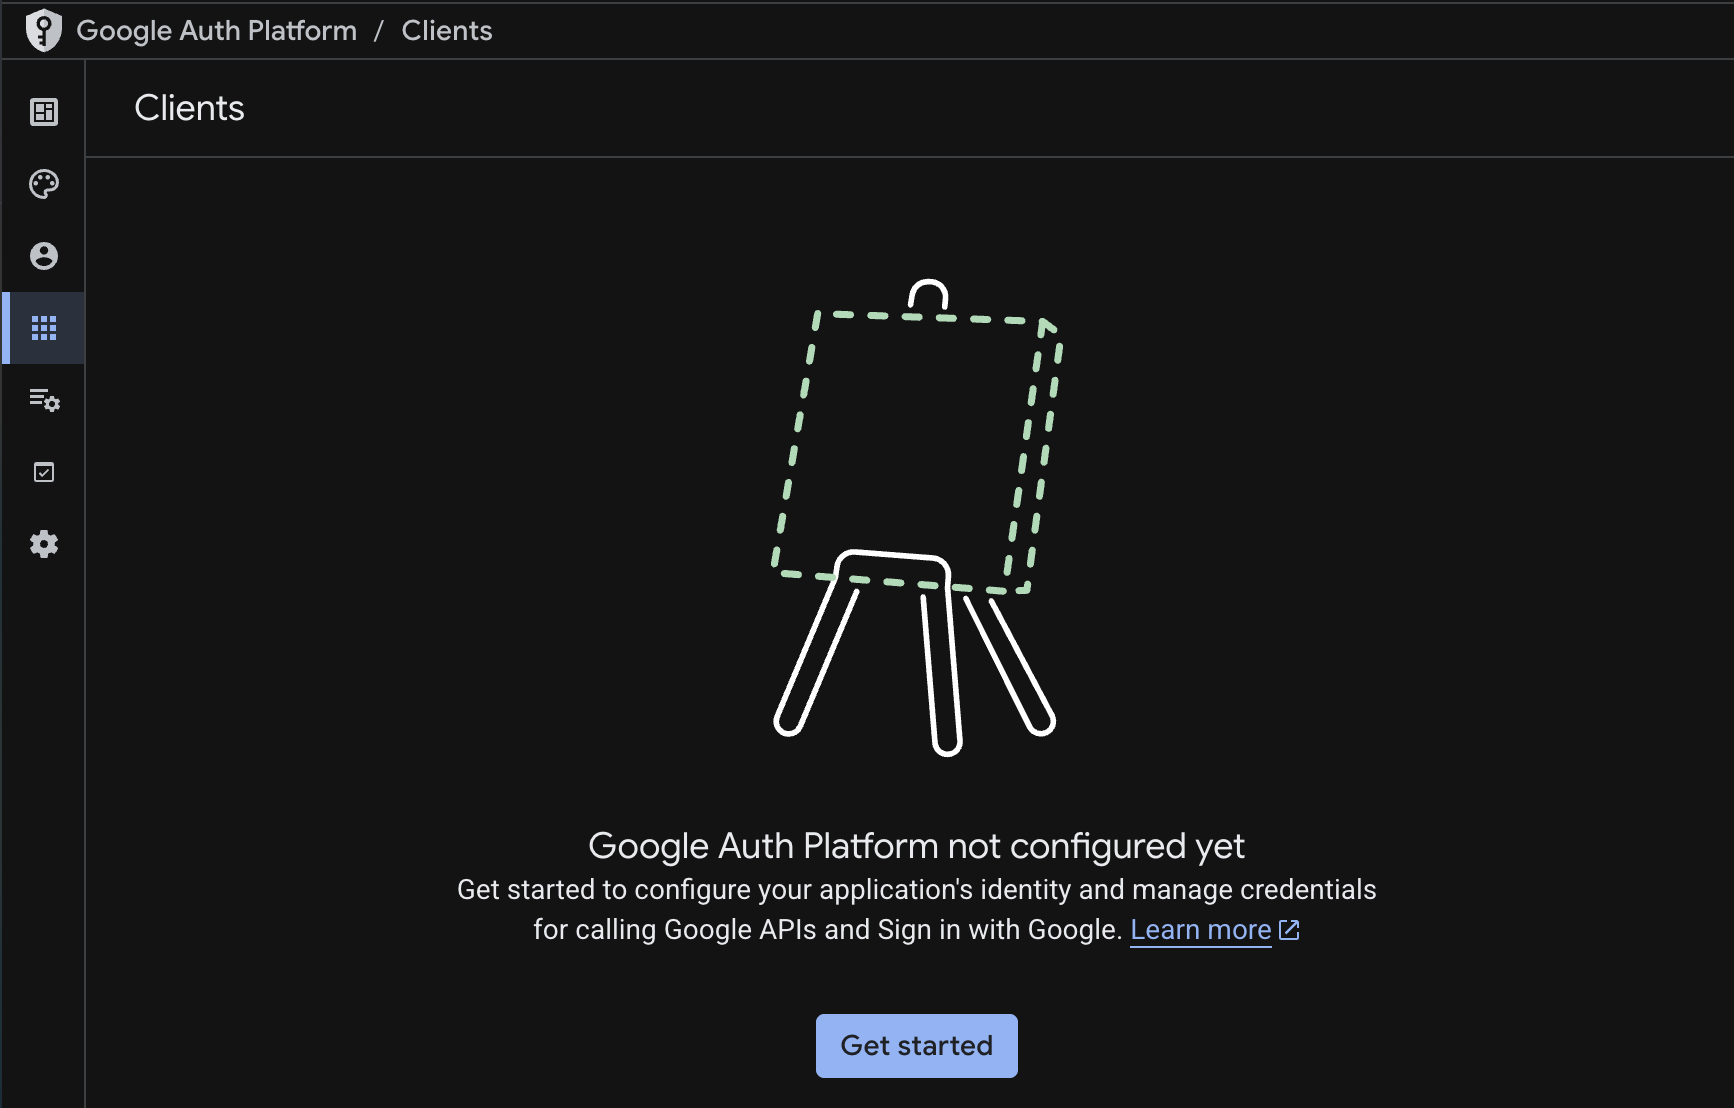
Configure Google Auth Platform
-
Navigate to the Google Auth Platform overview and click Get started if you haven't enabled it yet.
-
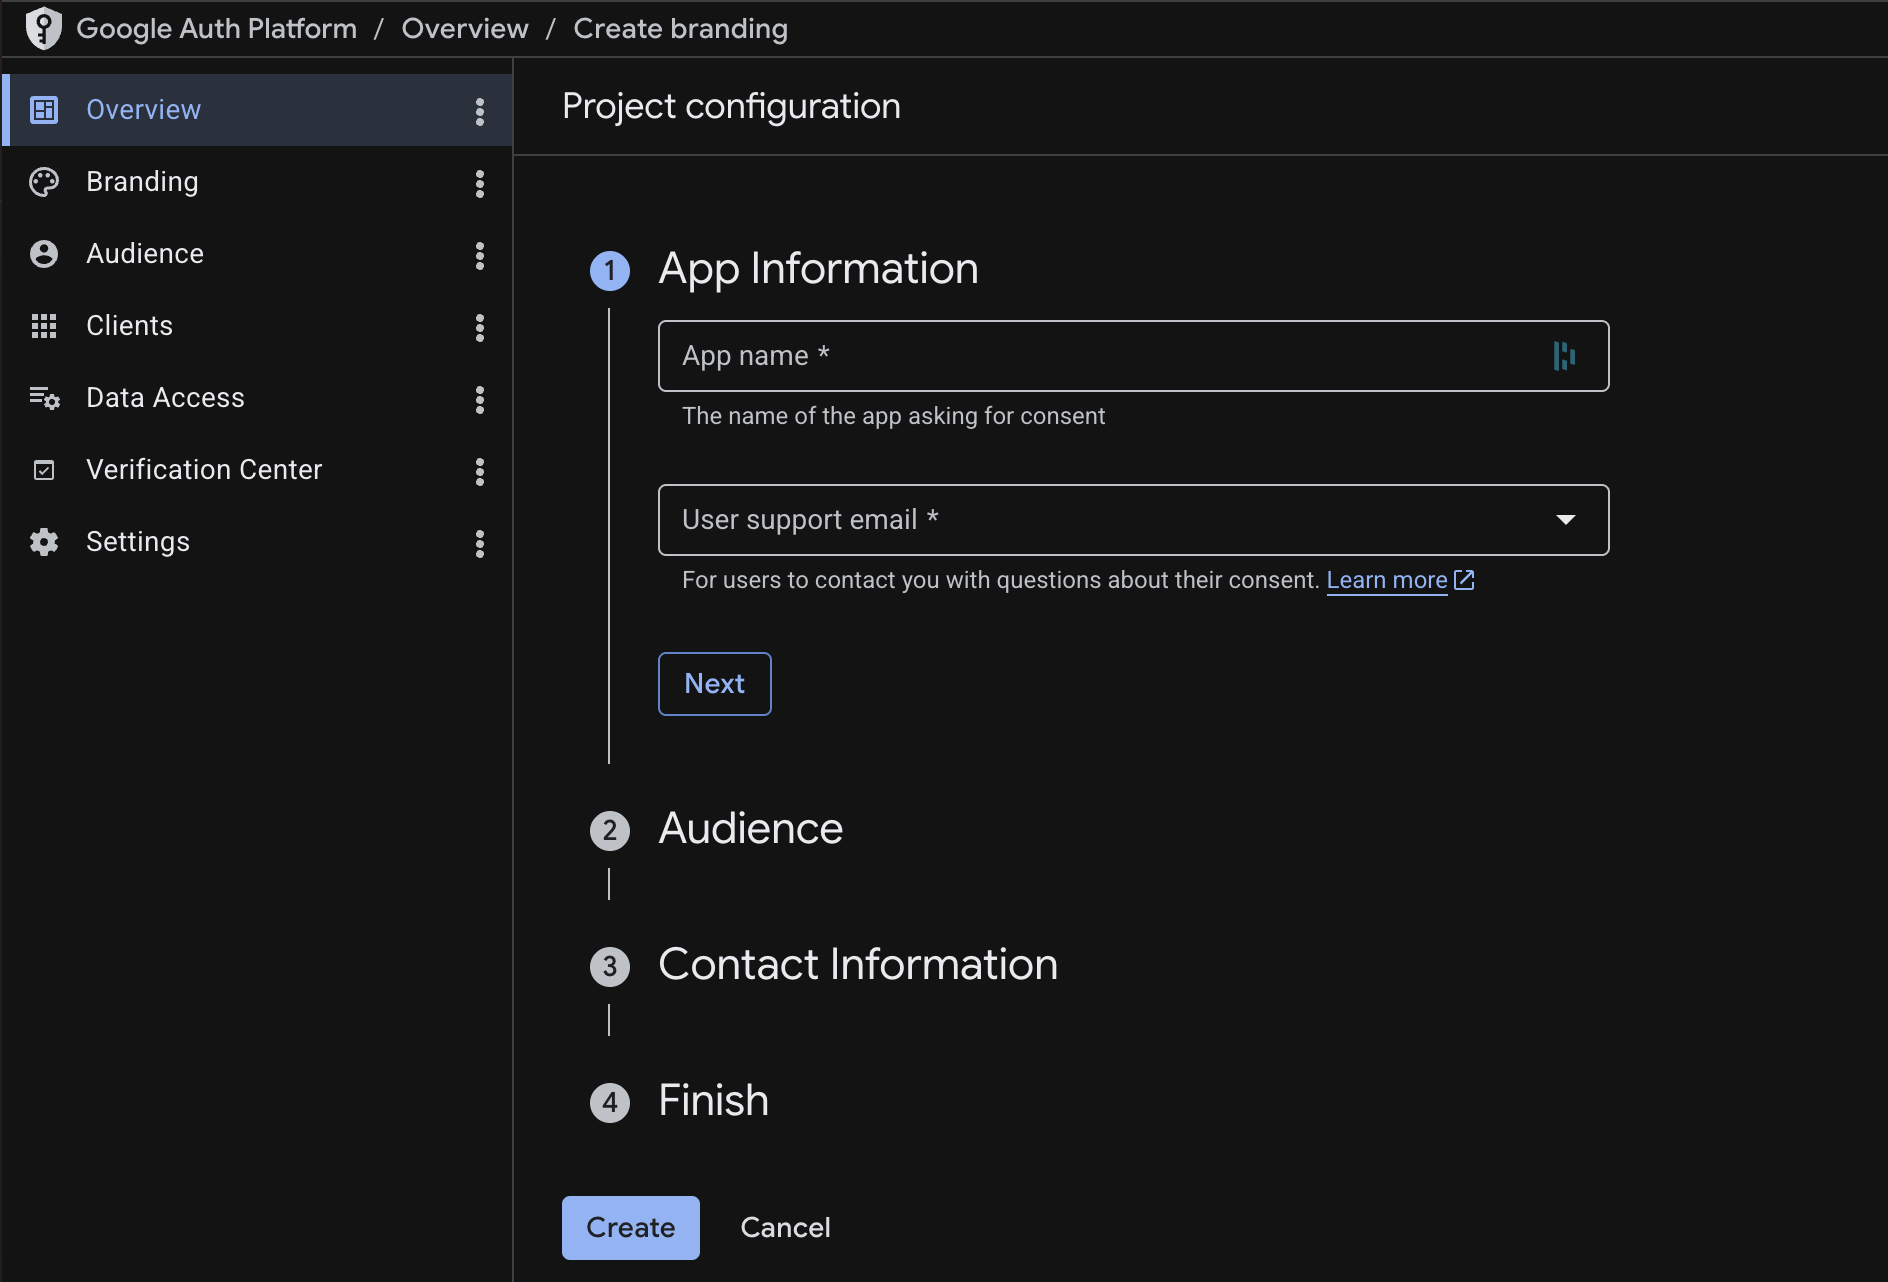
Project configuration: Complete the setup wizard by filling in the required fields across each step (App Information, Audience, Contact Information) and click Create.
-
Branding: After completing the wizard, navigate to the Branding page from the sidebar. Fill in the remaining fields: app logo, app homepage link, privacy policy link, terms of service link, developer contact email, and authorized domains. These details appear on the OAuth consent screen shown to users during sign-in.
Add the root domain you will deploy under to Authorized domains. Google stores only the top private domain, so a single root entry covers every subdomain you deploy under it.
If you deploy on Serverpod Cloud, add
serverpod.space. It is already verified by Serverpod, so you only need to add it here, no DNS verification is required on your end. For custom domains, see Verify your authorized domain.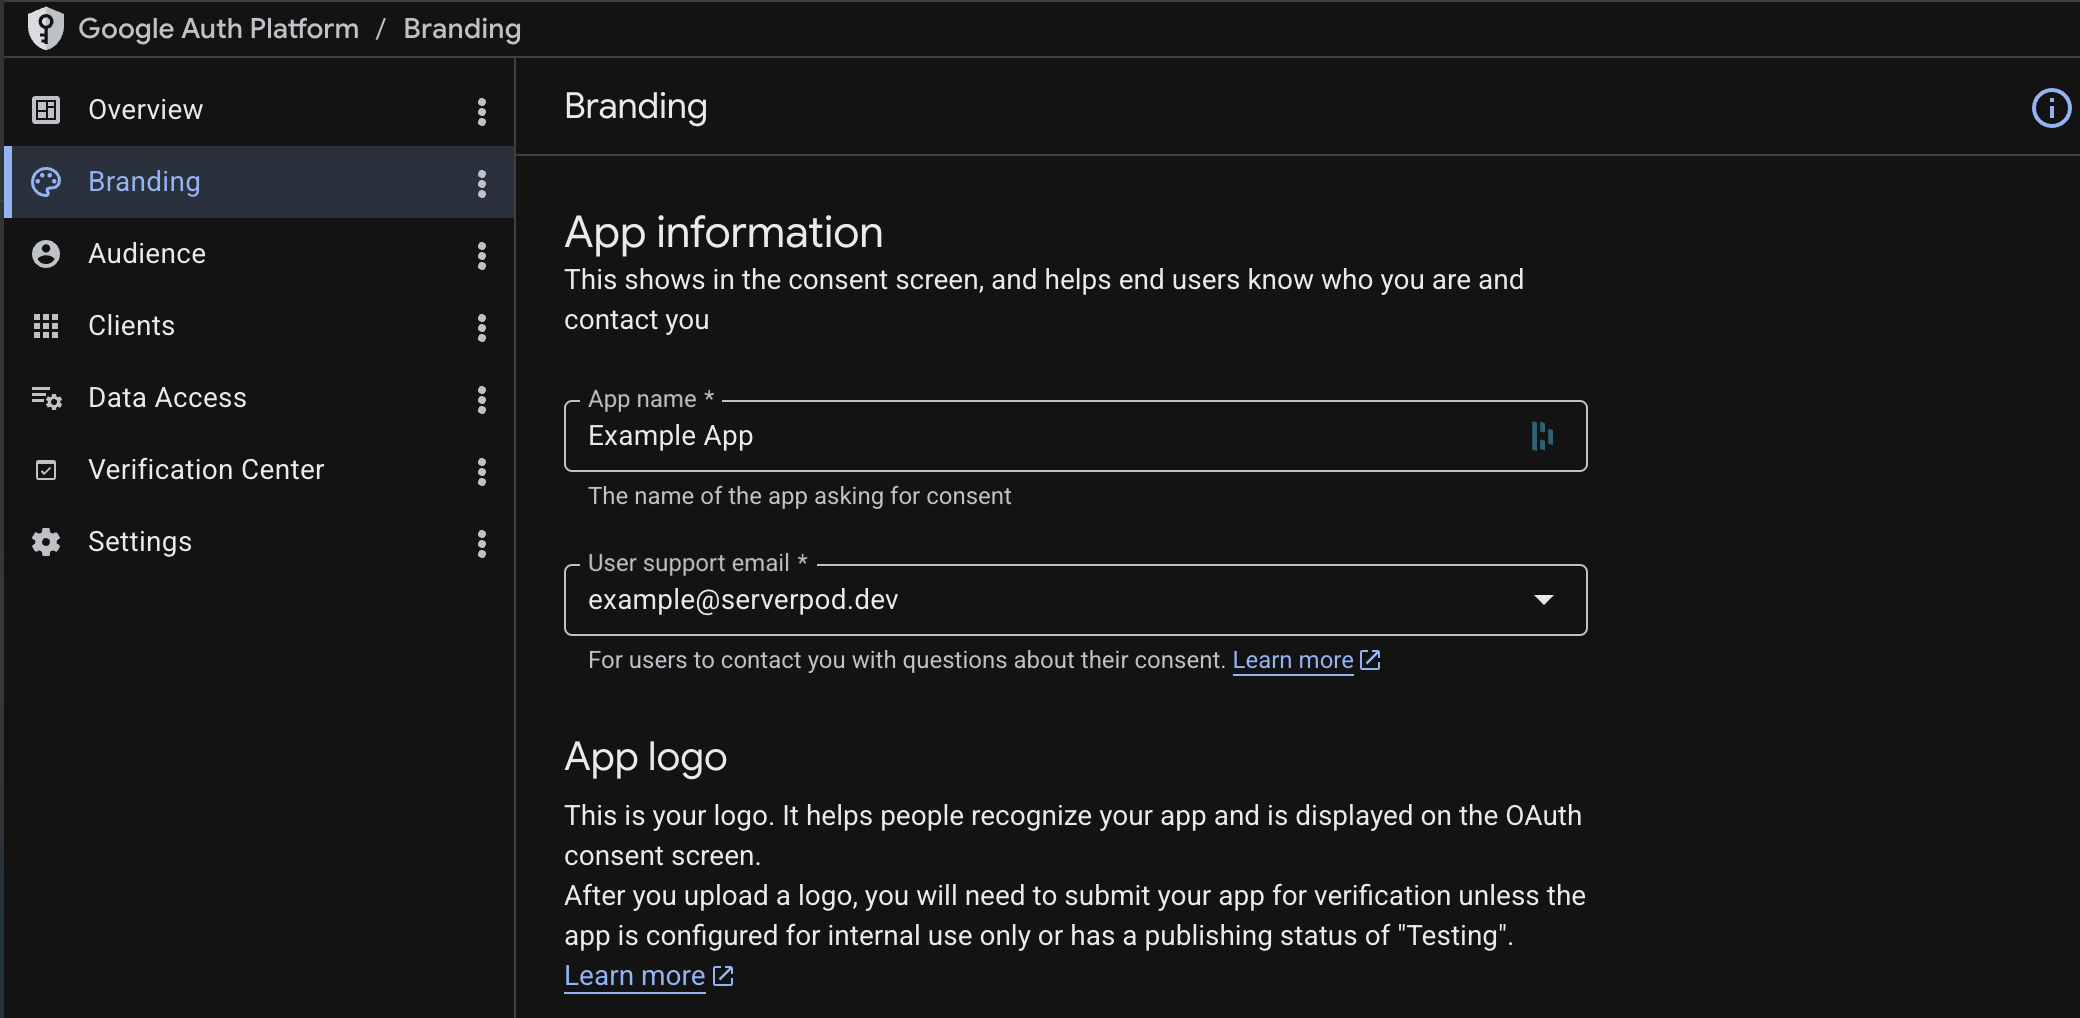
-
Data access: Navigate to the Data Access page and add the required scopes:
.../auth/userinfo.emailand.../auth/userinfo.profile.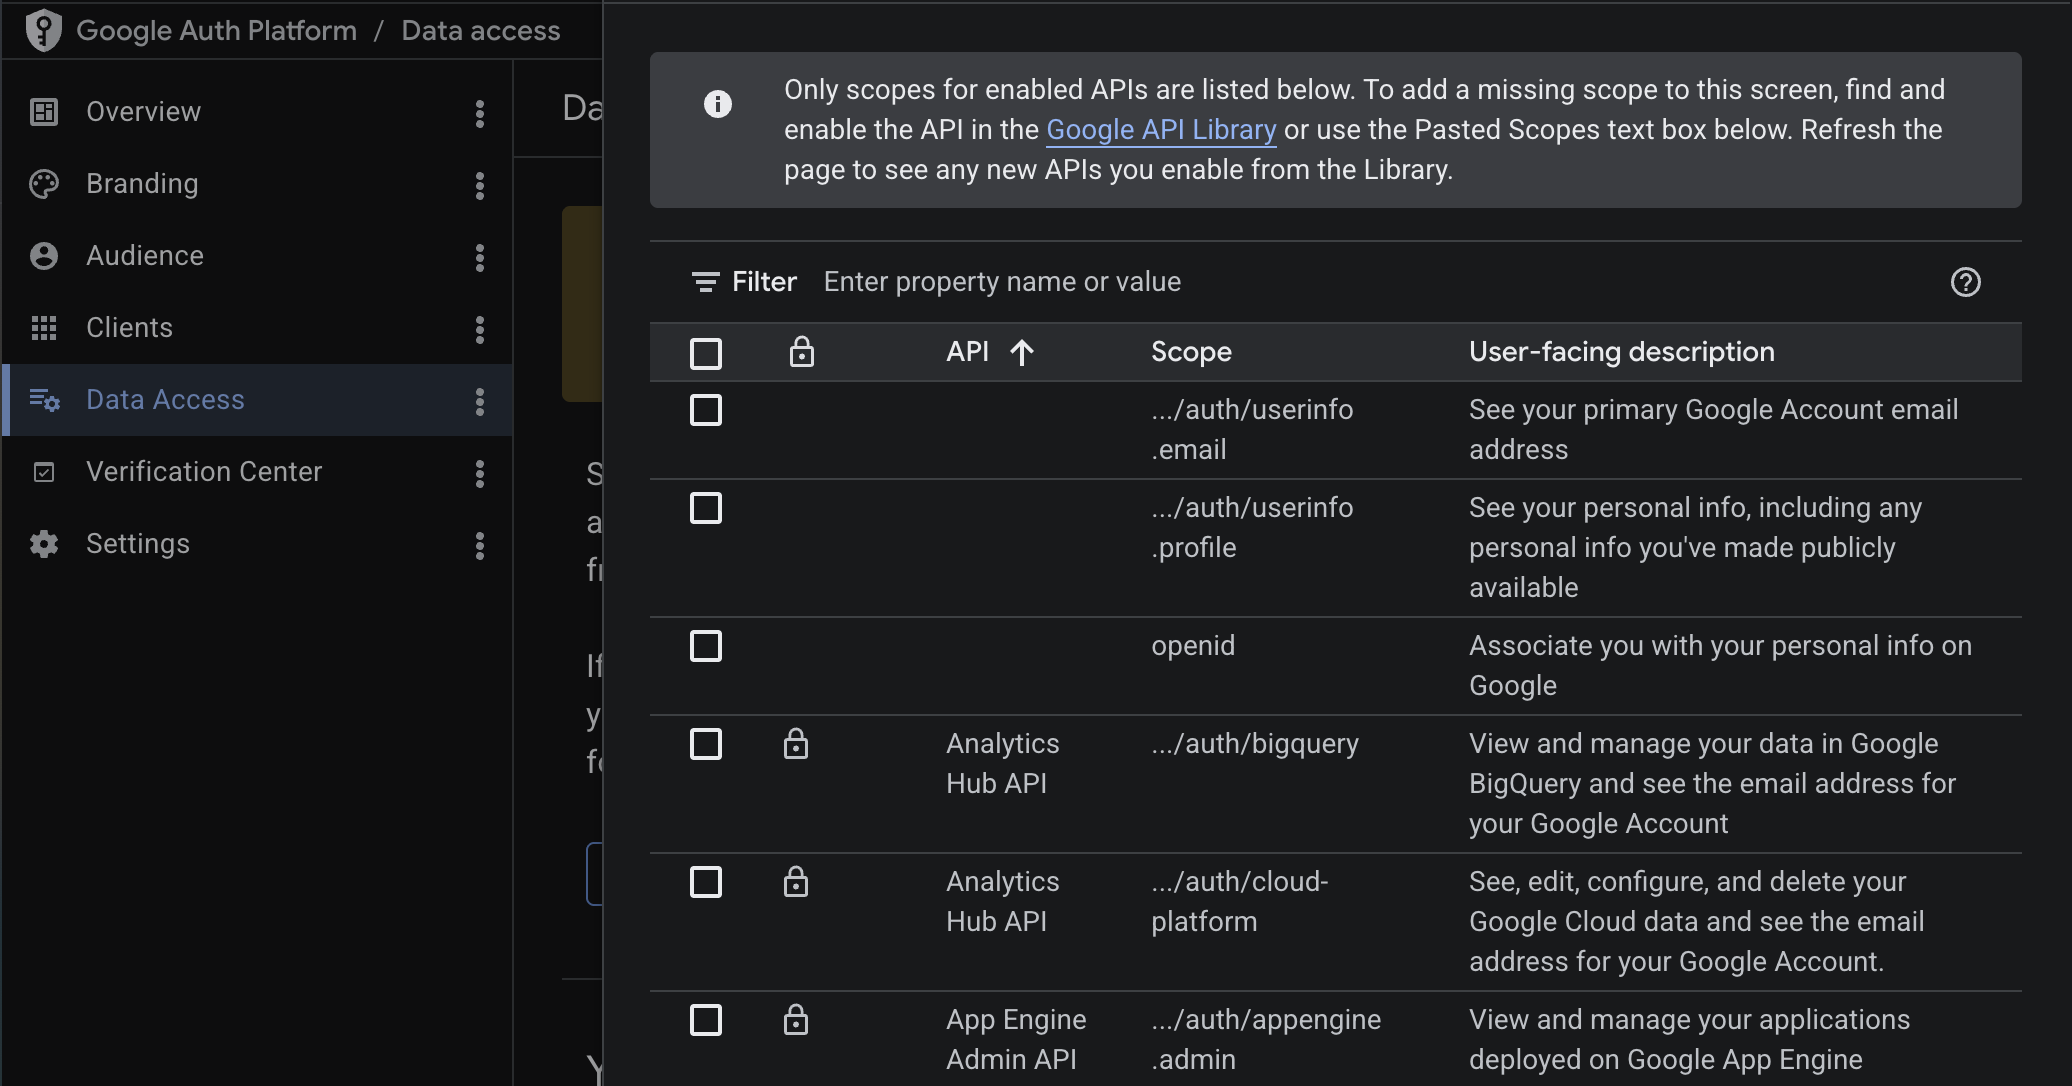 tip
tipIf you need access to additional Google APIs (e.g., Calendar, Drive), you can add more scopes here. See Accessing Google APIs for details on requesting additional scopes and using them with the
getExtraGoogleInfoCallbackon the server. -
Audience: Navigate to the Audience page. While in development, the app is in Testing mode, which means only users you explicitly add as test users can sign in (up to 100). Add your email as a test user so you can test the integration.
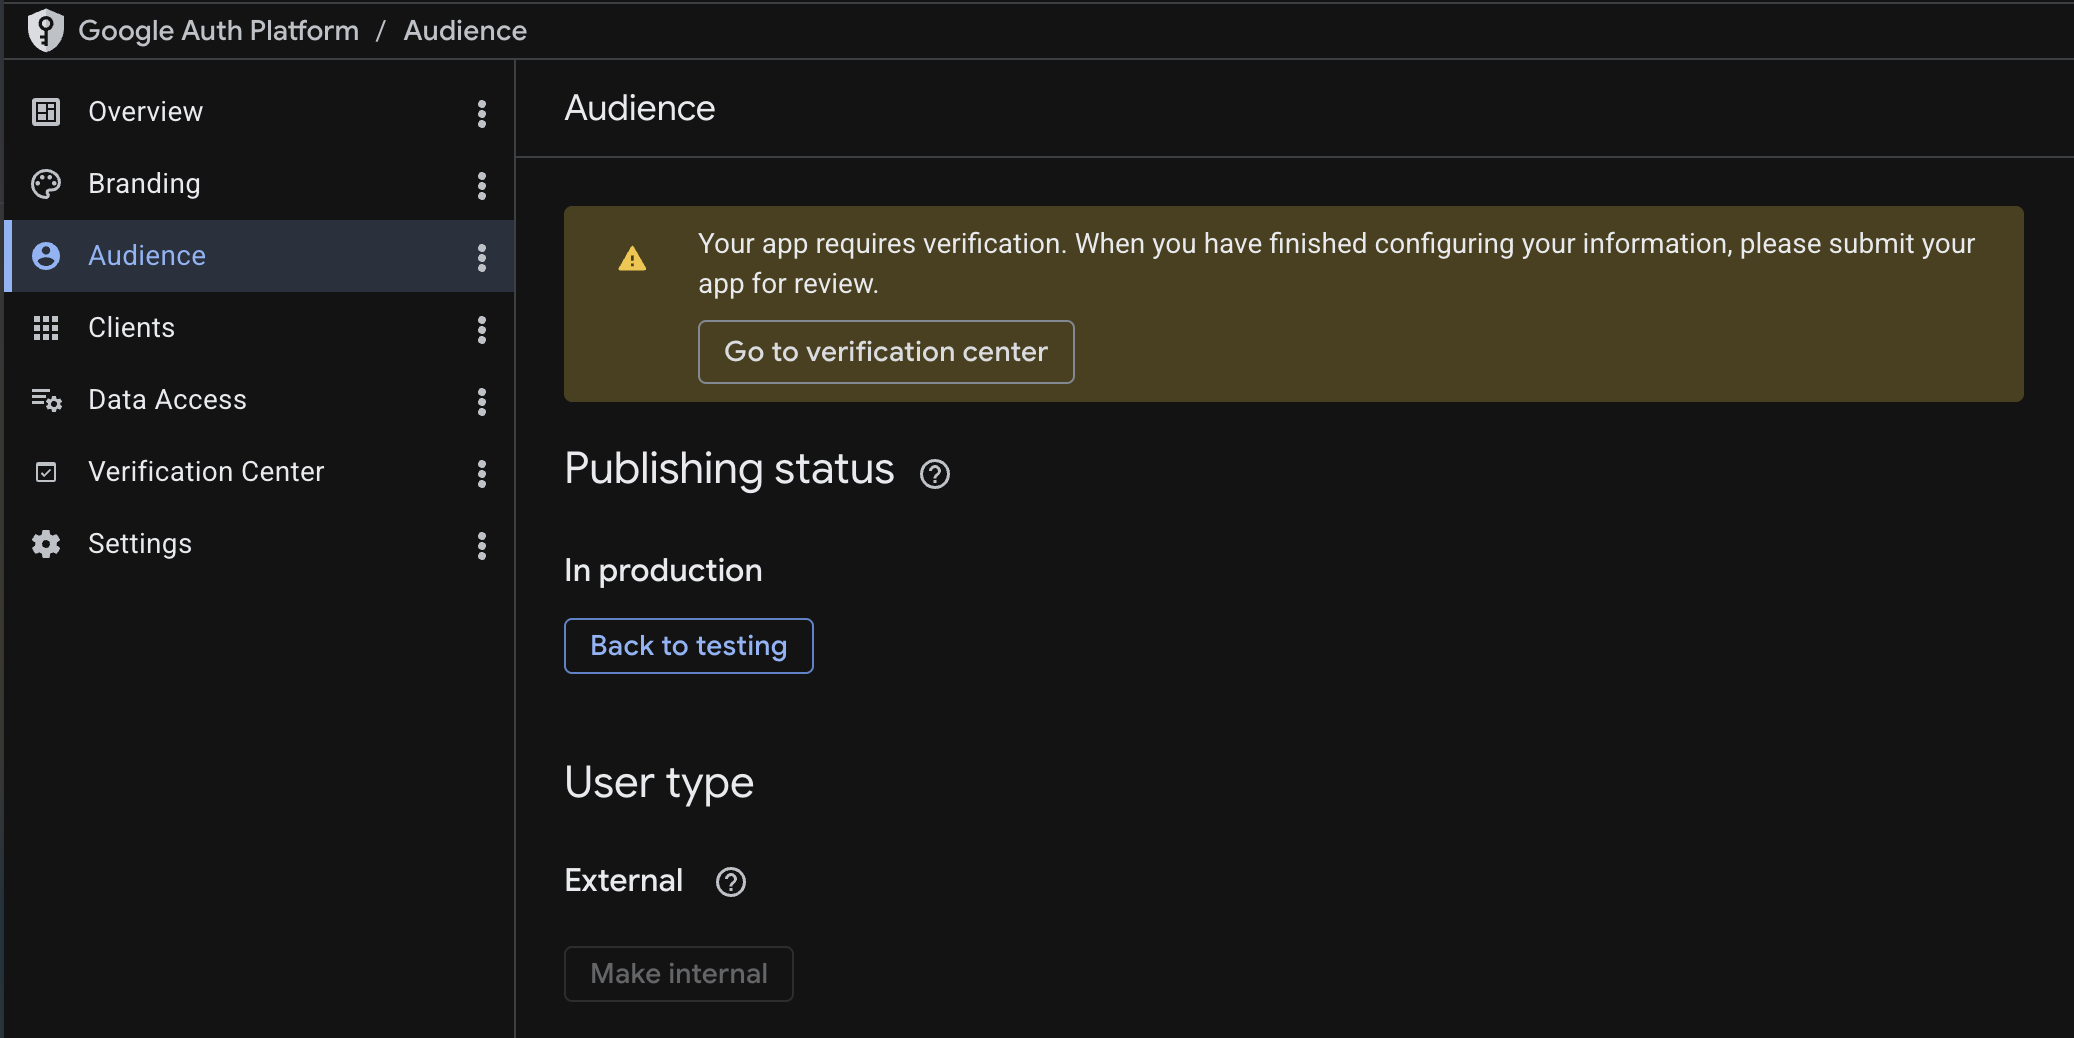 tip
tipLeave the app in Testing mode for now. You can publish it after verifying that sign-in works end to end.
Create the server OAuth client (Web application)
All platforms (iOS, Android, and Web) require a Web application OAuth client for the server. This is the only client type that provides a client secret, which Serverpod needs to verify sign-in tokens on the server side.
-
In the Google Auth Platform, navigate to Clients and click Create Client.
-
Select Web application as the application type.
-
Leave Authorized JavaScript origins and Authorized redirect URIs empty for now. Web setup below fills them in if you target web.

-
Click Create.
-
Copy the Client ID and Client secret shown on screen. You will need both in the next step.
Store your credentials
Your server's config/passwords.yaml already has development:, staging:, and production: sections from the project template. Add the googleClientSecret key to the development: section using the client ID and client secret you copied:
development:
  # ... existing keys (database, redis, serviceSecret, etc.) ...
  googleClientSecret: |
    {
      "web": {
        "client_id": "your-client-id.apps.googleusercontent.com",
        "client_secret": "your-client-secret",
        "redirect_uris": []
      }
    }
Replace your-client-id and your-client-secret with the values from the Google Auth Platform. If you target web, Web setup below adds the callback URL to redirect_uris.
For production, add the same googleClientSecret entry to the production: section of passwords.yaml (with your production redirect URI), or set the SERVERPOD_PASSWORD_googleClientSecret environment variable on your production server.
Carefully maintain correct indentation for YAML block scalars. The googleClientSecret block uses a |; any indentation error will silently break the JSON, resulting in authentication failures.
Server-side configuration
Add the Google identity provider
Your server's server.dart file (e.g., my_project_server/lib/server.dart) should already contain a pod.initializeAuthServices() call if your project was created with the Serverpod project template (serverpod create). If it's not there, see Setup first to configure the auth module and JWT settings.
Add the Google import and GoogleIdpConfigFromPasswords() to the existing identityProviderBuilders list:
import 'package:serverpod_auth_idp_server/providers/google.dart';
pod.initializeAuthServices(
  tokenManagerBuilders: [
    JwtConfigFromPasswords(),
  ],
  identityProviderBuilders: [
    // ... any existing providers (e.g., EmailIdpConfigFromPasswords) ...
    GoogleIdpConfigFromPasswords(),
  ],
);
The GoogleIdpConfigFromPasswords() constructor automatically loads the client secret from the googleClientSecret key in config/passwords.yaml (or the SERVERPOD_PASSWORD_googleClientSecret environment variable).
If you need more control over how the client secret is loaded, you can use GoogleIdpConfig(clientSecret: GoogleClientSecret.fromJsonString(...)) instead. See the customizations page for details.
Create the endpoint
Create a new endpoint file in your server project (e.g., my_project_server/lib/src/auth/google_idp_endpoint.dart) alongside the existing auth endpoints. Extending the base class registers the sign-in methods with your server so the Flutter client can call them to complete the authentication flow:
import 'package:serverpod_auth_idp_server/providers/google.dart';

class GoogleIdpEndpoint extends GoogleIdpBaseEndpoint {}
Start the server
Start the server from your server project directory (e.g., my_project_server/):
serverpod start
Then create and apply the migration for the provider's tables: in the serverpod start terminal, press M to create the migration, then A to apply it.
Skipping the migration will cause the server to crash at runtime when the Google provider tries to read or write user data. More detailed instructions can be found in the general identity providers setup section.
Client-side configuration
The Android and iOS integrations use the google_sign_in package under the hood, so any documentation there should also apply to this setup.
iOS
-
In the Google Auth Platform, navigate to Clients and click Create Client.
-
Select iOS as the application type.
-
Fill in your app's Bundle ID and any other required information.
-
Click Create and download the
.plistfile.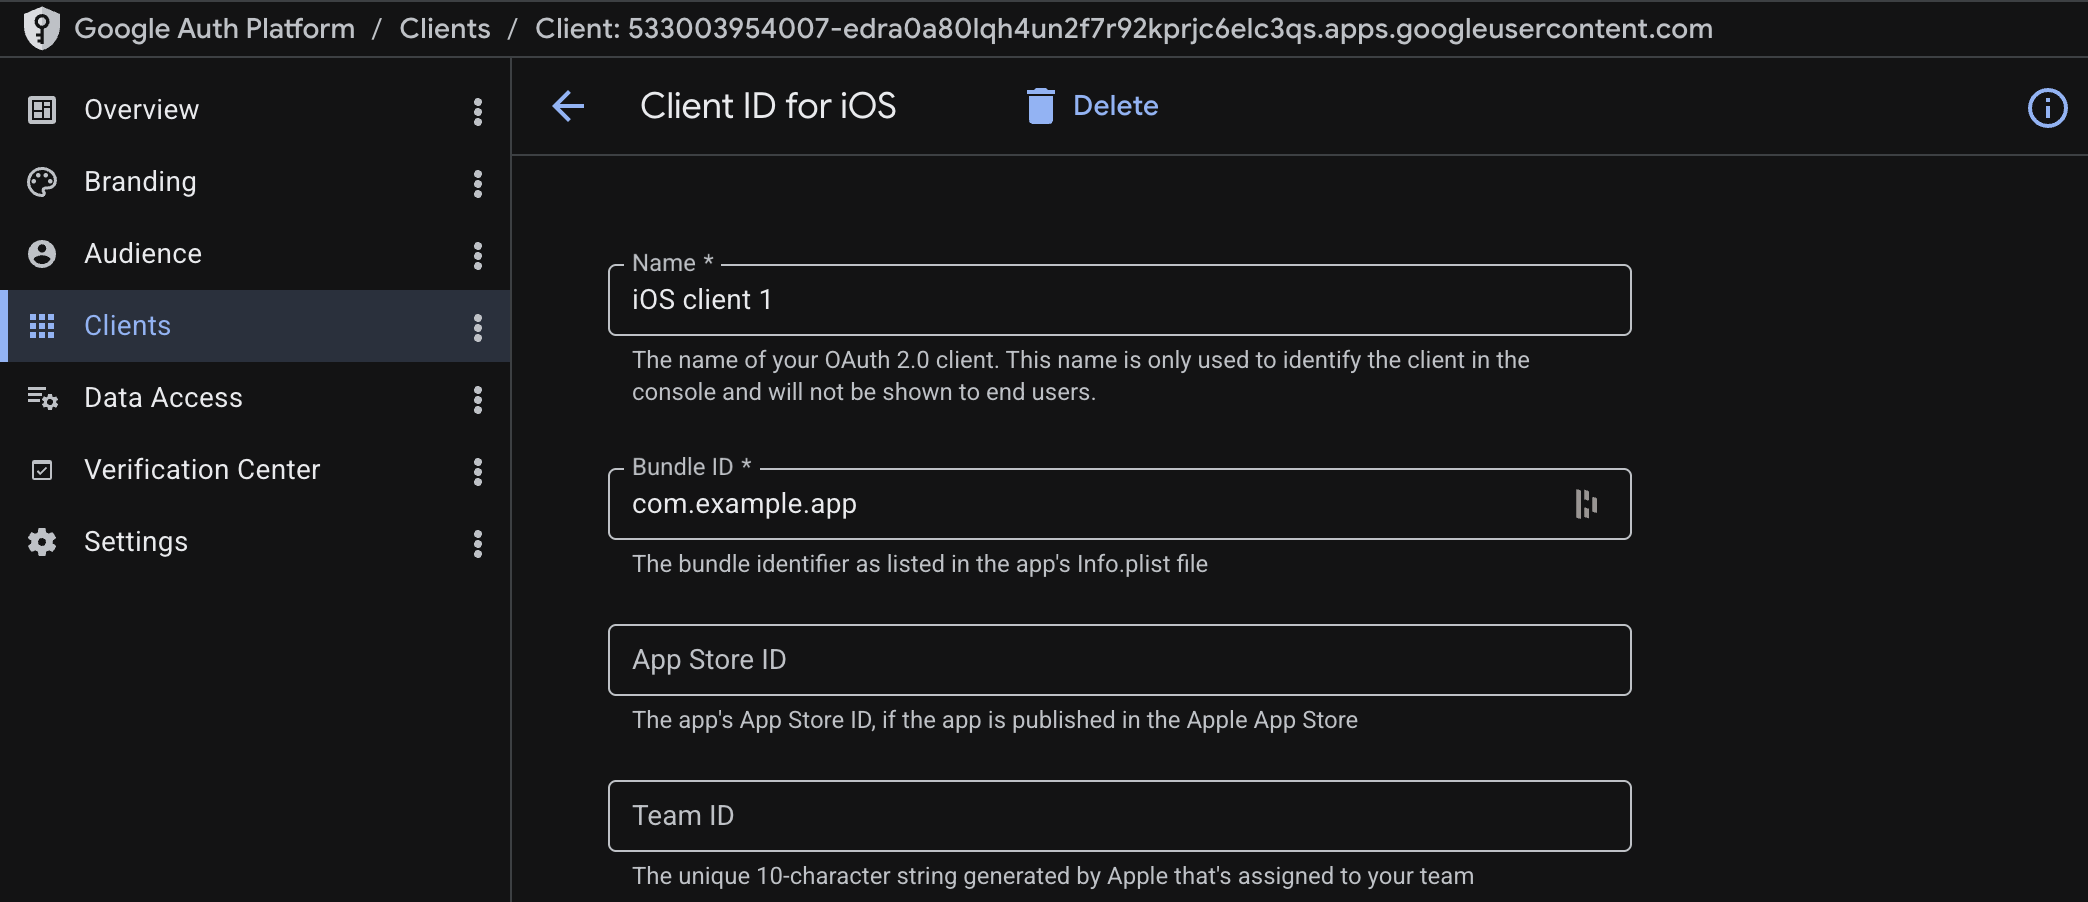
-
Open the
Info.plistfile in your Flutter project (e.g.,my_project_flutter/ios/Runner/Info.plist) and add the following keys inside the top-level<dict>:<dict>...<key>GIDClientID</key><string>your_ios_client_id</string><key>GIDServerClientID</key><string>your_server_client_id</string></dict>Replace
your_ios_client_idwith theCLIENT_IDvalue from the downloaded plist file, andyour_server_client_idwith the client ID from the Web application OAuth client you created earlier.
Add the URL scheme
To allow navigation back to the app after sign-in, add the URL scheme to the same Info.plist file. The scheme is the reversed client ID of your iOS app (found as REVERSED_CLIENT_ID in the downloaded plist file). Add the following inside the top-level <dict>:
<dict>
  ...
  <key>CFBundleURLTypes</key>
  <array>
    <dict>
      <key>CFBundleTypeRole</key>
      <string>Editor</string>
      <key>CFBundleURLSchemes</key>
      <array>
        <string>com.googleusercontent.apps.your_client_id</string>
      </array>
    </dict>
  </array>
</dict>
Replace the URL scheme with your actual reversed client ID.
Without the URL scheme, the OAuth callback never returns to your app and sign-in silently hangs.
Android
-
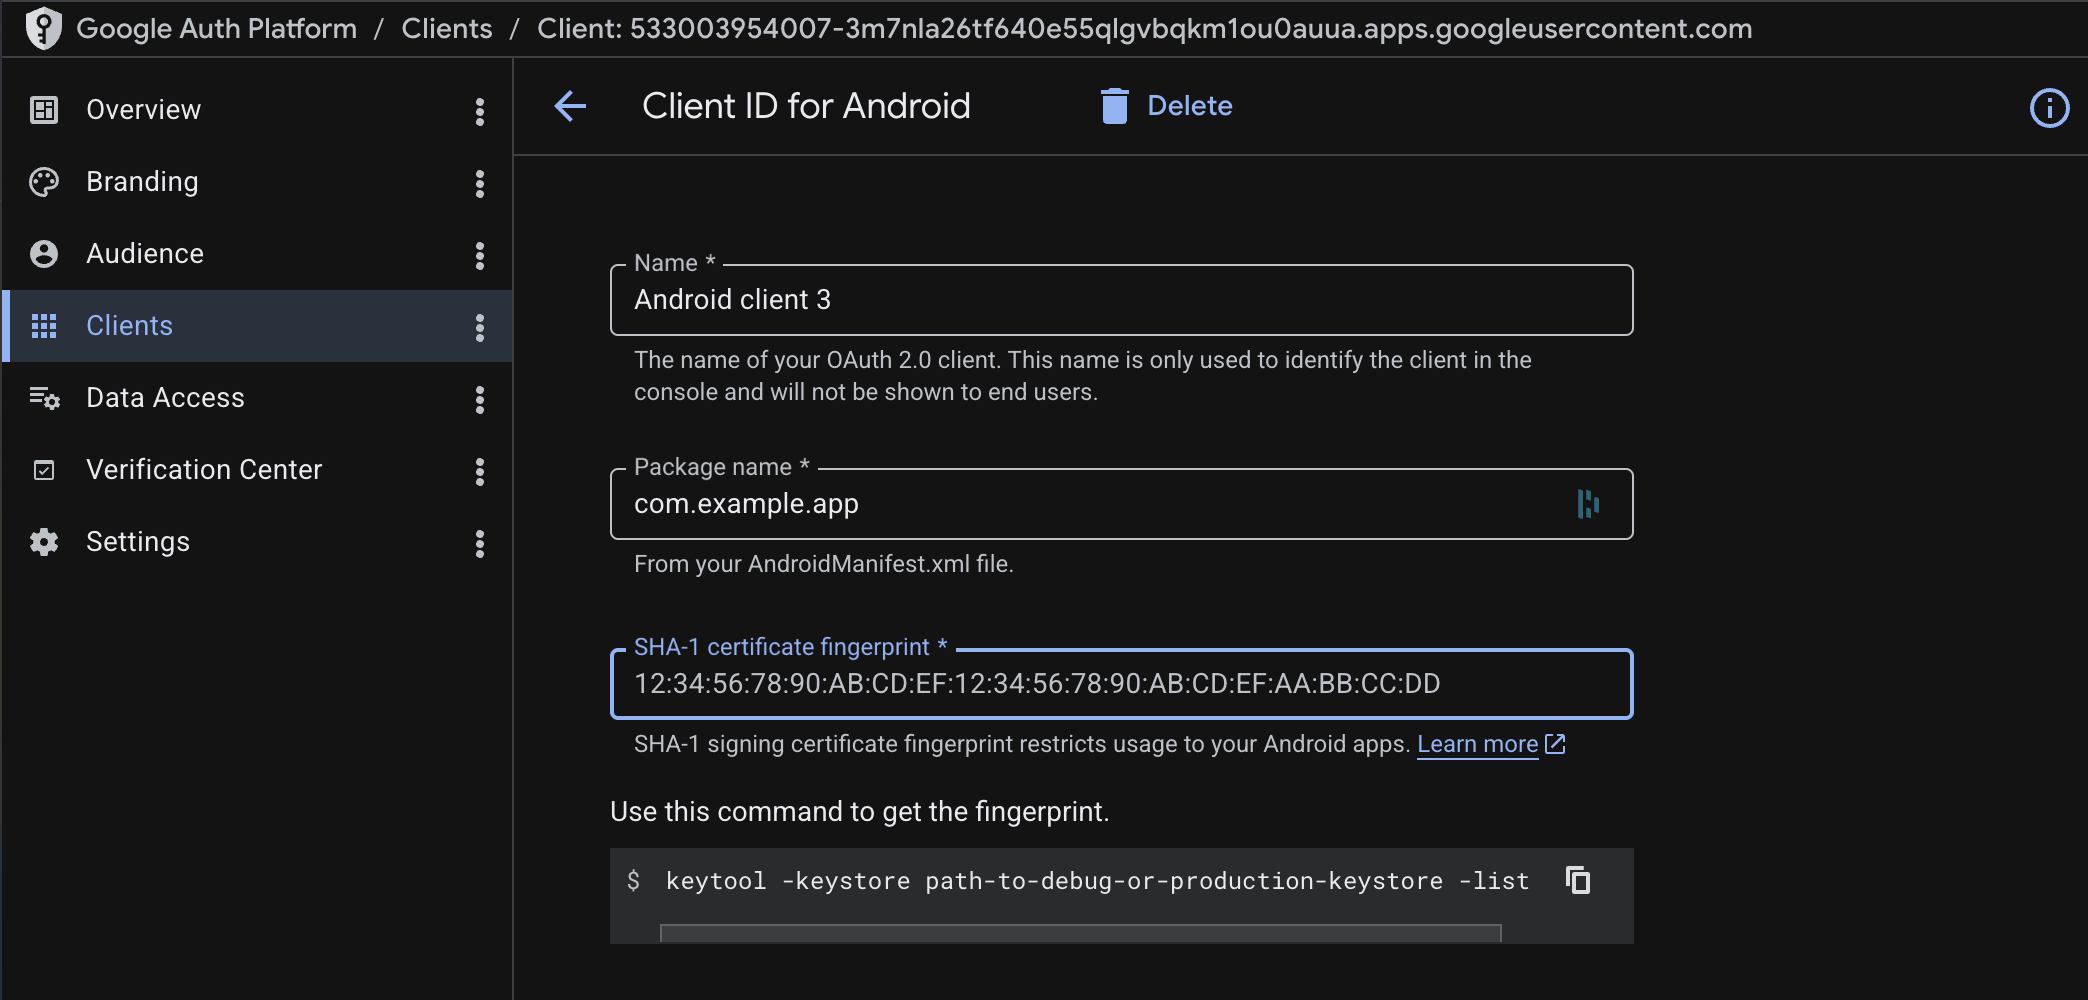
In the Google Auth Platform, navigate to Clients and click Create Client.
-
Select Android as the application type.
-
Fill in your app's Package name and SHA-1 certificate fingerprint. You can get the debug SHA-1 hash by running this from your Flutter project's
android/directory (e.g.,my_project_flutter/android/):./gradlew signingReport -
Click Create and download the JSON file.
-
Place the file inside your Flutter project's
android/app/directory (e.g.,my_project_flutter/android/app/) and rename it togoogle-services.json.
The downloaded google-services.json may not include a web OAuth client entry, which is required for Google Sign-In to resolve the server client ID. If sign-in fails, provide the client IDs programmatically as described on the customizations page.
Web
On web, Google completes sign-in by redirecting the browser to a callback URL you control. This flow requires Serverpod to serve your Flutter web app on the same origin as the callback route. To test locally, build your Flutter web app into Serverpod's web/app/ directory:
flutter build web --output ../my_project_server/web/app  # from your Flutter project
serverpod start                                          # from your server project
Open http://localhost:8082/app to test. flutter run -d chrome won't work here because Flutter's dev server runs on a different port from Serverpod: for hot-reload workflows, use the separately-hosted Flutter web flow instead.
The examples below use port 8082 (Serverpod's default from config/development.yaml).
-
In your server project's
server.dartfile, beforepod.start(), register the callback route:import 'package:serverpod_auth_idp_server/core.dart';// ...pod.webServer.addRoute(FlutterWebAuth2CallbackRoute(),'/auth/callback',);The path
/auth/callbackcan be anything, as long as it matches the URL you register with Google in step 2 and pass toinitializeGoogleSignInlater.In production, pass
host:to restrict the route to your production domain:pod.webServer.addRoute(FlutterWebAuth2CallbackRoute(host: 'my-awesome-project.serverpod.space'),'/auth/callback',);tipThe same route works for every OAuth2 PKCE provider. Register it once and reuse the callback URL for Google, GitHub, and any future provider.
-
Update the server OAuth client you created in the previous section and add the following:
- Authorized JavaScript origins: your Flutter web app's origin (e.g.,
http://localhost:8082locally,https://my-awesome-project.serverpod.spacein production). - Authorized redirect URIs: the full URL of the route you registered (e.g.,
http://localhost:8082/auth/callbacklocally,https://my-awesome-project.serverpod.space/auth/callbackin production).
Add the same URL to
redirect_urisin thegoogleClientSecretentry ofpasswords.yamlfrom Store your credentials.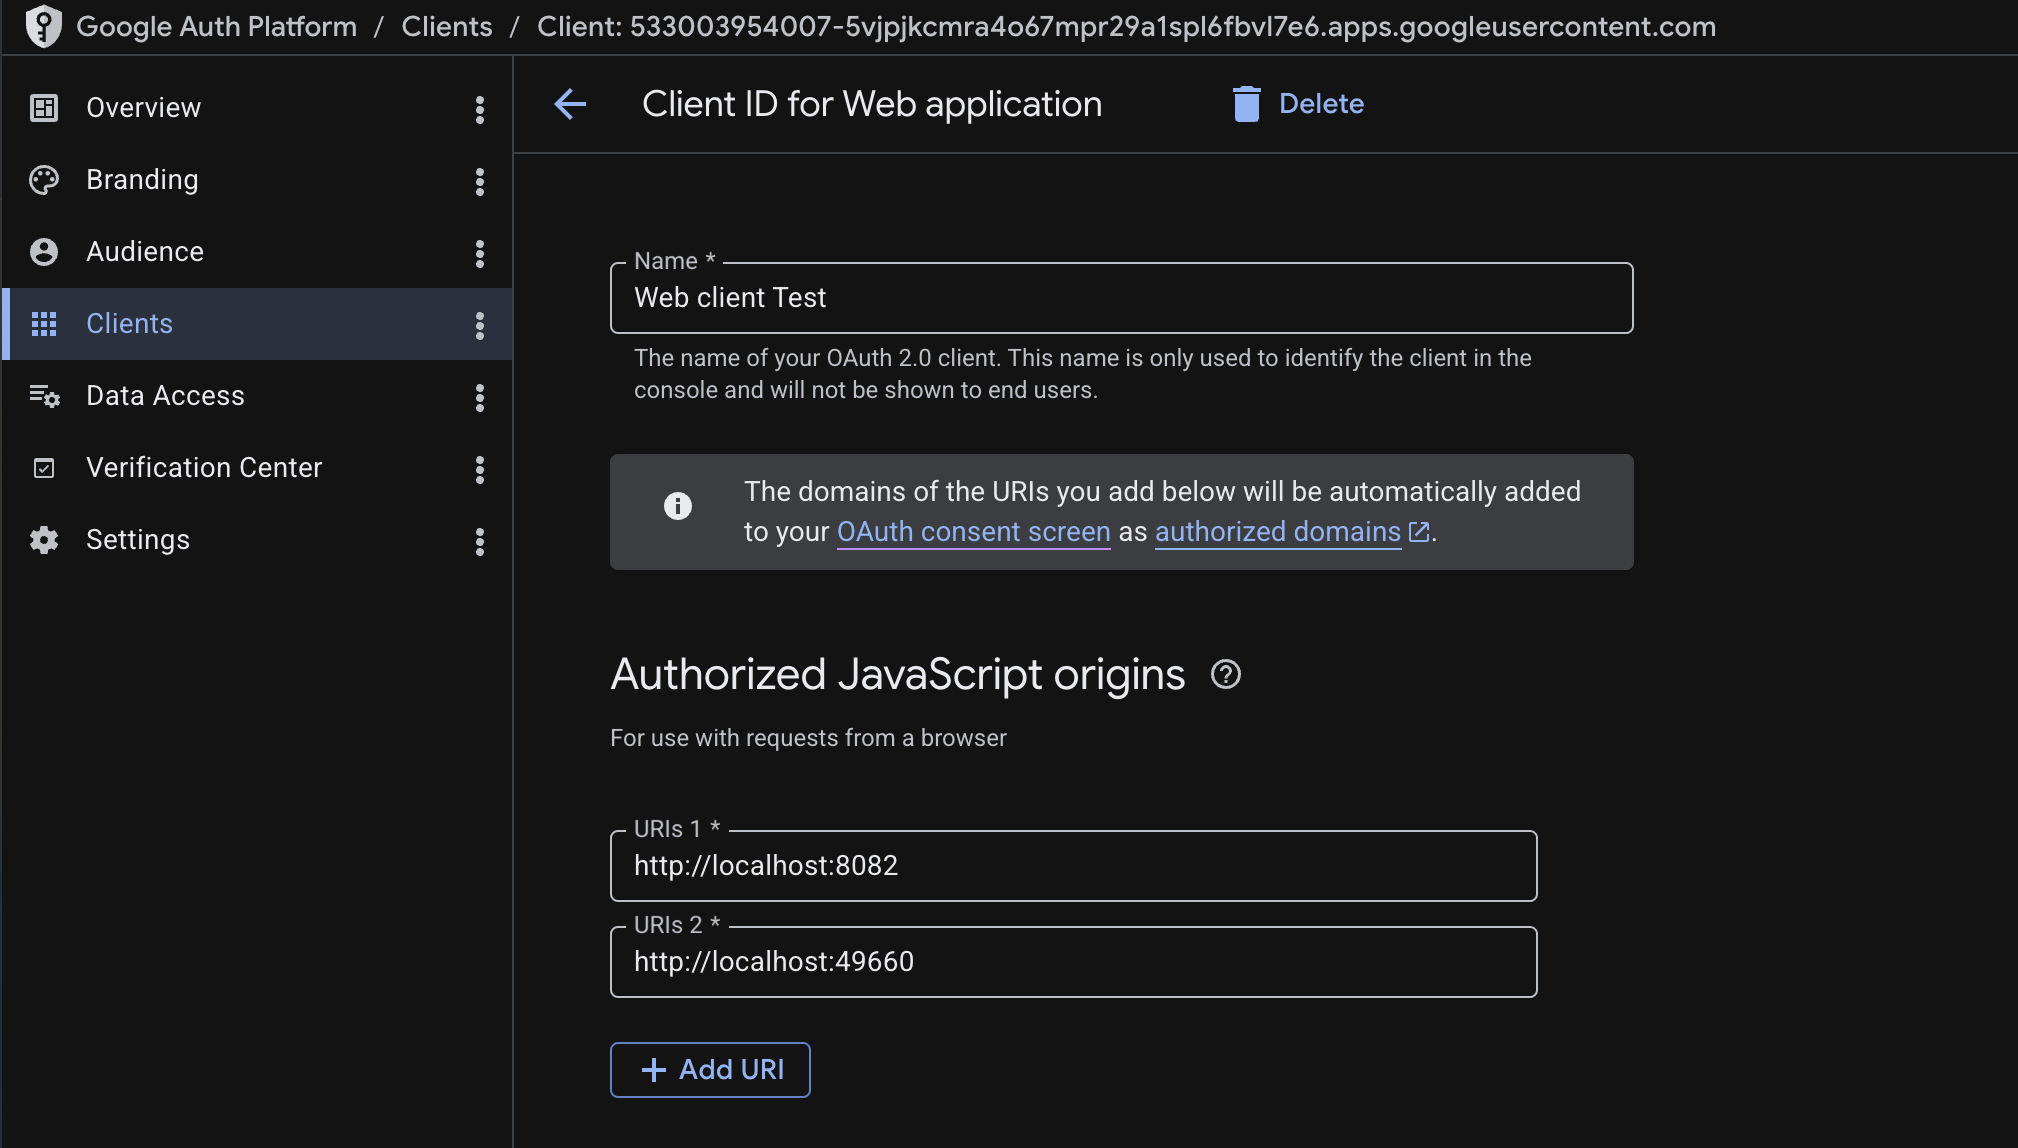
- Authorized JavaScript origins: your Flutter web app's origin (e.g.,
-
Pass the same URL to
initializeGoogleSignInvia theredirectUriargument when you initialize the client (covered in Initialize the Google sign-in service below).tipYou can also pass the redirect URI via
--dart-define. See Configuring the Web redirect URI for the pattern.
Present the authentication UI
Initialize the Google sign-in service
In your Flutter app's main.dart, add initializeGoogleSignIn() right after the existing client.auth.initialize() call:
client.auth.initialize();
client.auth.initializeGoogleSignIn();
On web, the call needs clientId and redirectUri (matching the route from Web). On mobile, leave them unset so the SDK reads its config from Info.plist / google-services.json:
if (kIsWeb) {
  client.auth.initializeGoogleSignIn(
    clientId: '<web_client_id>.apps.googleusercontent.com',
    redirectUri: 'http://localhost:8082/auth/callback',
  );
} else {
  client.auth.initializeGoogleSignIn();
}
Swap the redirect URI for your production URL when deploying. See Configuring the Web redirect URI to avoid hard-coding it per environment.
Show the Google sign-in button
The Serverpod template ships with a SignInScreen widget at lib/screens/sign_in_screen.dart. It listens to client.auth.authInfoListenable and swaps between SignInWidget while the user is signed out and the child you pass it once they sign in. SignInWidget auto-detects which identity provider endpoints are registered on the server, so once GoogleIdpEndpoint is exposed and the client code has been regenerated, the Google button appears inside it.
import 'package:flutter/material.dart';
import 'package:serverpod_auth_idp_flutter/serverpod_auth_idp_flutter.dart';
import '../main.dart';
class SignInScreen extends StatefulWidget {
final Widget child;
const SignInScreen({super.key, required this.child});
State<SignInScreen> createState() => _SignInScreenState();
}
class _SignInScreenState extends State<SignInScreen> {
bool _isSignedIn = false;
void initState() {
super.initState();
client.auth.authInfoListenable.addListener(_updateSignedInState);
_isSignedIn = client.auth.isAuthenticated;
}
void dispose() {
client.auth.authInfoListenable.removeListener(_updateSignedInState);
super.dispose();
}
void _updateSignedInState() {
setState(() {
_isSignedIn = client.auth.isAuthenticated;
});
}
Widget build(BuildContext context) {
return _isSignedIn
? widget.child
: Center(
child: SignInWidget(
client: client,
onError: (error) {
ScaffoldMessenger.of(context).showSnackBar(
SnackBar(content: Text('Authentication failed: $error')),
);
},
),
);
}
}
The SignInScreen listener is what swaps to your authenticated UI. If you also pass an onAuthenticated callback to SignInWidget, use it for transient feedback only (snackbars, analytics). Driving navigation from onAuthenticated instead of the listener sends the user back to sign-in on every app restart even though their session is still valid.
In main.dart, the template wires this into MyHomePage.build()'s Scaffold behind a commented block. Comment out body: const GreetingsScreen() and uncomment the SignInScreen(...) block beneath it:
body: SignInScreen(
  child: GreetingsScreen(
    onSignOut: () async {
      await client.auth.signOutDevice();
    },
  ),
),
The SignInWidget renders the standard Google sign-in button:
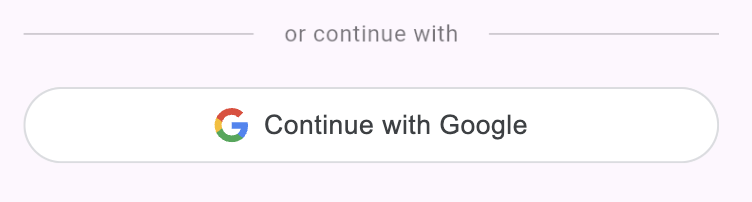
To change the button's theme or build a fully custom UI, see Customizing the UI.
If you run into issues, see the troubleshooting guide.
Publishing to production
Before going live, complete the following steps:
1. Verify your authorized domain
Google's Authorized domains field on the Branding page accepts only the top private domain (the root). Once the root is verified, every subdomain under it is automatically authorized, and you do not need to add each project subdomain separately.
If you deploy on Serverpod Cloud under a *.serverpod.space subdomain, serverpod.space is already verified by Serverpod. Add serverpod.space to Authorized domains in the Google Auth Platform; no DNS verification is required on your end.
For a custom domain, verify ownership of your root domain (e.g., example.com) at Google Search Console by adding the DNS TXT record Google provides. After verification completes, add the root to Authorized domains in the Google Auth Platform.
A single verified root authorizes all of its subdomains. If Google rejects a domain you add, you are likely entering a full subdomain instead of the root.
2. Update the OAuth redirect URIs
Go back to the server OAuth client in the Google Auth Platform and add your production URLs:
- Authorized JavaScript origins: your production Flutter web app's origin (e.g.,
https://my-awesome-project.serverpod.space). - Authorized redirect URIs: the production callback URL. From the standard Web setup, this is the route URL you registered (e.g.,
https://my-awesome-project.serverpod.space/auth/callback). For the separately-hosted Flutter web fallback, it's the full URL whereauth.htmlis served on your production Flutter web host (e.g.,https://app.example.com/auth.html).
Replace the URLs with your actual production address. On Serverpod Cloud, your project is served from https://<project-id>.serverpod.space.
3. Set production credentials
Production runs out of the production: section of passwords.yaml, which is separate from the development: section you populated during setup. Adding production credentials does not replace your development ones, both stay in place and Serverpod picks the right set based on the run mode.
The production googleClientSecret reuses the same web client ID and secret from setup, but lists your production redirect URI rather than the development one. If you use a different OAuth client for production, create another web client first and use its values below.
Pick the path that matches your deployment:
Self-hosted
Add googleClientSecret to the production: section of passwords.yaml with the production redirect URI:
production:
  # ... existing keys ...
  googleClientSecret: |
    {
      "web": {
        "client_id": "<web_client_id>.apps.googleusercontent.com",
        "client_secret": "your-client-secret",
        "redirect_uris": ["https://my-awesome-project.serverpod.space/auth/callback"]
      }
    }
Alternatively, set the SERVERPOD_PASSWORD_googleClientSecret environment variable on your production server with the same JSON value.
Serverpod Cloud
Use https://<project-id>.serverpod.space/auth/callback as the redirect URI in the JSON (matching the route you registered in Web setup). Save it to a file and use scloud password set with --from-file:
scloud password set googleClientSecret --from-file path/to/google-client-secret.json
Run this from your linked server project directory, or pass --project <project-id> on the call. See the Serverpod Cloud passwords guide for project linking and other options.
4. Update the Android OAuth client with the release SHA-1
The Android OAuth client you created during setup uses your debug SHA-1 fingerprint. Release builds are signed with a different key, so you need to add the release SHA-1 as well.
If you use Google Play App Signing (the default for new apps), get the SHA-1 from the Play Console: Setup > App integrity > App signing key certificate. Make sure to use the app signing key SHA-1, not the upload key SHA-1.
If you manage your own release keystore, get the SHA-1 from it directly:
keytool -list -v -keystore your-release-key.jks -alias your-key-alias
Once you have the SHA-1, go back to your Android OAuth client in the Google Auth Platform and add it under SHA-1 certificate fingerprint.
Forgetting this step is one of the most common reasons Google Sign-In works in debug builds but silently fails after publishing to the Play Store.
5. Publish the OAuth consent screen
While the app is in Testing mode, only the test users you added on the Audience page, in the Google Auth Platform, can sign in. All other users will see an error.
Navigate to the Audience page and click Publish App to allow any Google account to sign in. If your app uses sensitive or restricted scopes, Google may require a verification review before publishing.