Create data models
On the previous page your endpoint returned a plain string. Here you'll define a Recipe model so the server returns structured, typed data instead. You define the model once in YAML, and Serverpod generates the Dart class plus all the serialization needed between server and client.
Keep serverpod start running from the previous page.
Define a model
Serverpod models are declared in .spy.yaml files anywhere under the server's lib directory. Create magic_recipe_server/lib/src/recipes/recipe.spy.yaml:
### Our AI generated Recipe
class: Recipe
fields:
  ### The author of the recipe
  author: String
  ### The recipe text
  text: String
  ### The date the recipe was created
  date: DateTime
  ### The ingredients the user passed in
  ingredients: String
Save the file. serverpod start regenerates the Recipe class for both the server and the client.
Fields can be primitive types, other models, or a typed List, Map, or Set. See Working with models for the full set of options.
Return the model from your endpoint
Now update recipe_endpoint.dart to return a Recipe instead of a String.
Import the generated models at the top of the file:
import '../generated/protocol.dart';
Change the method's return type from Future<String> to Future<Recipe>:
Future<Recipe> generateRecipe(Session session, String ingredients) async {
Then replace return responseText; with a constructed Recipe:
    return Recipe(
      author: 'Gemini',
      text: responseText,
      date: DateTime.now(),
      ingredients: ingredients,
    );
Save the file. The client regenerates so generateRecipe now returns a Recipe.
Show it in your app
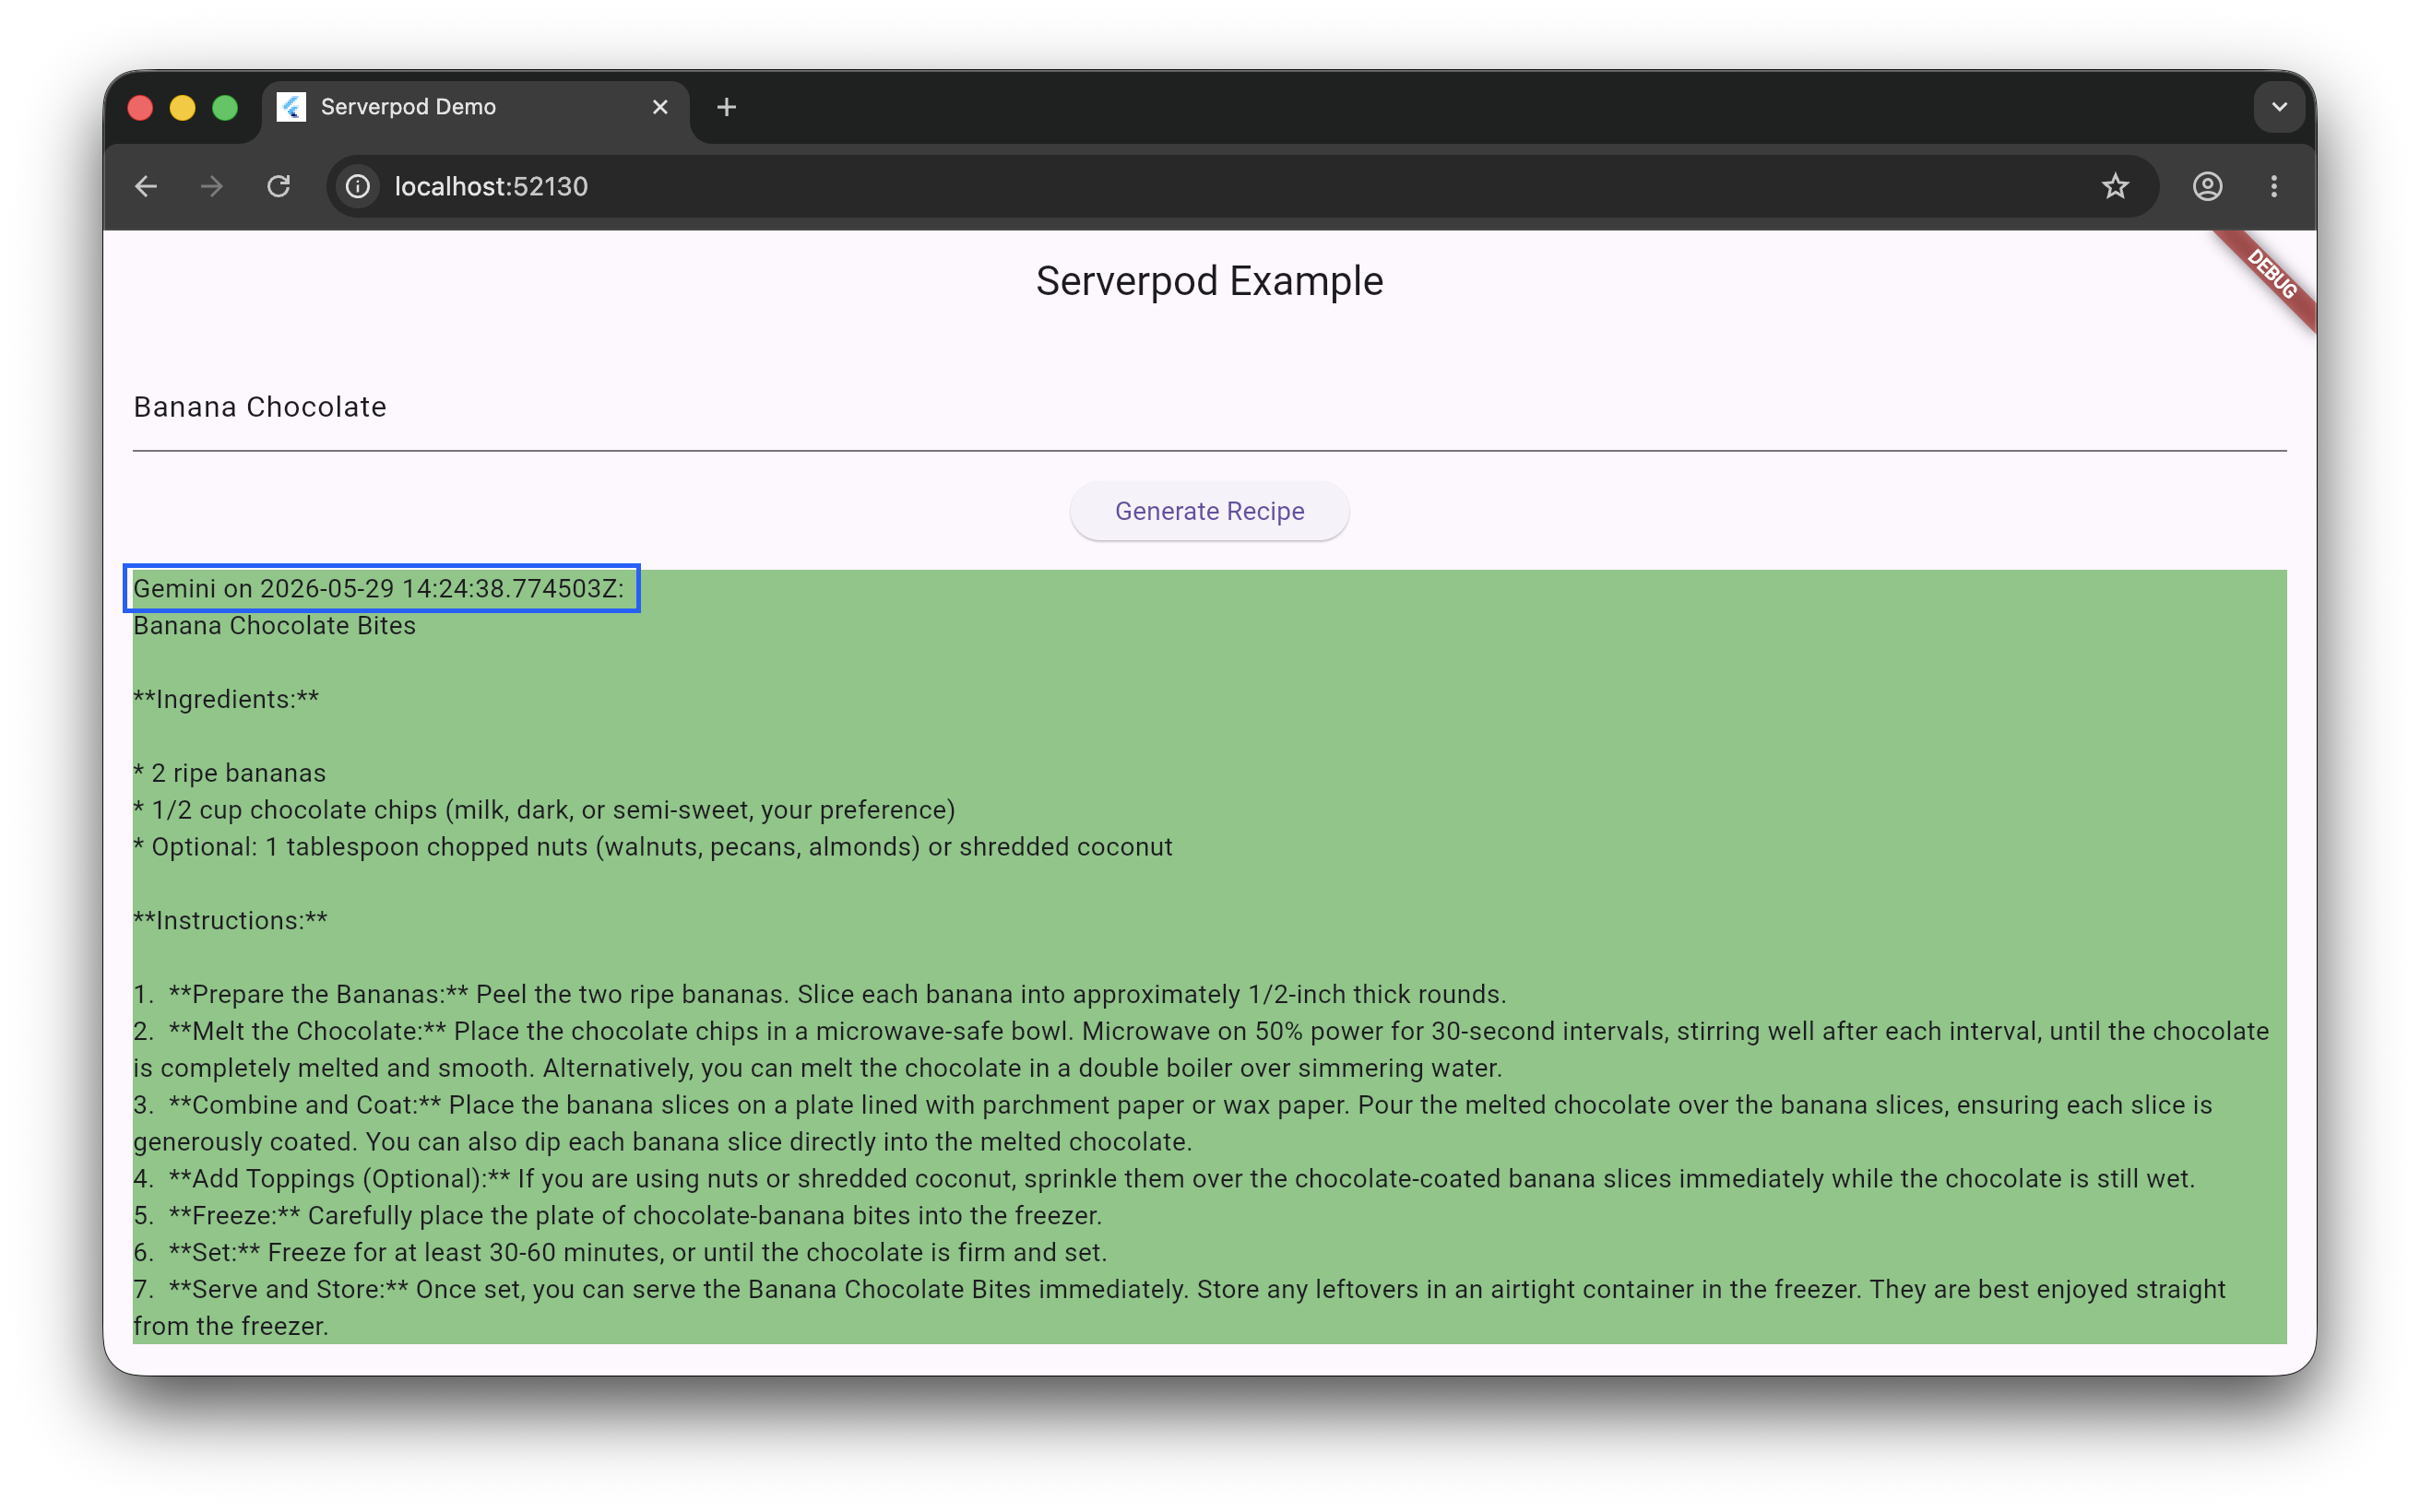
In recipe_screen.dart, the call now returns a Recipe object, so assigning result to a string no longer compiles. _resultMessage itself stays a String?; you just format the Recipe's fields into it. In _callGenerateRecipe, update the success setState:
      setState(() {
        _resultMessage = '${result.author} on ${result.date}:\n${result.text}';
        _loading = false;
      });
Save. Because the model and the endpoint's return type changed, the generated client changed too, so hot reload isn't enough.
In the serverpod start terminal:
- Press R to hot restart.
Enter some ingredients and tap Generate Recipe. The result now shows the author and date alongside the recipe:
Next steps
Your endpoint now returns structured data. Next, you'll store recipes in the database so they persist between sessions, and list them in the app.