Installation
Serverpod is an open-source, scalable backend framework built specifically for Flutter developers. It allows you to use Dart for your entire stack, simplifying development and reducing context-switching.
🚀 Build your Flutter backend with Dart
Maintain a single-language codebase with Serverpod. Write backend endpoints in Dart and call them directly from your Flutter app without writing boilerplate code. Our state-of-the-art code generation takes care of all the steps in between. Under the hood, Serverpod uses proven web standards and best practices.
// Define an endpoint on the server.
class ExampleEndpoint extends Endpoint {
  Future<String> greet(Session session, String name) async {
    return 'Hello, $name';
  }
}
// Call the endpoint from your Flutter app.
final greeting = await client.example.greet('World');
print(greeting); // Hello World
🌱 Scalable and progressive
Serverpod is designed to grow with your needs. Start with a minimal setup and gradually introduce complexity as your application evolves:
- Modular: Easily add new features or services when necessary.
- Scalable: Grows from hobby project to millions of active users without changing a line of code.
- Flexible: Adaptable to various project requirements. Plug in Redis or stay purely Postgres – your choice.
🌟 Benefits of Serverpod
Startups and agencies use Serverpod to streamline development processes, accelerate iteration cycles, and empower single developers to build full features:
- Reduced complexity: Minimize friction by using a single language. Modules make sharing app and server code, database schemas, and APIs between your projects easy.
- Open and free: Avoid vendor lock-in. Deploy servers anywhere you can run Dart.
- Stable and reliable: Integrated logging, error monitoring, and automated database management. Battle-tested in real-world applications and secured by over 5,000 automated tests.
🛠️ Features our developers love
Serverpod comes packed with powerful features - batteries included.
- Intuitive ORM: Eliminates the need for writing complex SQL and reduces the risk of database errors – all Dart-first, type-safe, statically analyzed, and with support for migrations and relations.
- Real-time capabilities: Push data from your server using Dart streams without worrying about the WebSocket life cycle and message routing.
- Straightforward authentication: Quickly integrate popular authentication providers like sign-in with Google, Apple, or Firebase.
- All essentials covered: Built-in support for common tasks like handling file uploads, scheduling tasks, and caching data.
- Cloud ready: Deploy to Serverpod Cloud with zero configuration (coming soon - join the waiting list), use pre-configured Docker containers, or use Terraform scripts for deploying to AWS or Google Cloud.
Installation
Prerequisites
Serverpod is tested on Mac, Windows, and Linux. Before you can install Serverpod, you need to have Flutter installed.
Check your Flutter installation by running the following command in your terminal:
$ flutter doctor
To make use of Serverpod's database connectivity, you need to have access to a PostgreSQL database. We recommend using Docker to run PostgreSQL locally. You can find instructions for installing Docker on the official Docker website. Each Serverpod project comes with its own docker-compose.yaml, so there is no need to install any custom containers. We will guide you through the process in the Getting Started section.
Check your Docker installation by running the following command in your terminal:
$ docker info
If you are using Docker Desktop and you get an error, make sure that Docker is running. You can check this by looking for the Docker icon in your system tray or taskbar. If it's not running, start Docker Desktop and try again.
Install Serverpod
Serverpod is installed using the Dart package manager. To install Serverpod, run the following command in your terminal:
$ dart pub global activate serverpod_cli
This command will install the Serverpod command-line interface (CLI) globally on your machine. You can verify the installation by running:
$ serverpod
If everything is correctly configured, the help for the serverpod command is now displayed.
Install the VS Code extension (recommended)
The Serverpod VS Code extension makes it easy to work with your Serverpod projects. It provides real-time diagnostics and syntax highlighting for model files in your project.

You can install the extension from the VS Code Marketplace or search for Serverpod from inside VS Code.
Install Serverpod Insights (recommended)
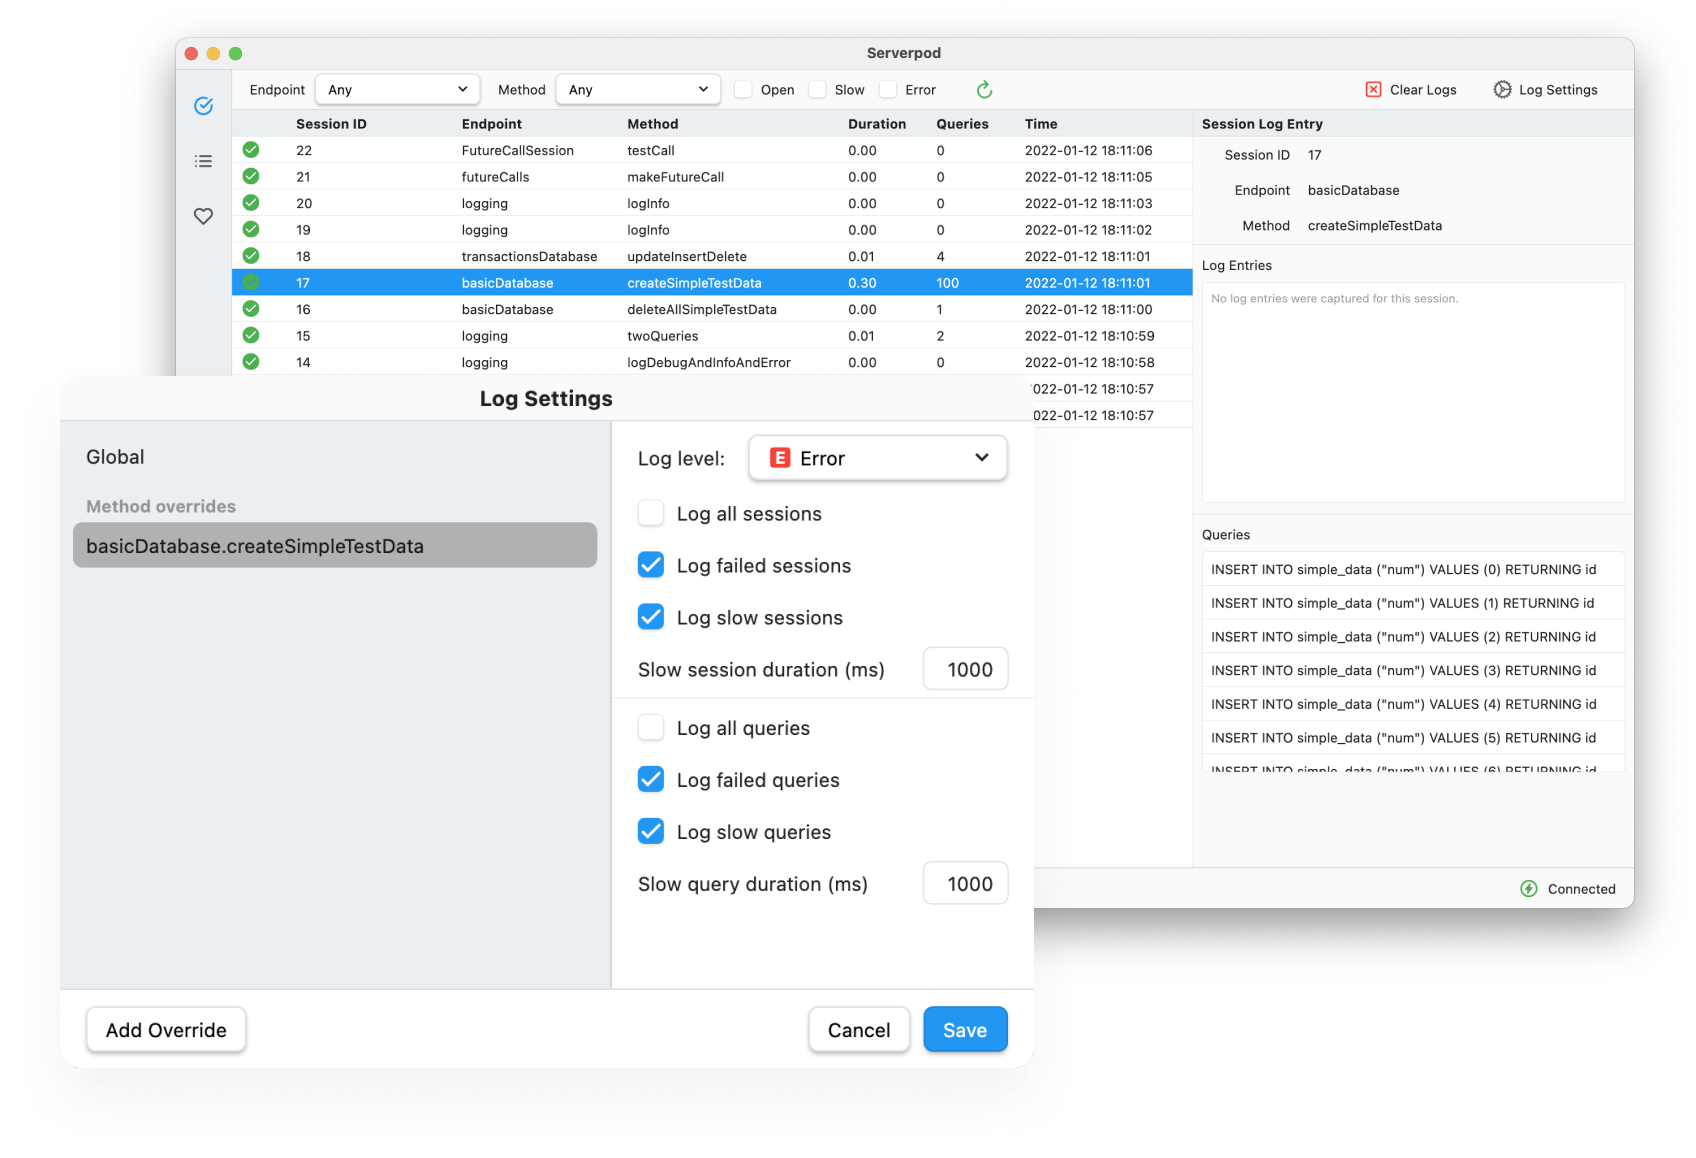
Serverpod Insights is a companion app bundled with Serverpod. It allows you to access your server's logs and health metrics. Insights is available for Mac and Windows, but we will be adding support for Linux in the future.

Creating a new project
To create a new Serverpod project, use the serverpod create command. It will set up a new project with a server, a client, and a Flutter app.
The project will be created in a new directory with the name you specify. For example, to create a new project called my_project, run the following command:
$ serverpod create my_project
The name of the project must be a valid Dart package name. It should start with a lowercase letter and can only contain lowercase letters, numbers, and underscores. For example, my_project is a valid name, but MyCounter is not.
After running the command, the following structure will be created:
my_project/
├── my_project_server/   # Contains your server-side code.
├── my_project_client/   # Code needed for the app to communicate with the server.
└── my_project_flutter/  # Flutter app, pre-configured to connect to your local server.
The root-level pubspec.yaml file includes support for Dart pub workspaces by default, which allows fetching dependencies at once by calling dart pub get from the project root.
During project creation, dependencies are automatically fetched.
To run your new project you must first start the database from the Docker file that is included with the project. Do this by running the docker compose up command in the server directory:
$ cd my_project/my_project_server
$ docker compose up
This will start the PostgreSQL database. You can stop the database server by pressing Ctrl+C in the terminal. If you want to run the servers in the background, you can use the -d flag:
$ docker compose up -d
This will start the database server in detached mode, meaning it will run in the background and you can safely close the terminal window without stopping it. Stop the database container by running the following command from the server directory:
$ docker compose down
If you are using Docker Desktop, you can see and manage all your installed Docker containers from there. It's easy to start and stop containers, and to remove the ones you are no longer using.
Now that the database is up and running we can start the Serverpod server. Because we are running the project for the first time, we need to create the database tables used by Serverpod. This is done through a database migration. An initial migration is already created for us, so all we need to do is pass the --apply-migrations flag when starting the server:
$ cd my_project/my_project_server
$ dart run bin/main.dart --apply-migrations
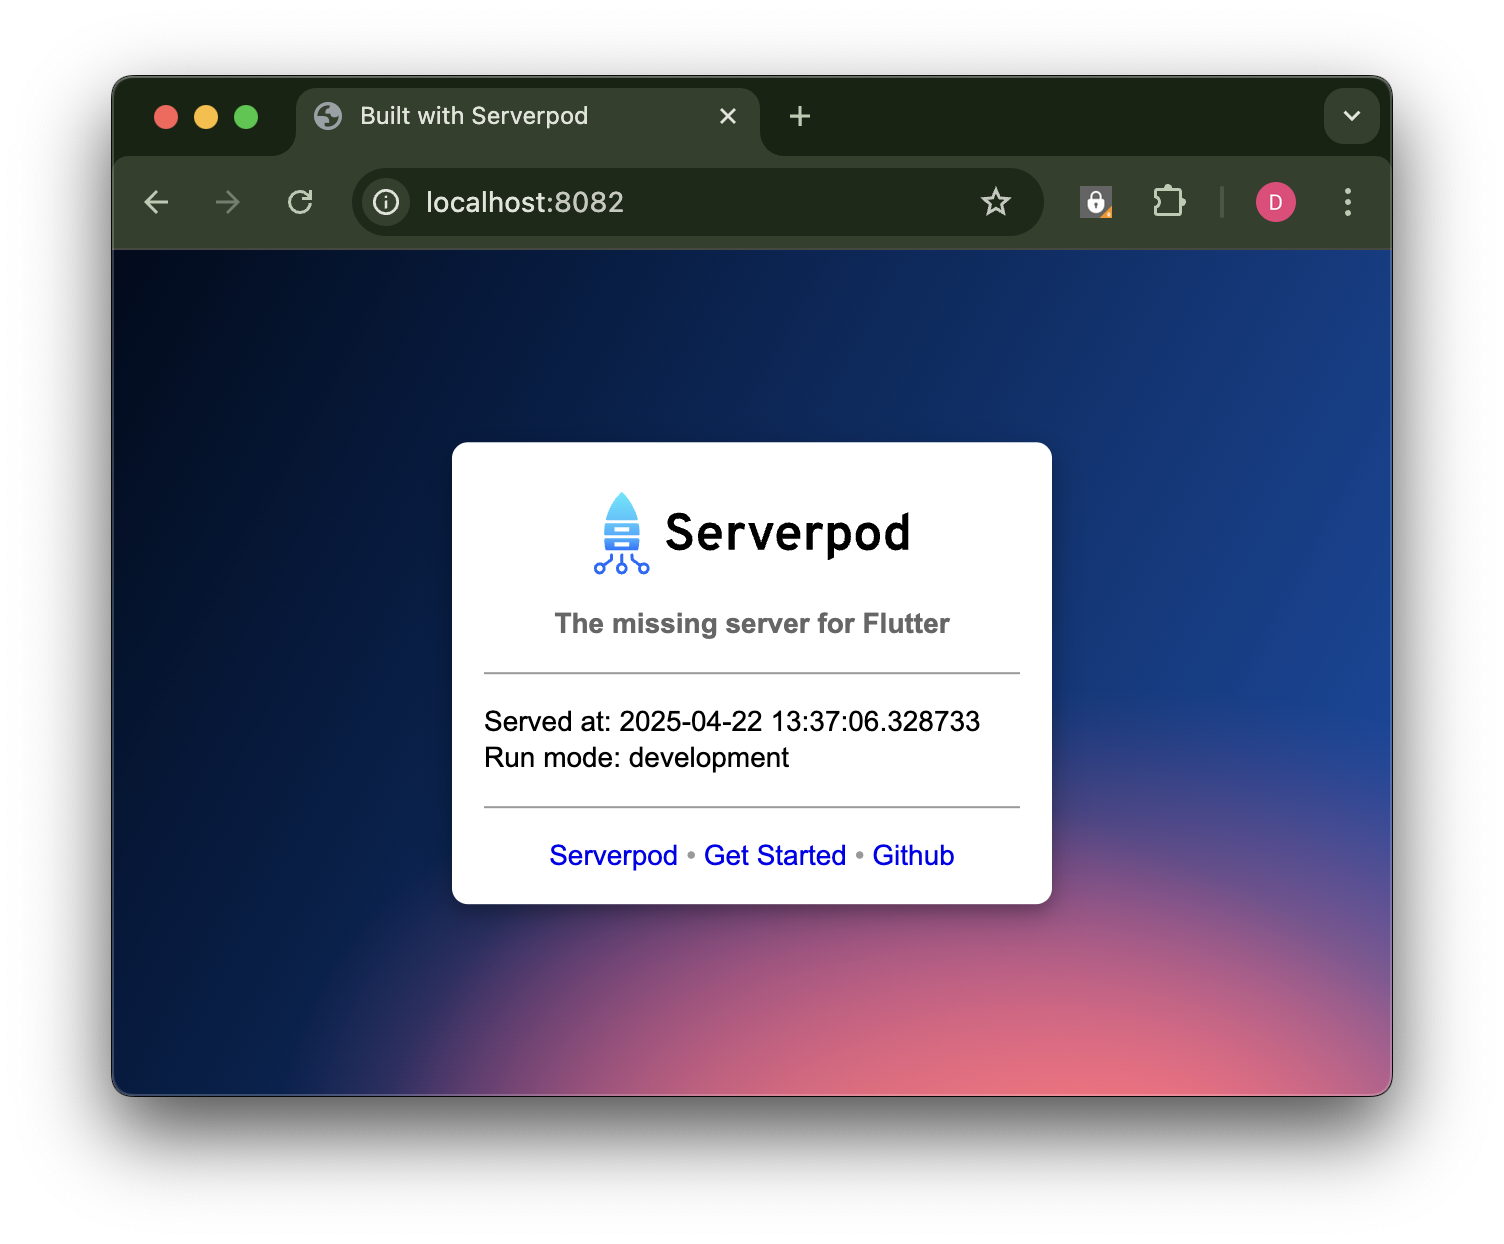
This will start the server and set up the initial database tables. You can now access the server at http://localhost:8080 and the web server is available at http://localhost:8082. It should look like this:

Now let's run our Flutter app. You can do this by running flutter run -d chrome in the flutter directory:
$ cd my_project/my_project_flutter
$ flutter run -d chrome
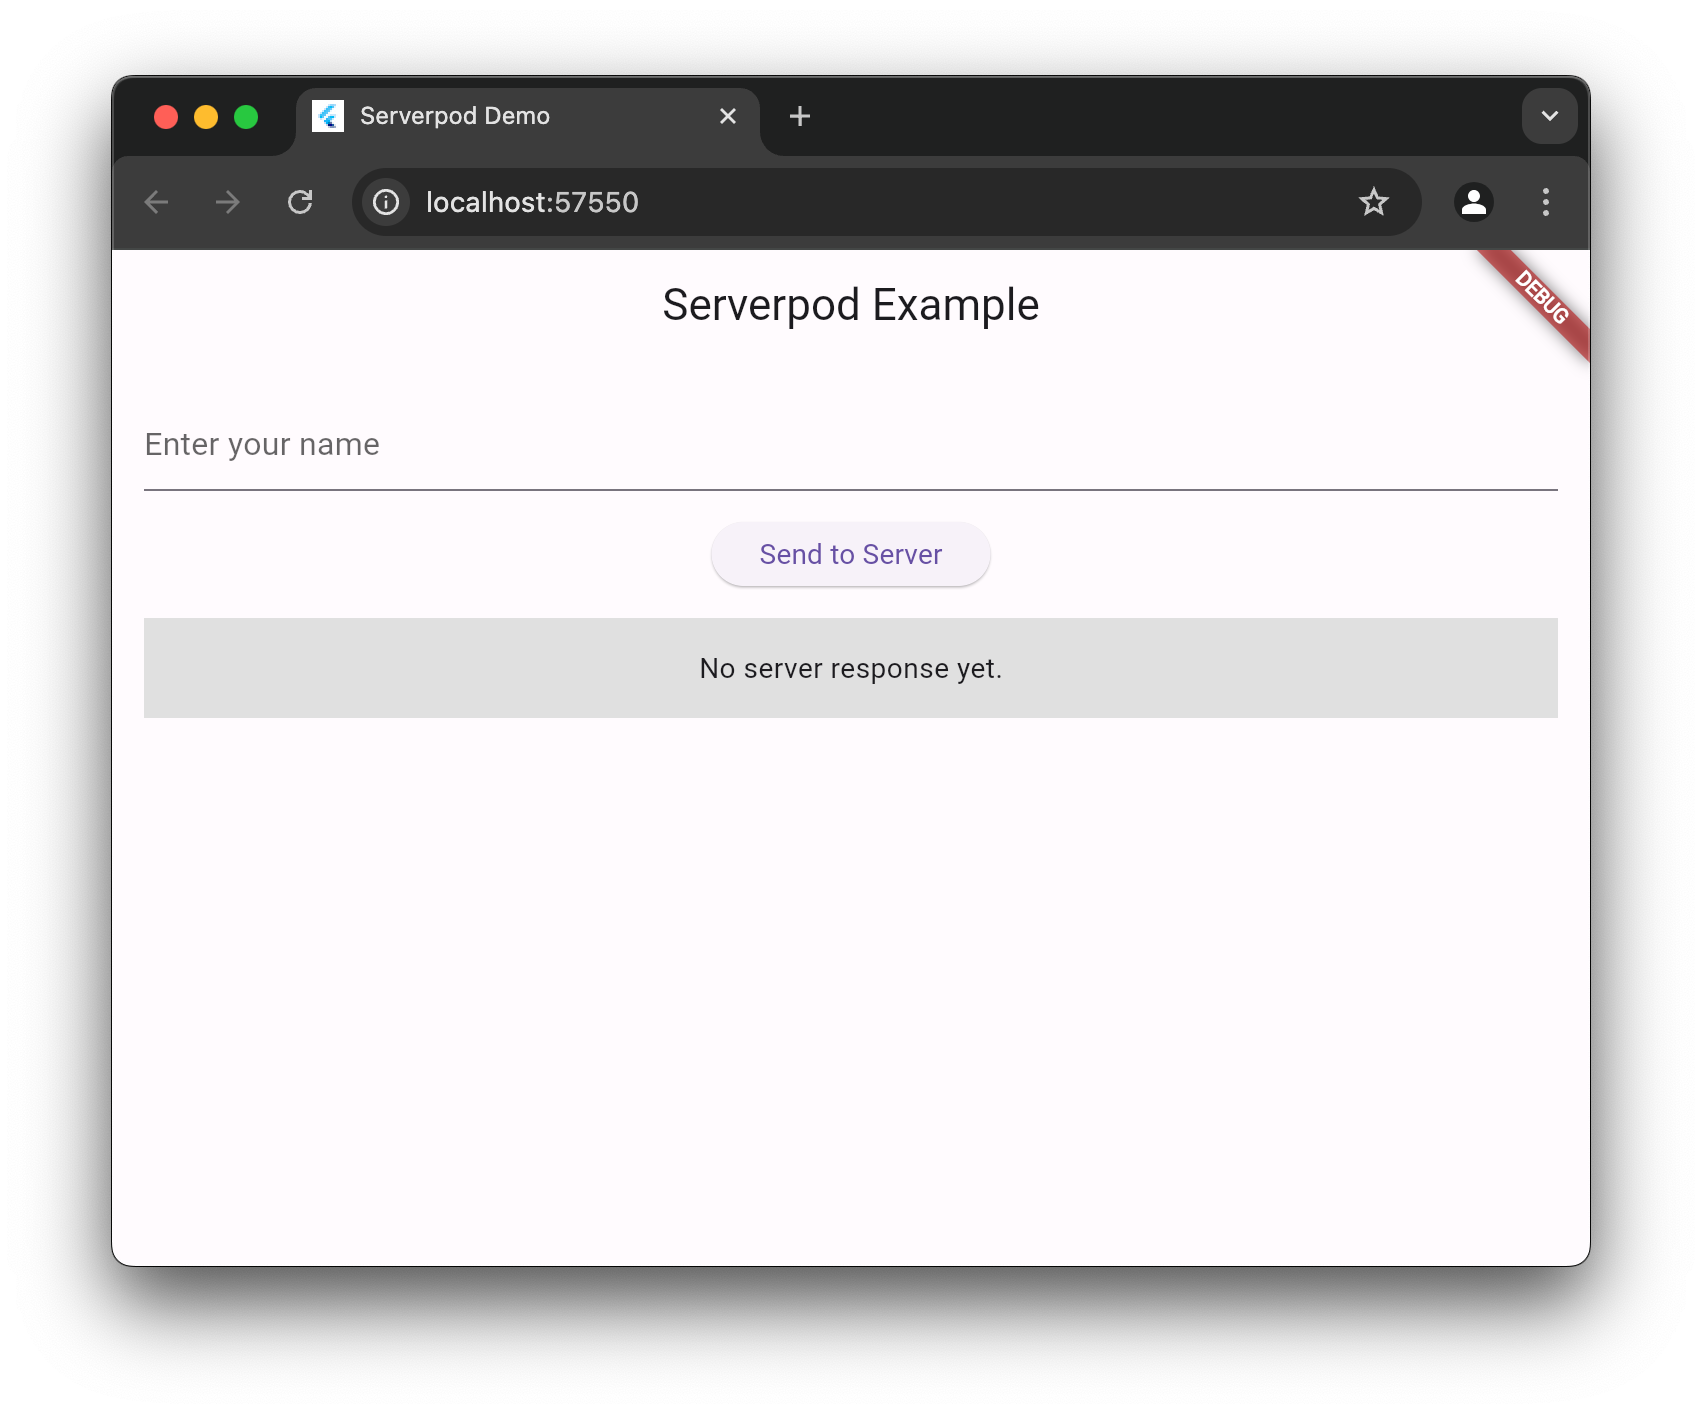
This will start the Flutter app in your browser. It should look like this:

Next steps
The quickest way to learn Serverpod is to follow our 30-minute Getting Started guide. This will give you an excellent overview of creating endpoints and models and working with the database. You will create a fun app that magically creates recipes from the ingredients you have in your fridge.