Set up Microsoft sign-in
To set up Sign in with Microsoft, you must create an app registration on Microsoft Entra ID (formerly Azure AD) and configure your Serverpod application accordingly.
You need to install the auth module before you continue, see Setup.
Create your Microsoft Entra ID App
-
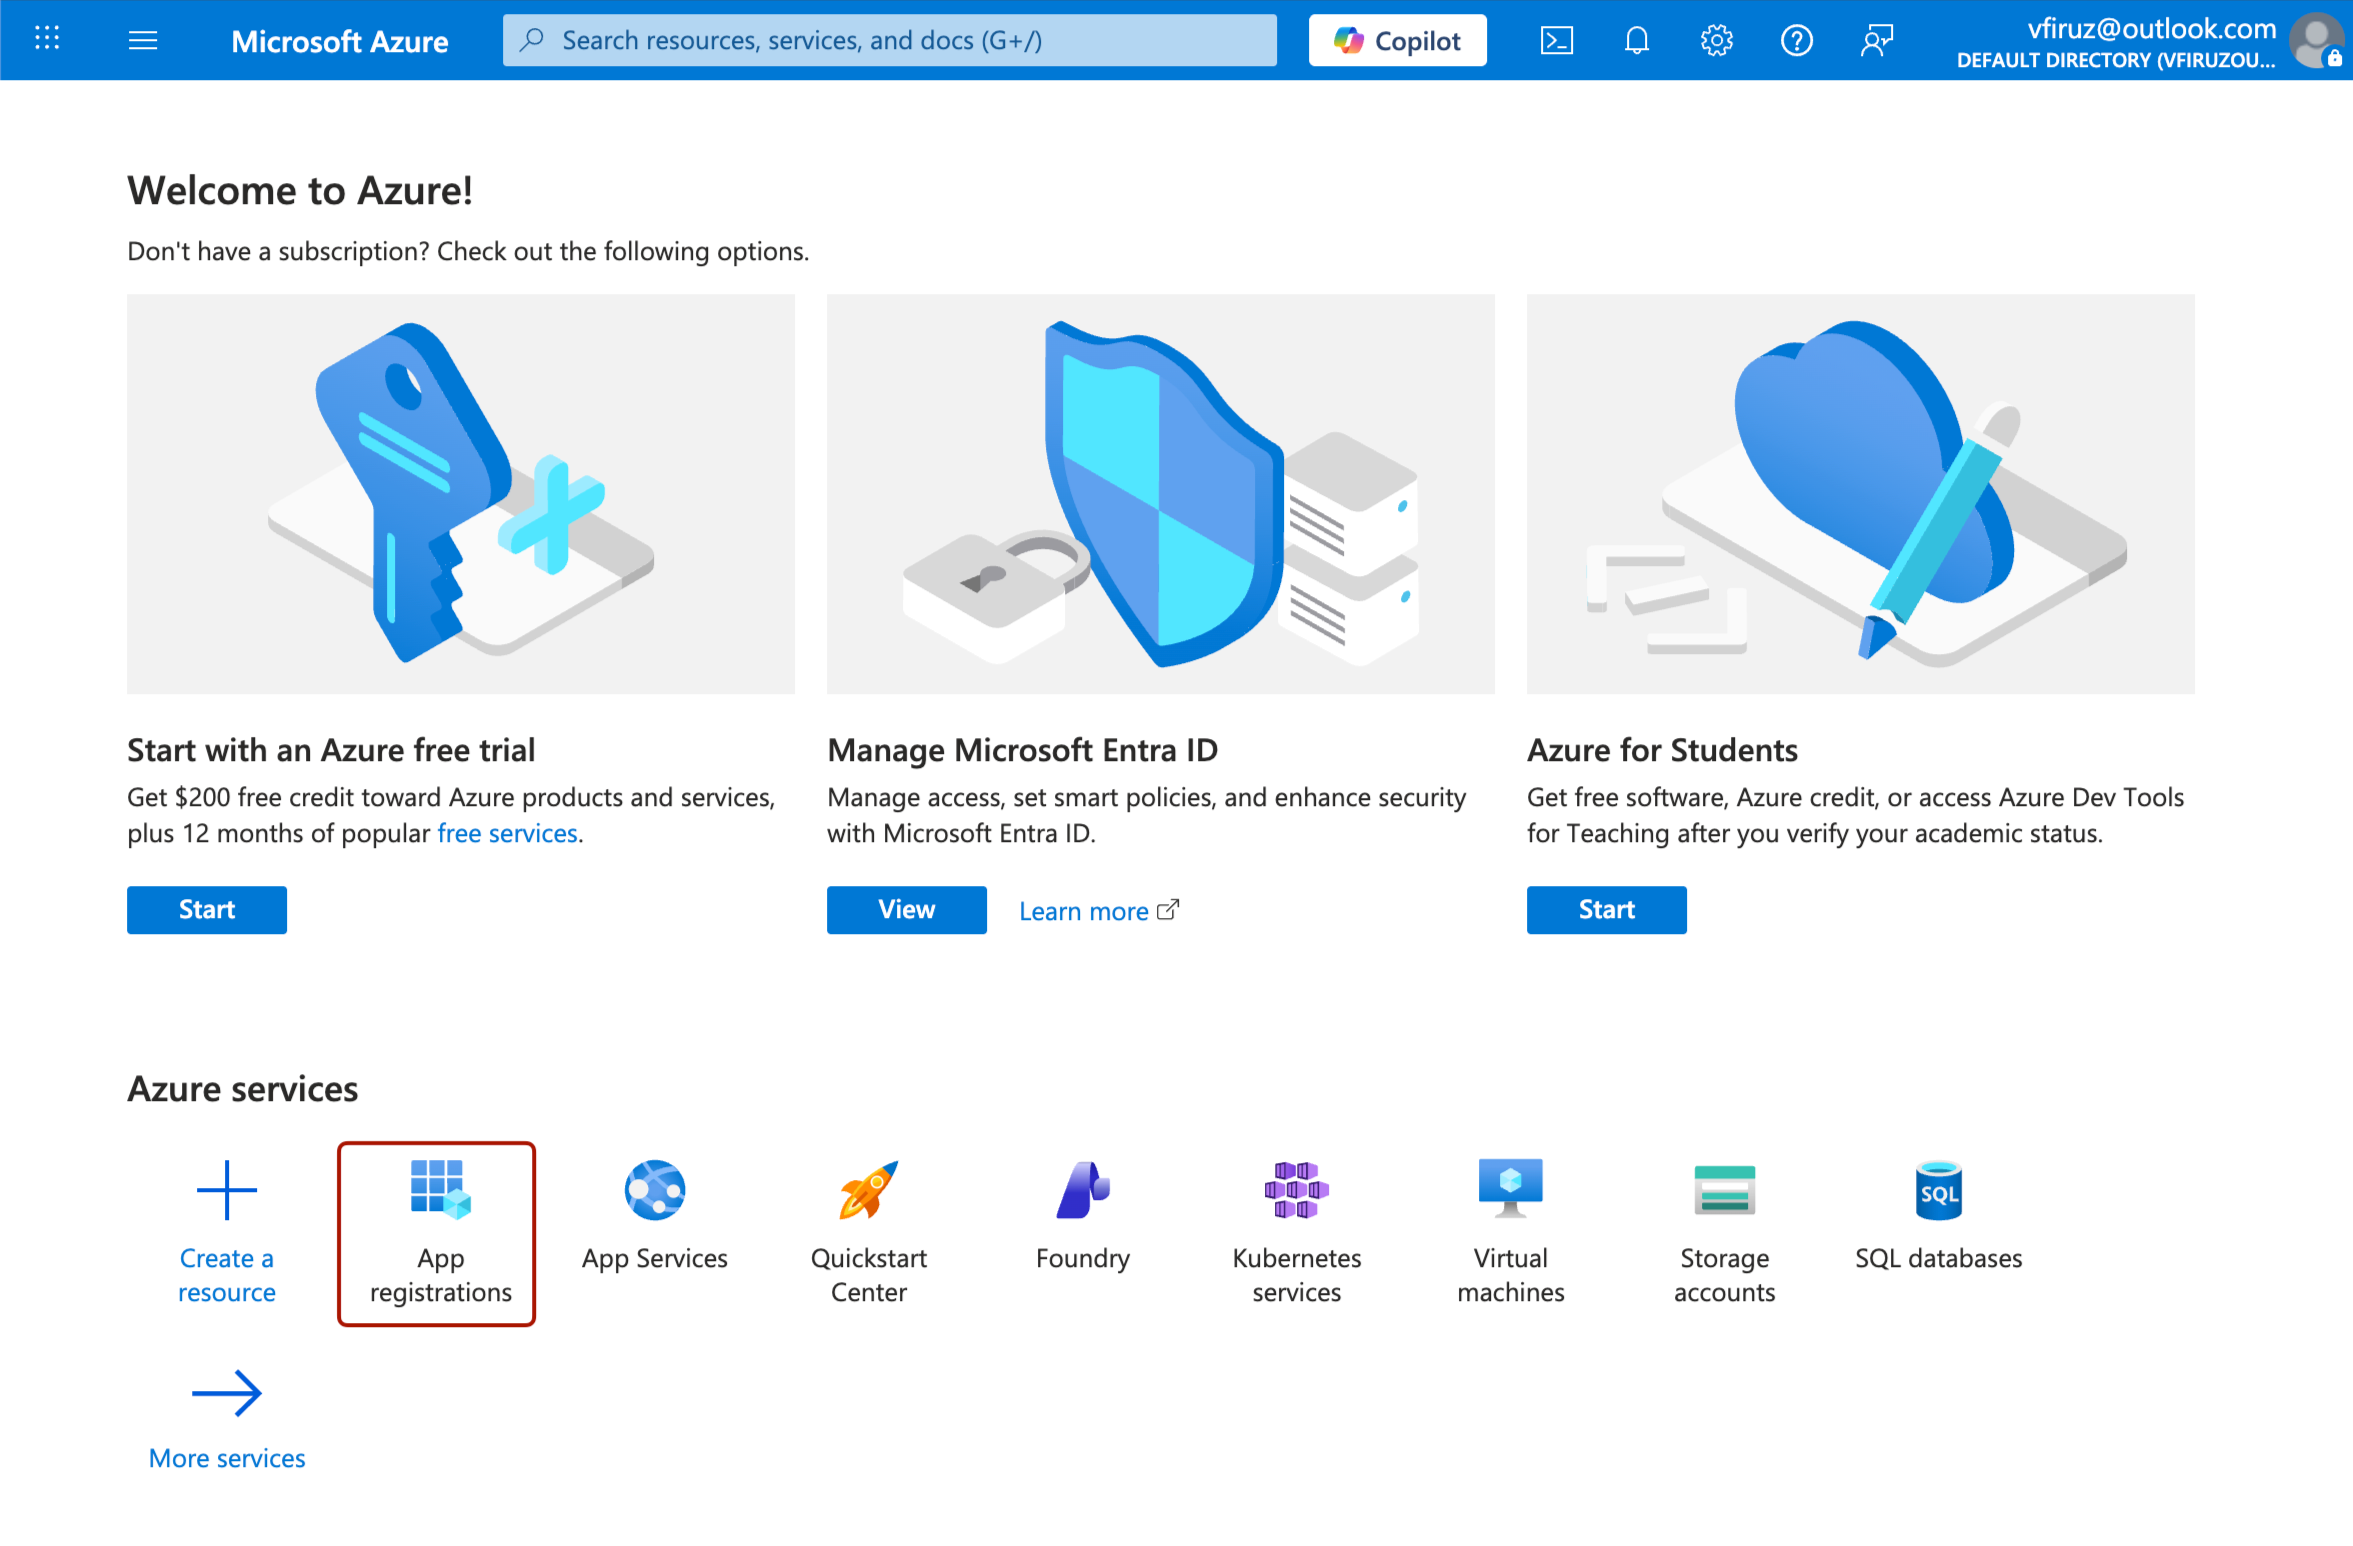
Go to Microsoft Azure Portal and log in with your Microsoft account.
-
Navigate to Microsoft Entra ID from the portal menu.
-
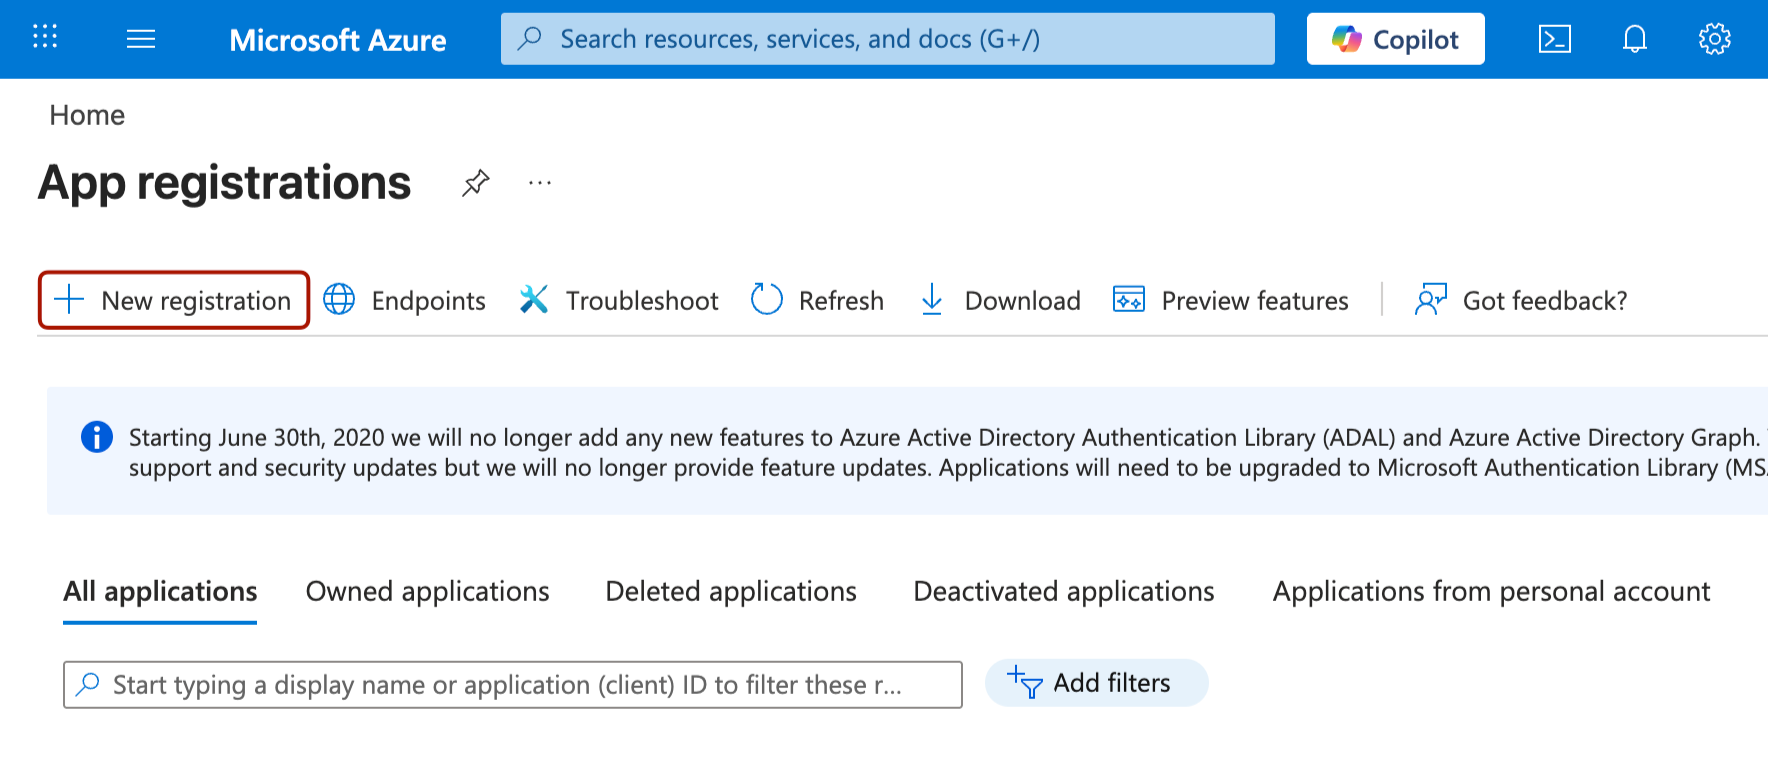
Go to App registrations and click New registration.
-
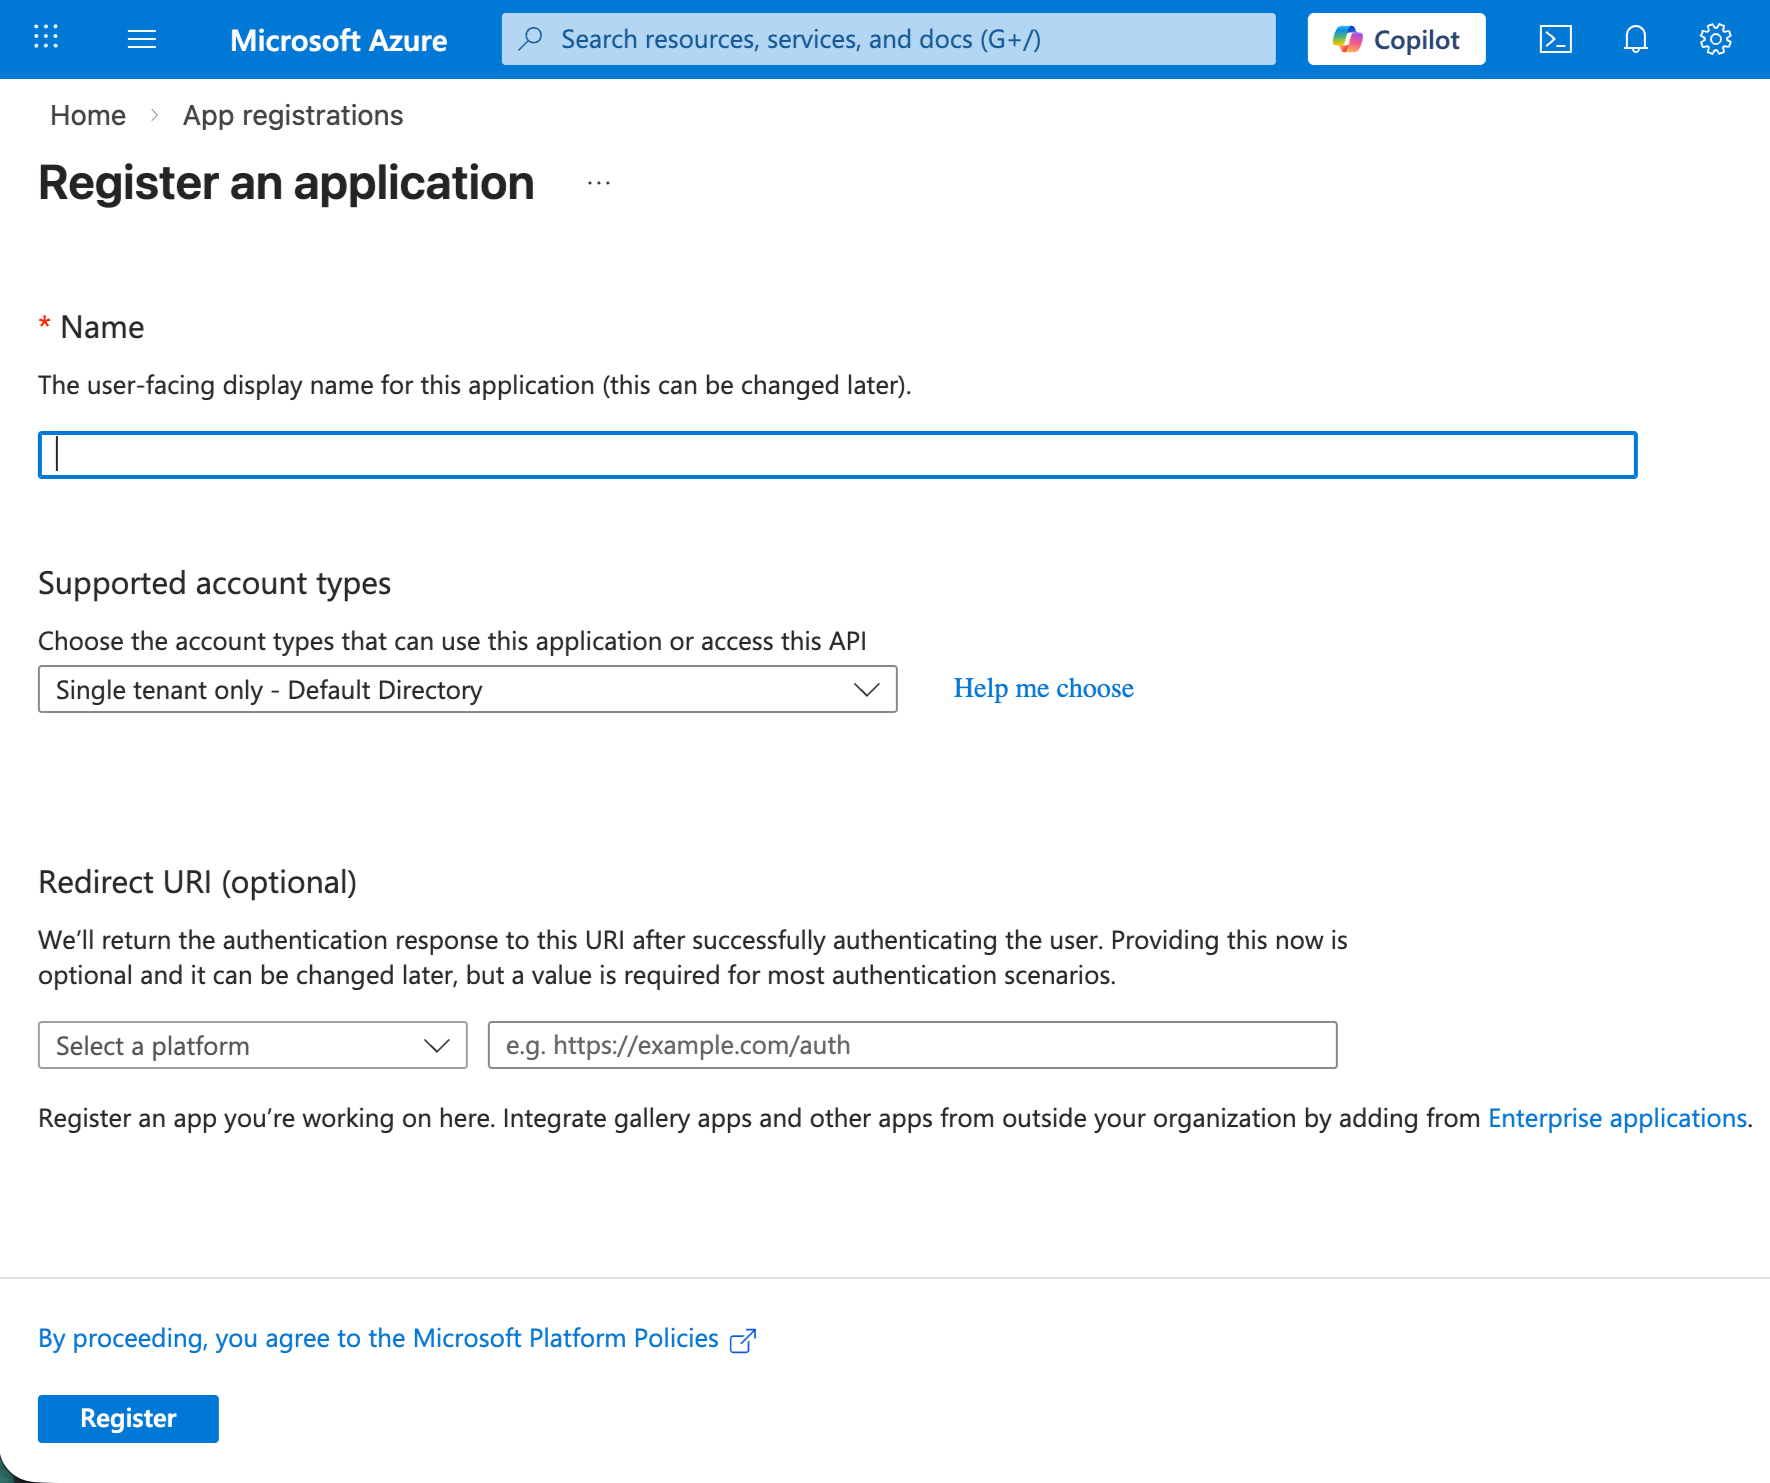
Fill in the required fields:
- Name: Enter a name for your application (e.g., "MyApp Authentication").
- Supported account types: Choose one of the following:
- Single tenant only - Default Directory
- Multiple Entra ID tenants
- Any Entra ID Tenant + Personal Microsoft accounts
- Personal accounts only
- Redirect URI (optional): Leave this blank for now. We'll add platform-specific URIs later.
-
Click Register to create your app.
Get app credentials
Get the client ID
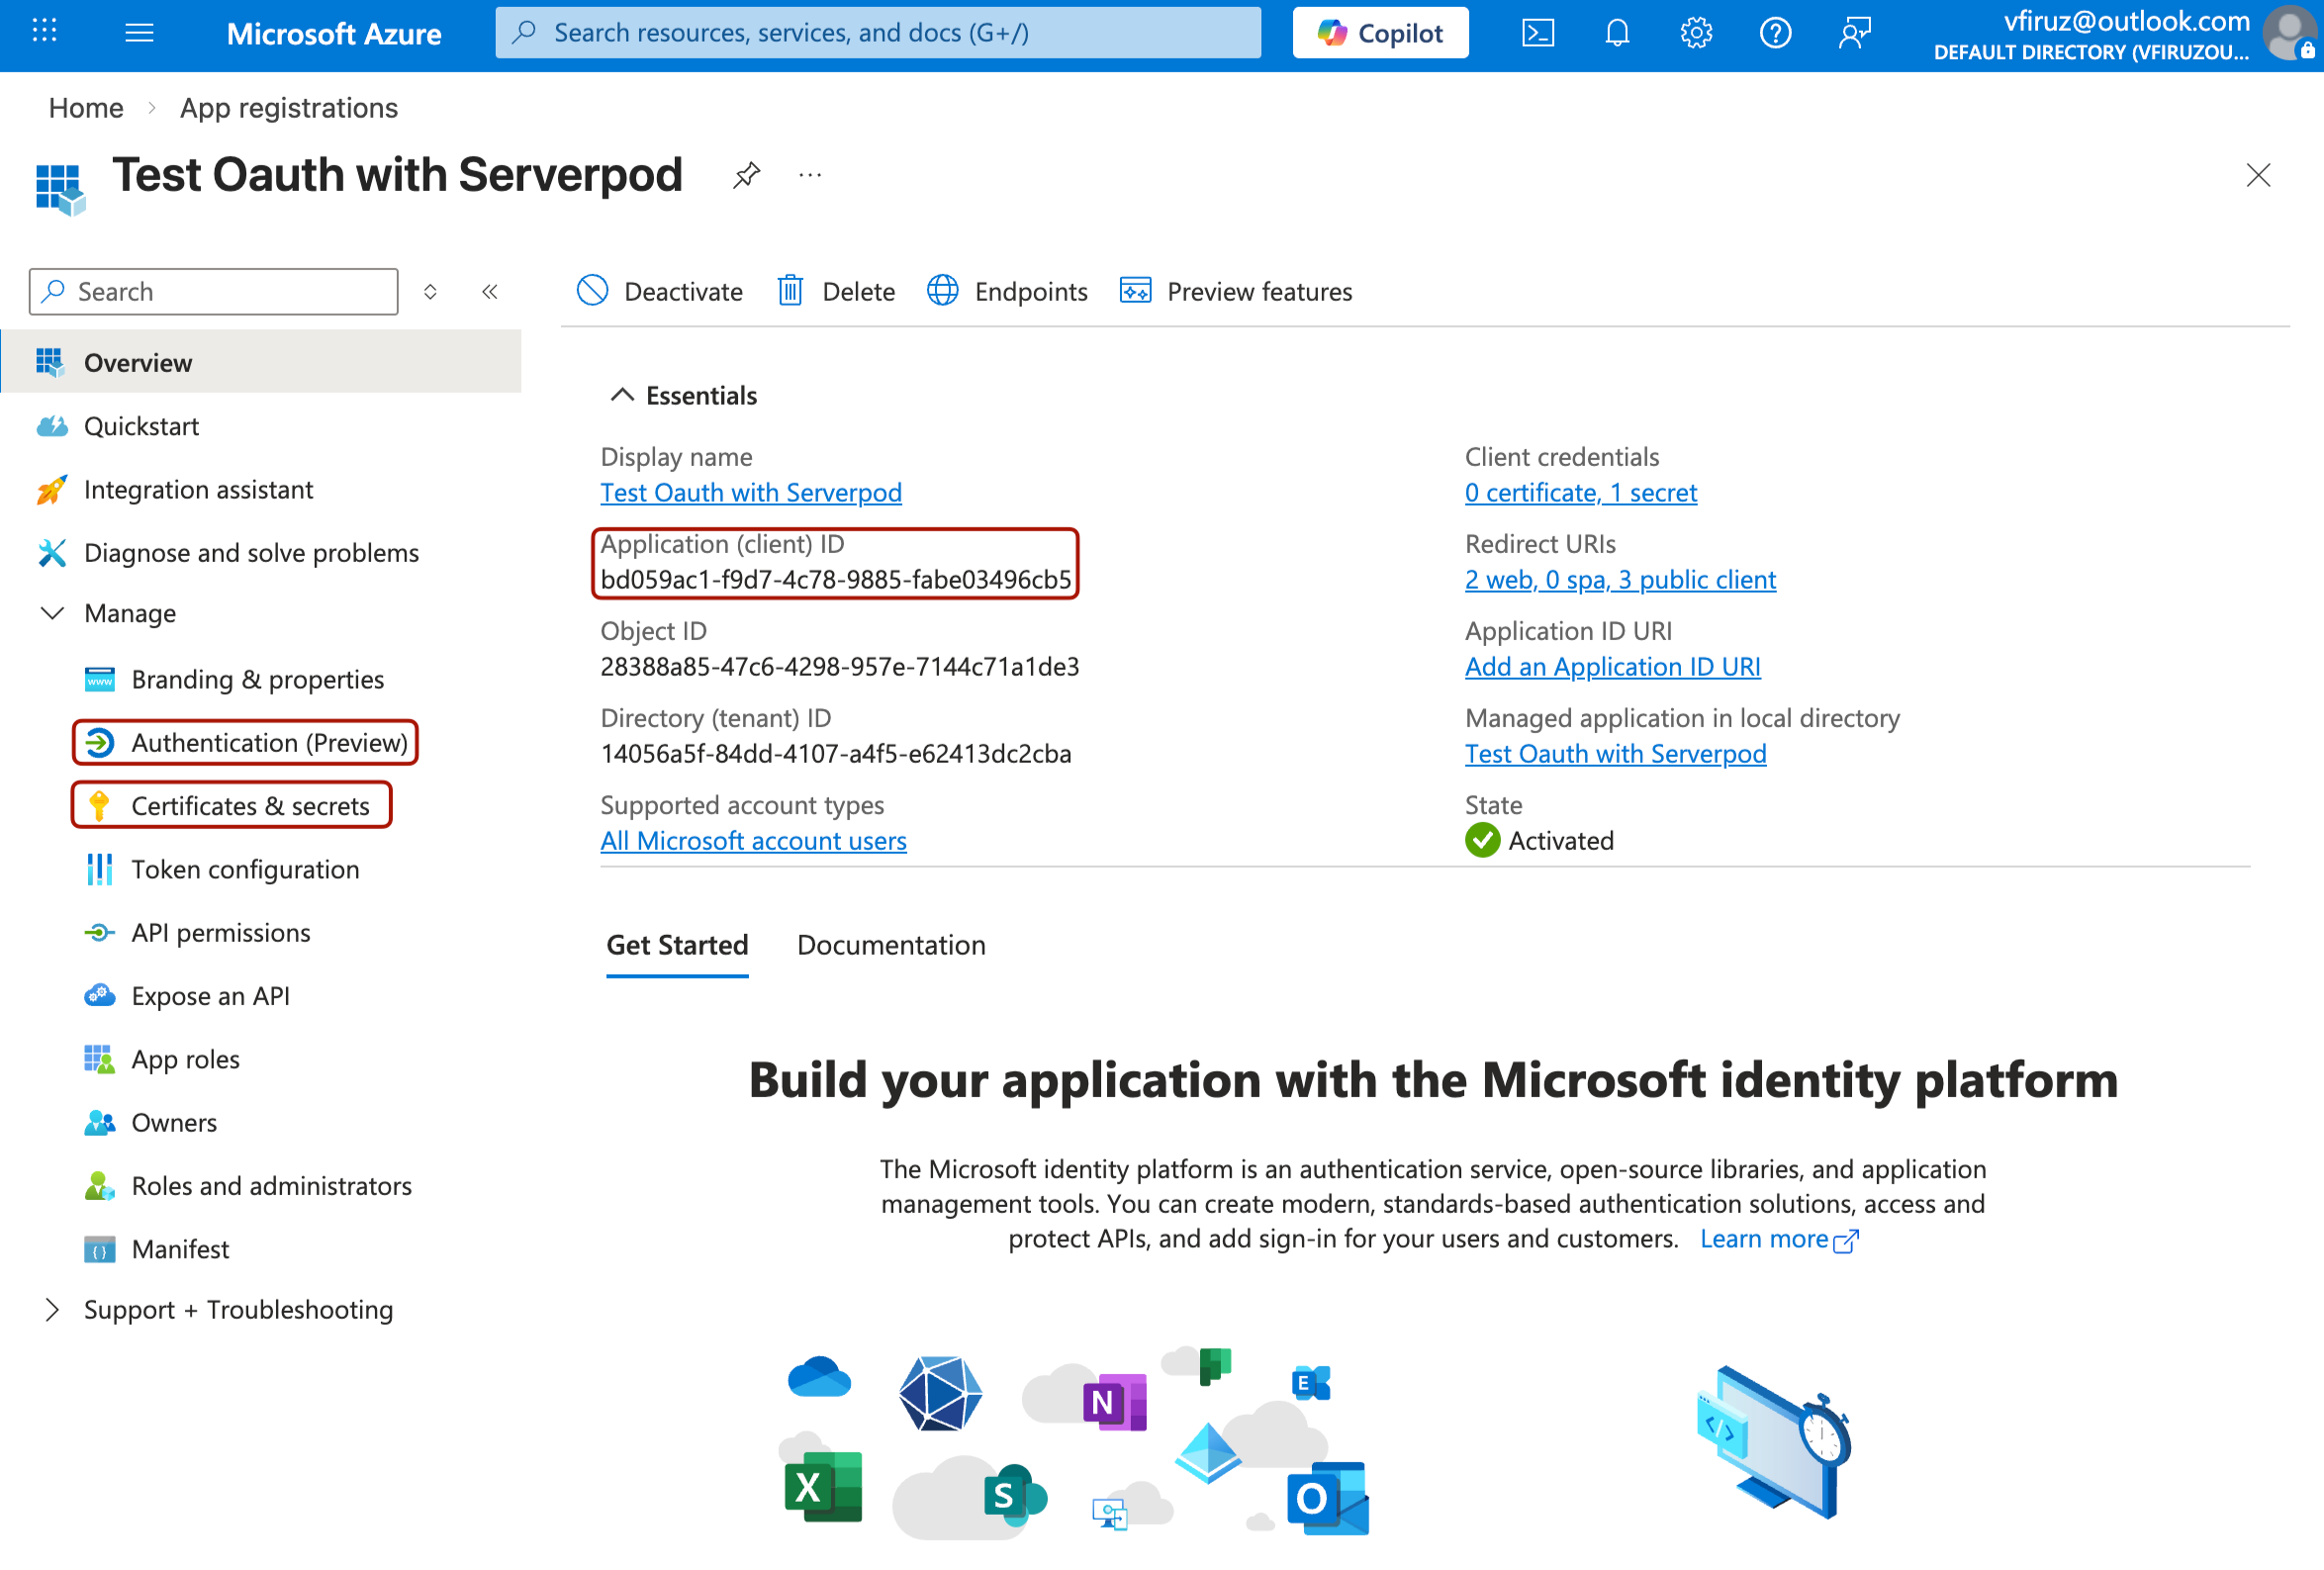
After registration, you'll be redirected to the app overview page where you can find your Application (client) ID. Copy this value - you'll need it for server configuration.
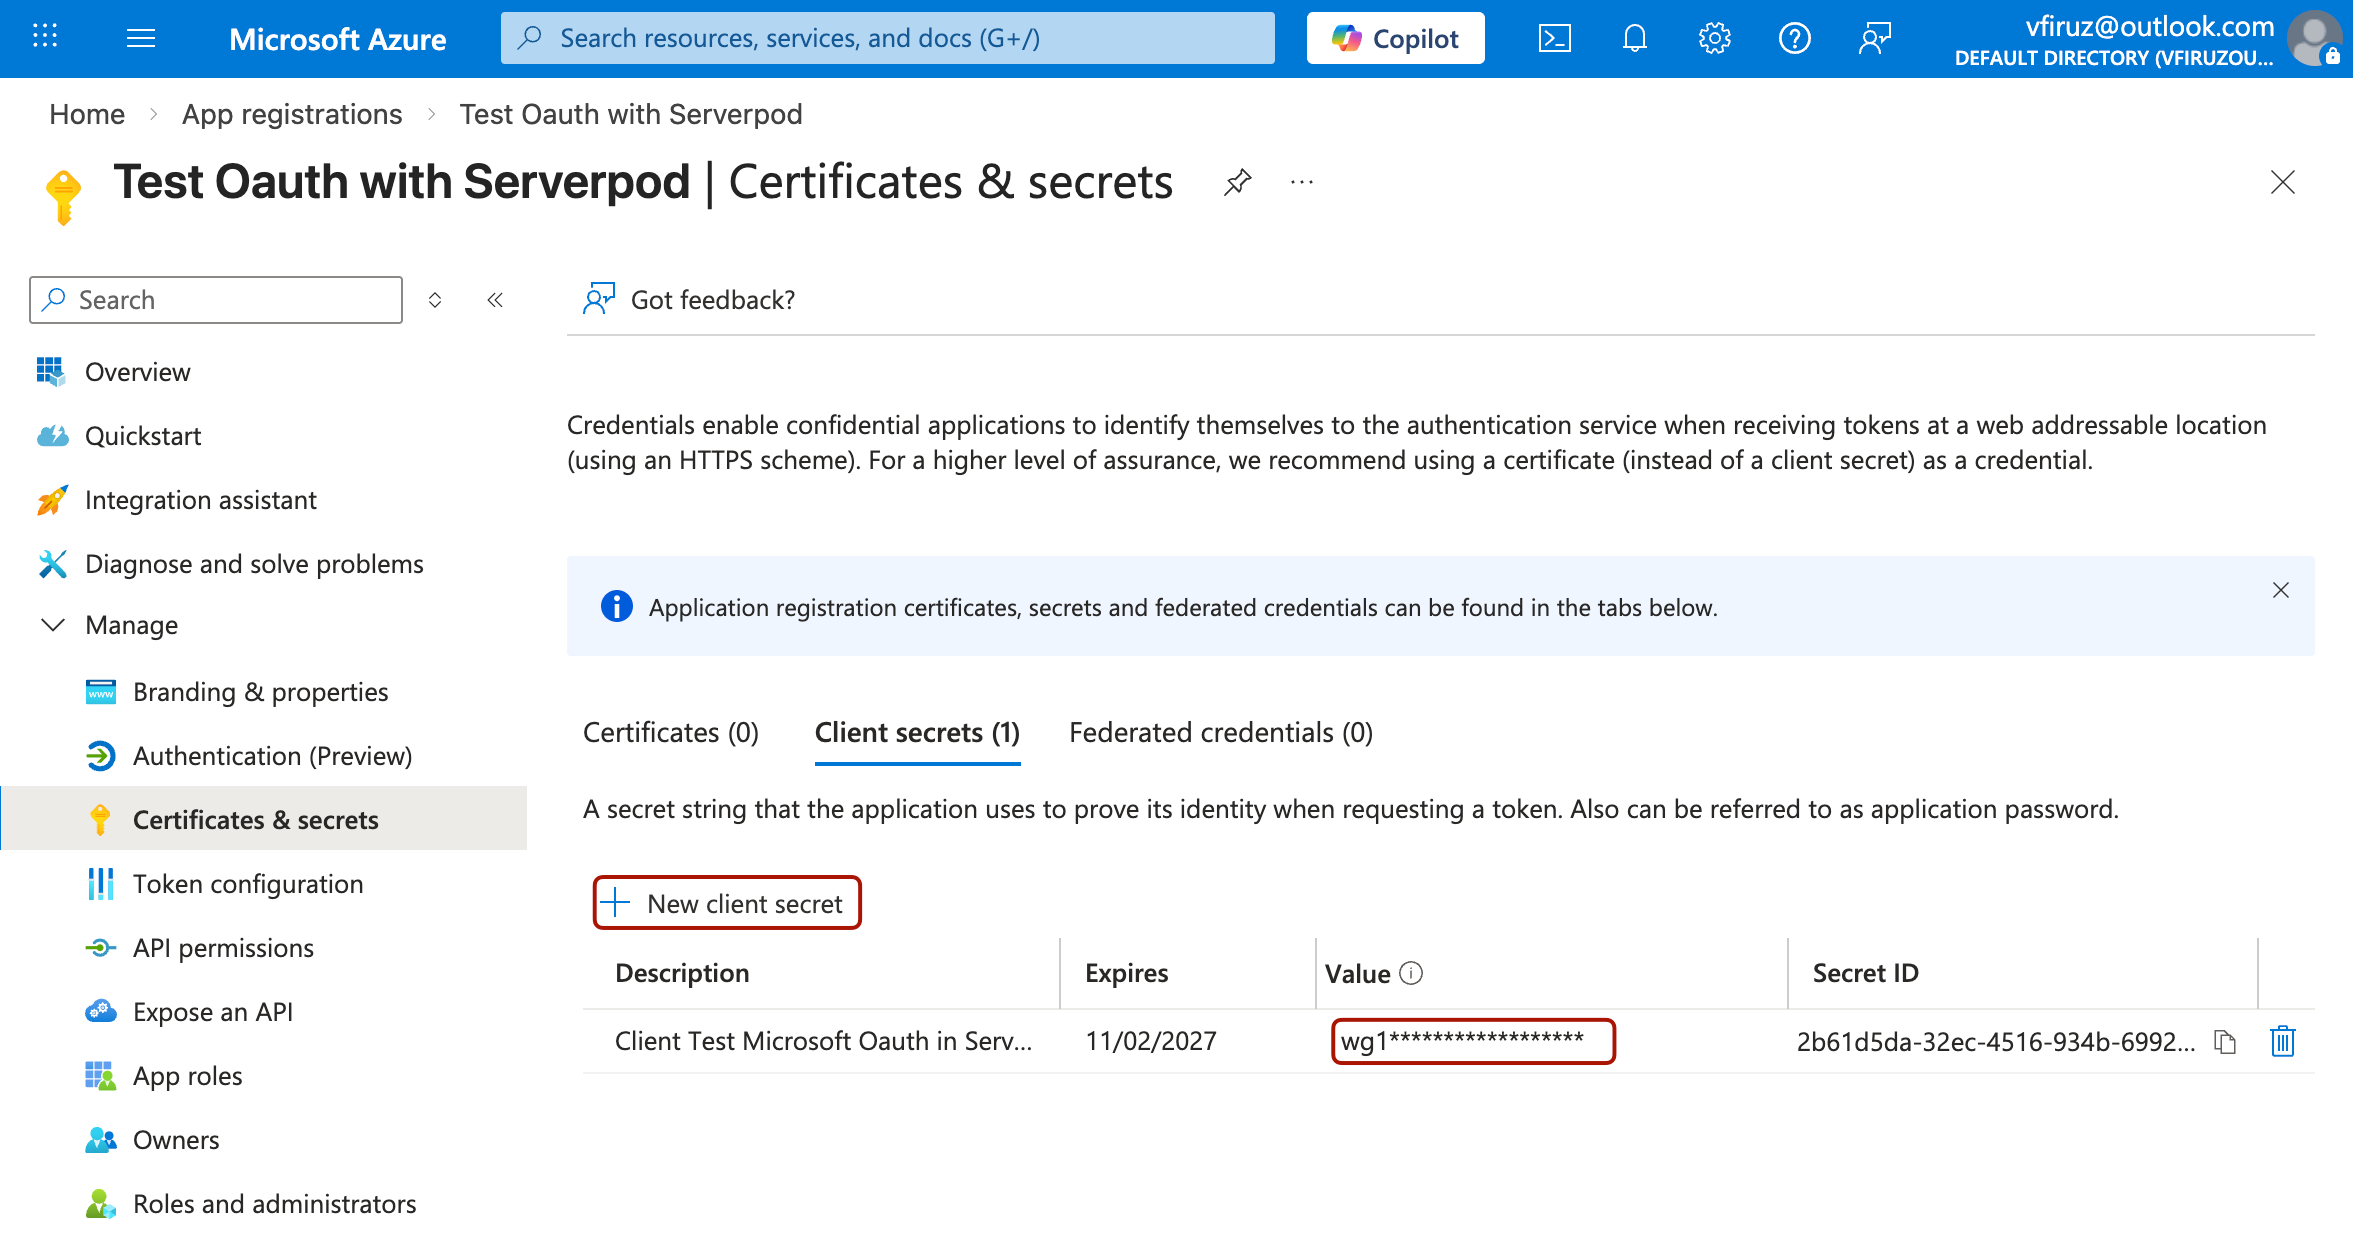
Create a client secret
-
In your app's menu, navigate to Certificates & secrets.
-
Under Client secrets, click New client secret.
-
Add a description (e.g., "Serverpod Authentication") and choose an expiration period.
-
Click Add and immediately copy the Value (not the Secret ID). This is your Client Secret.
The client secret value is only shown once. Store it securely immediately after creation. Never commit this value to version control.
Get the tenant ID (Optional)
If you're restricting authentication to a specific tenant, you'll need your Directory (tenant) ID, which is also shown on the app overview page. For most applications, you can use one of these common values:
common: Allows both personal Microsoft accounts and work/school accounts (default).organizations: Allows only work/school accounts.consumers: Allows only personal Microsoft accounts.
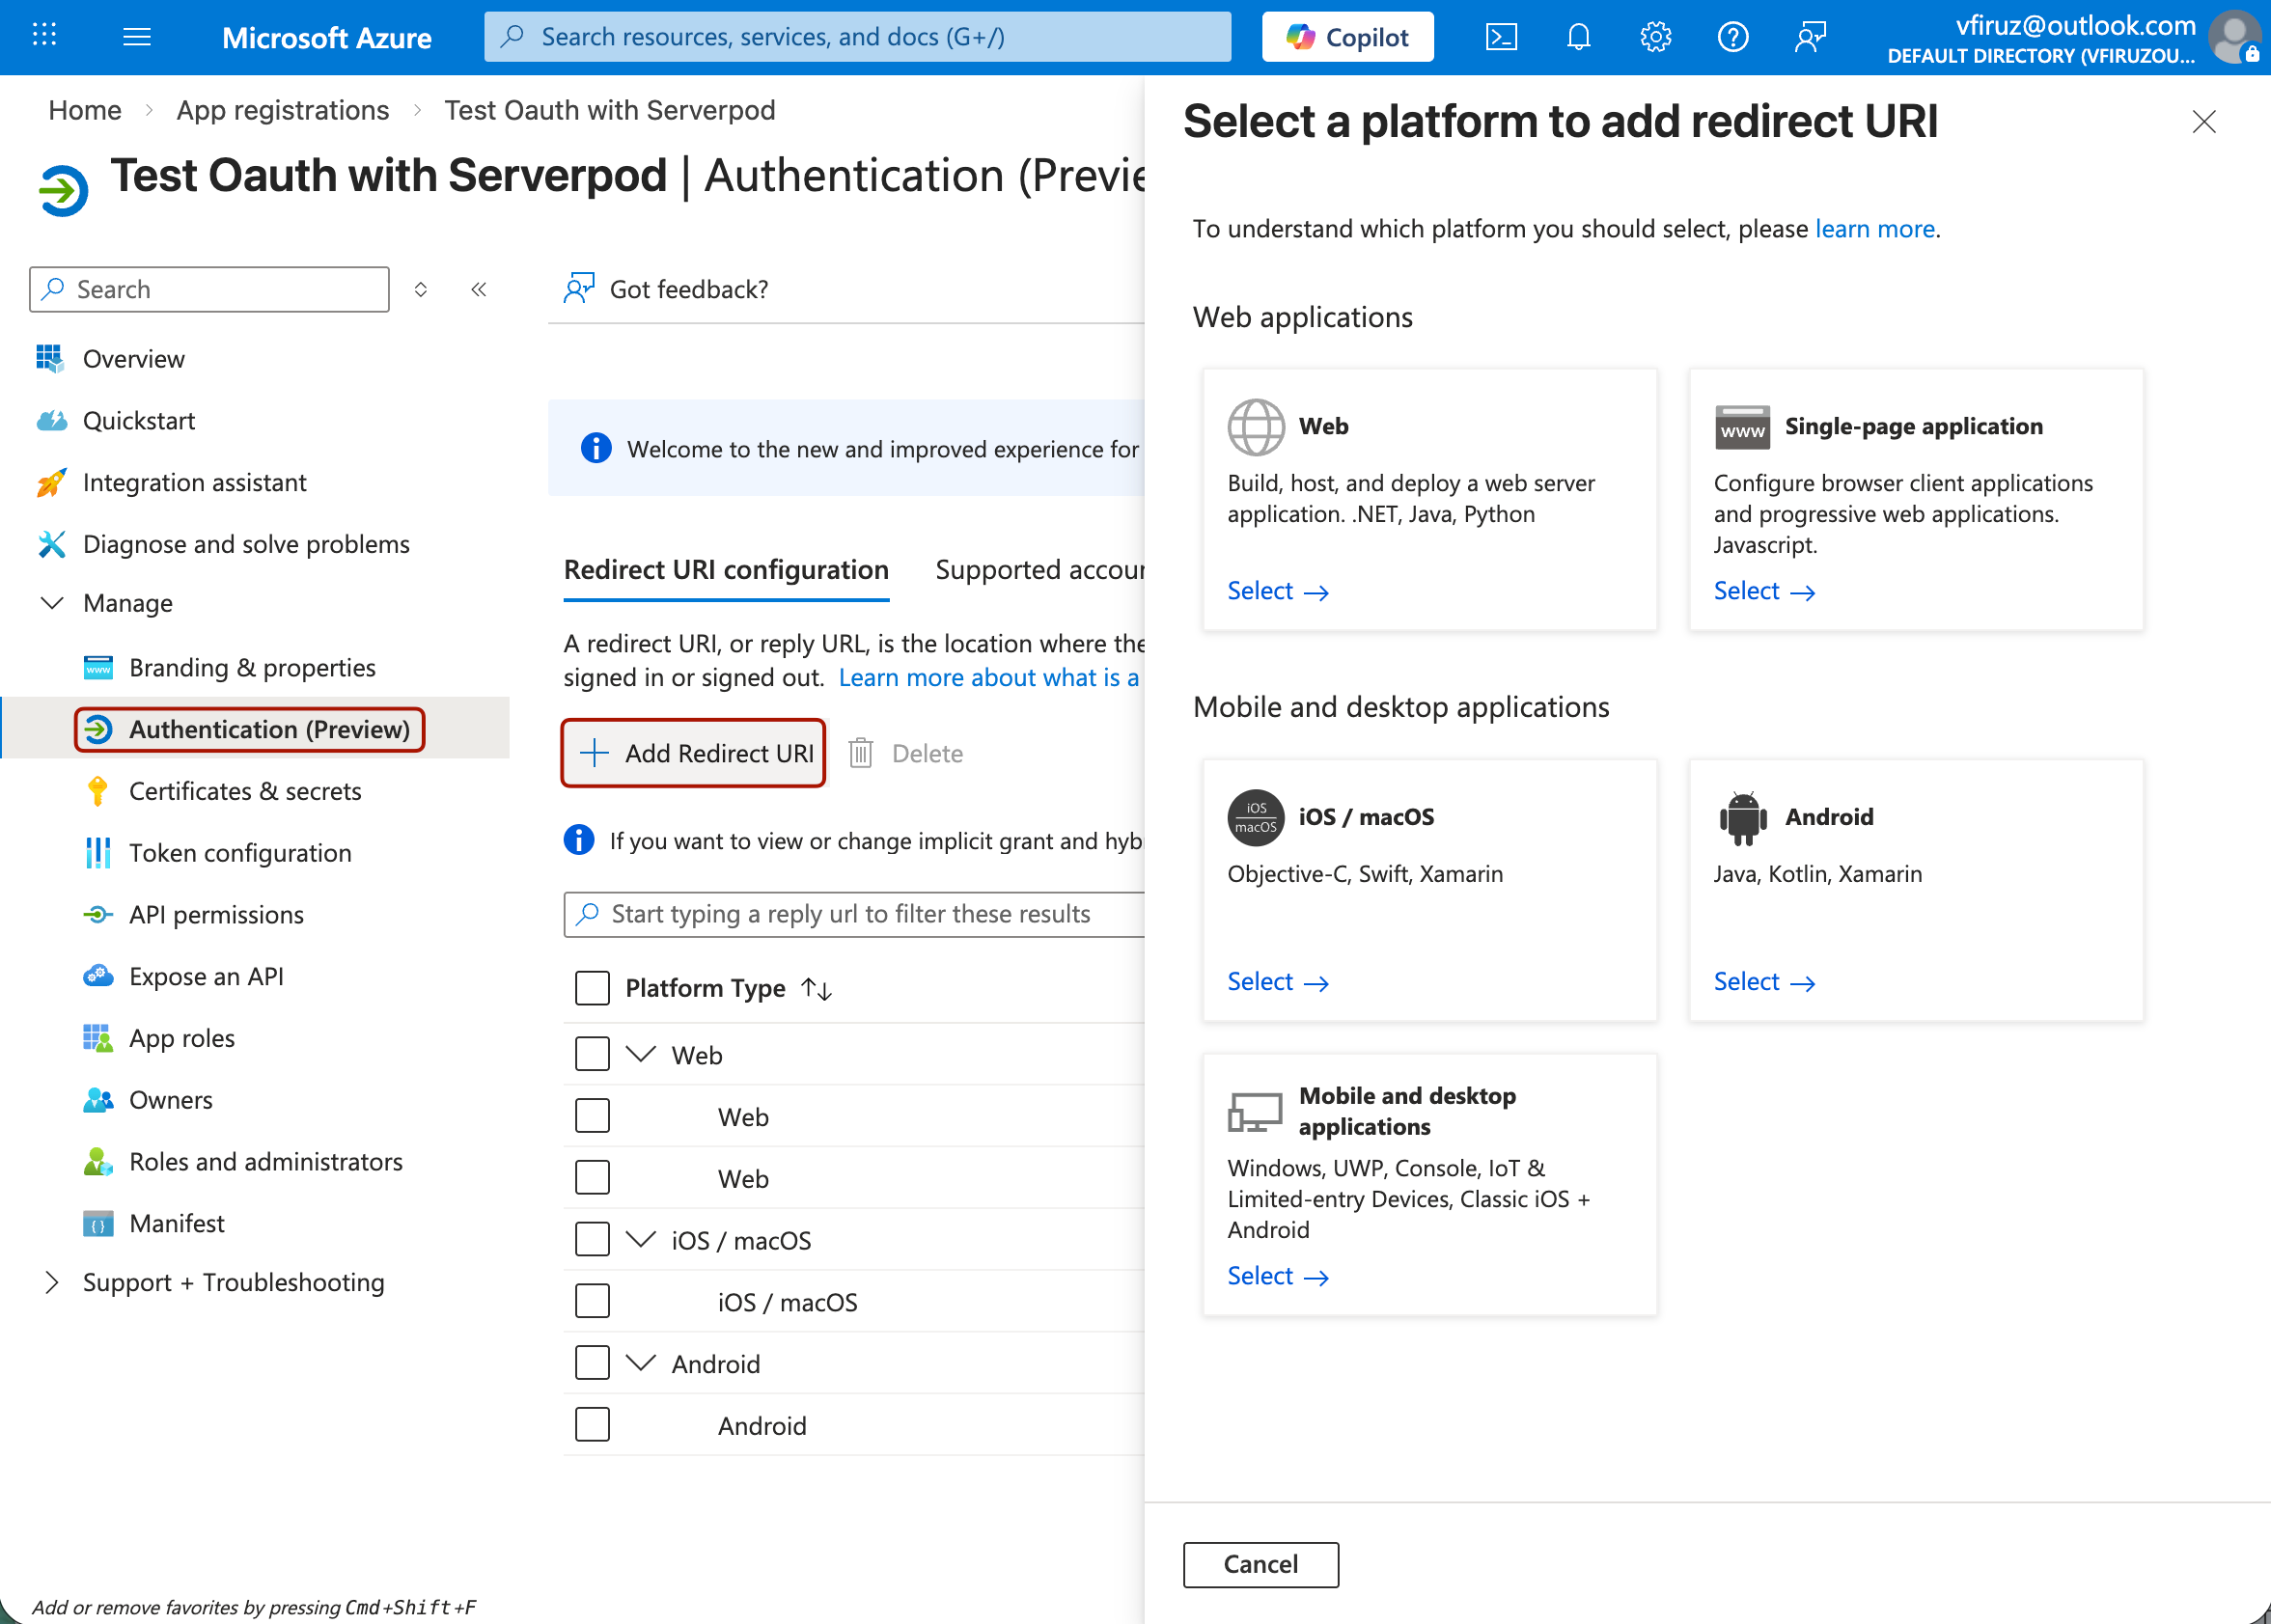
Configure redirect URIs
You need to configure redirect URIs for each platform you want to support.
-
In your app's menu, navigate to Authentication.
-
Click Add a platform to configure platform-specific settings.
Web
-
Select Web as the platform.
-
Add your redirect URI, typically in the format:
https://yourdomain.com/auth.html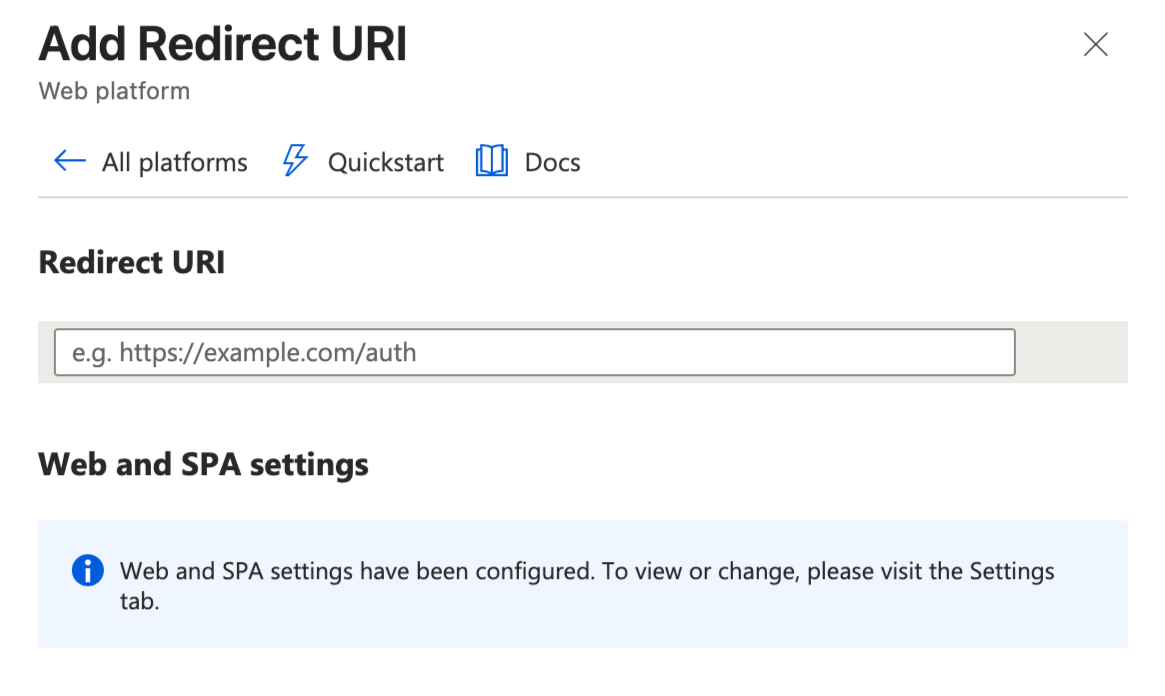
-
Click Configure.
iOS and macOS
-
Select iOS / macOS as the platform.
-
For the Bundle ID, enter your app's bundle identifier (e.g.,
com.yourcompany.yourapp).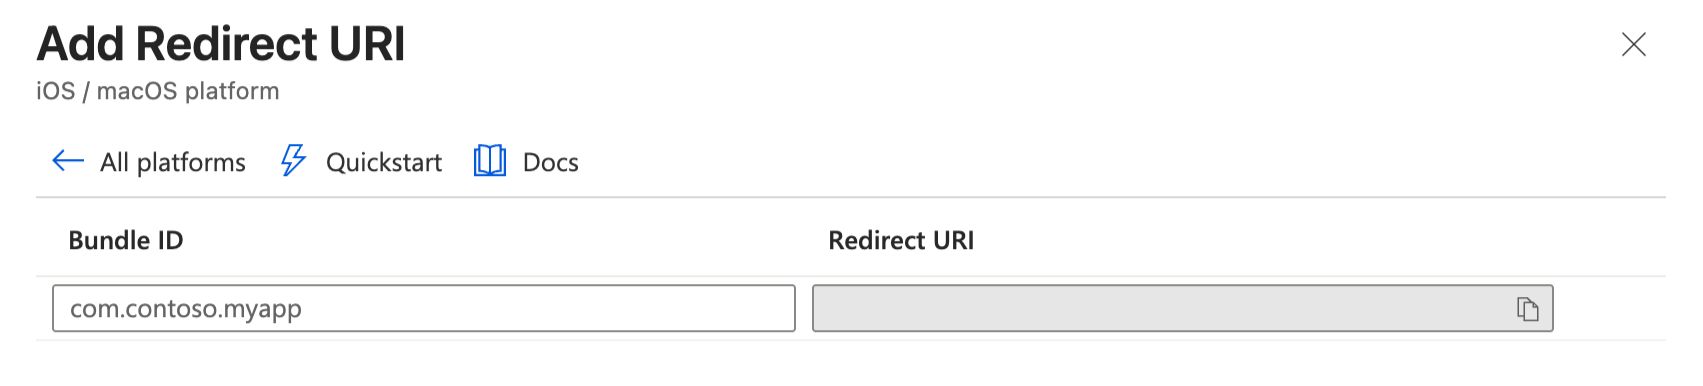
-
Click Configure.
For iOS/macOS, Microsoft will automatically generate the redirect URI based on your bundle ID. You can also add custom redirect URIs as needed.
Android
-
Select Android as the platform.
-
Enter your Package name (e.g.,
com.yourcompany.yourapp). -
Enter your Signature hash. You can get this by running:
keytool -exportcert -alias SIGNATURE_ALIAS -keystore PATH_TO_KEYSTORE | openssl sha1 -binary | openssl base64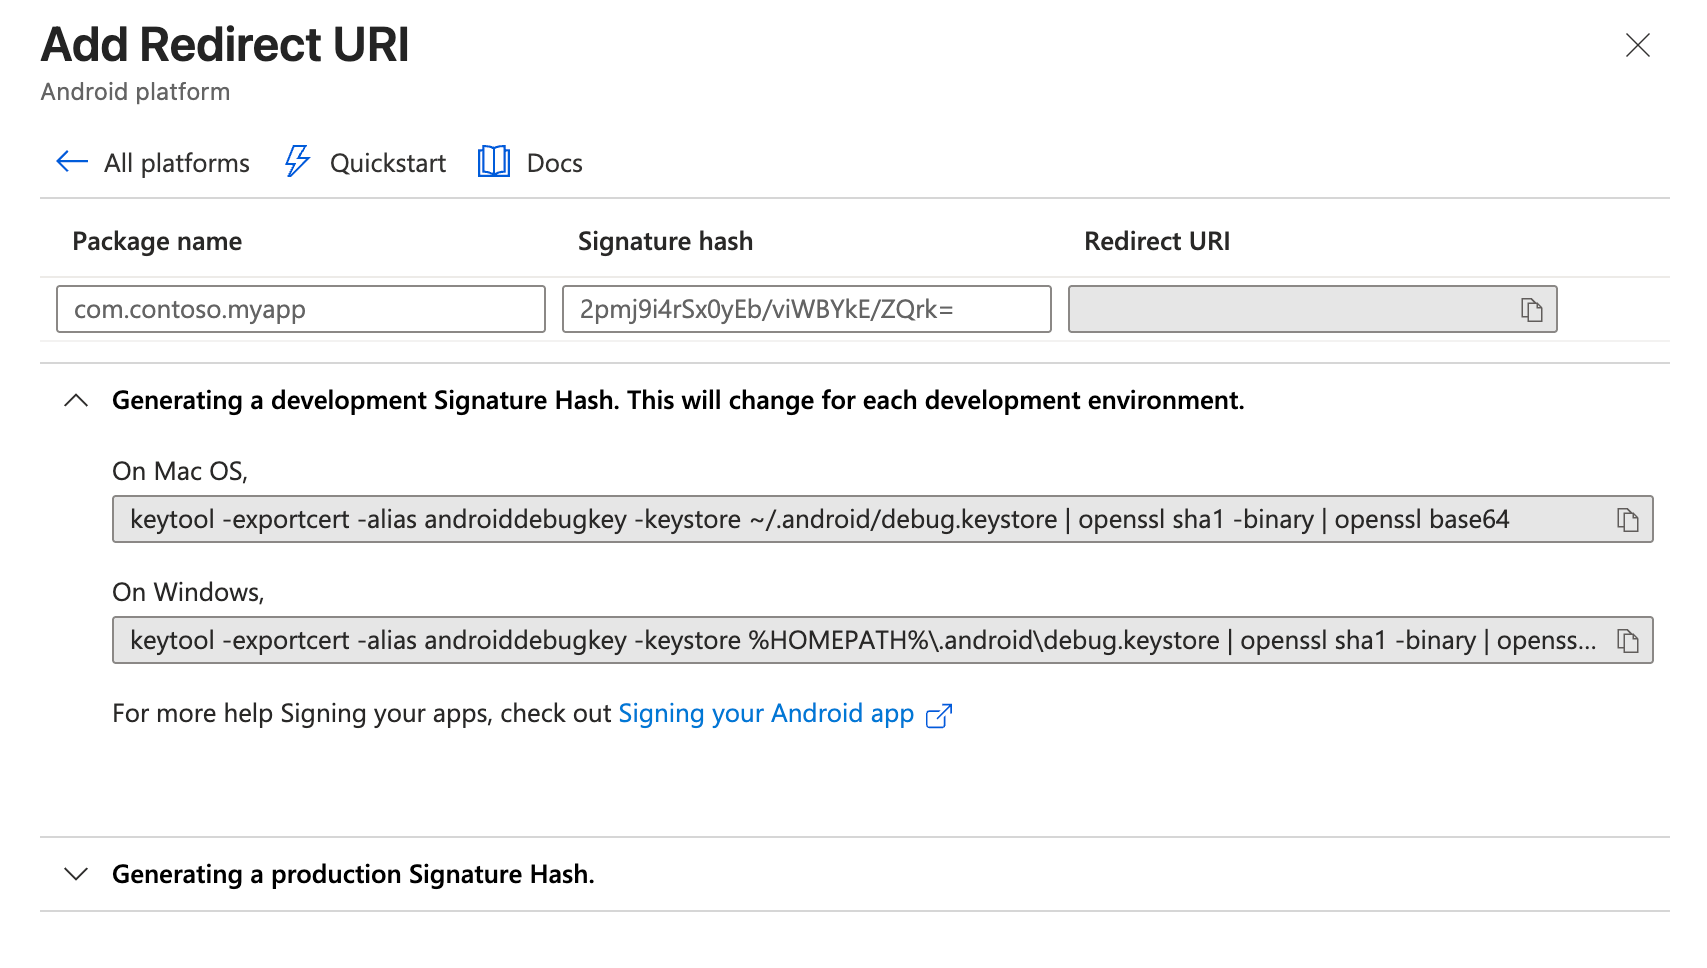
-
Click Configure.
For development, use your debug keystore signature hash. For production builds, use your release keystore signature hash. You can add both to Microsoft Entra ID during setup.
Server-side configuration
Store the credentials
Add your Microsoft credentials to the config/passwords.yaml file, or set them as environment variables SERVERPOD_PASSWORD_microsoftClientId, SERVERPOD_PASSWORD_microsoftClientSecret, and SERVERPOD_PASSWORD_microsoftTenant.
development:
  microsoftClientId: 'YOUR_MICROSOFT_CLIENT_ID'
  microsoftClientSecret: 'YOUR_MICROSOFT_CLIENT_SECRET'
  microsoftTenant: 'common' # or 'organizations', 'consumers', or your specific tenant ID
Keep your Client Secret confidential. Never commit this value to version control. Store it securely using environment variables or secret management.
Configure the Microsoft Identity Provider
In your main server.dart file, configure the Microsoft identity provider:
import 'package:serverpod/serverpod.dart';
import 'package:serverpod_auth_idp_server/core.dart';
import 'package:serverpod_auth_idp_server/providers/microsoft.dart';

void run(List<String> args) async {
  final pod = Serverpod(
    args,
    Protocol(),
    Endpoints(),
  );

  pod.initializeAuthServices(
    tokenManagerBuilders: [
      JwtConfigFromPasswords(),
    ],
    identityProviderBuilders: [
      MicrosoftIdpConfig(
        clientId: pod.getPassword('microsoftClientId')!,
        clientSecret: pod.getPassword('microsoftClientSecret')!,
        tenant: pod.getPassword('microsoftTenant') ?? 'common',
      ),
    ],
  );

  await pod.start();
}
You can use MicrosoftIdpConfigFromPasswords() to automatically load credentials from config/passwords.yaml or the SERVERPOD_PASSWORD_microsoftClientId, SERVERPOD_PASSWORD_microsoftClientSecret, and SERVERPOD_PASSWORD_microsoftTenant environment variables:
identityProviderBuilders: [
  MicrosoftIdpConfigFromPasswords(),
],
Expose the endpoint
Create an endpoint that extends MicrosoftIdpBaseEndpoint to expose the Microsoft authentication API:
import 'package:serverpod_auth_idp_server/providers/microsoft.dart';

class MicrosoftIdpEndpoint extends MicrosoftIdpBaseEndpoint {}
Generate and migrate
Finally, start the server with serverpod start to generate the client code, then create and apply the migration that initializes the database for the provider (in the serverpod start terminal, press M, then A). More detailed instructions can be found in the general identity providers setup section.
Basic configuration options
clientId: Required. The Application (client) ID of your Microsoft Entra ID app.clientSecret: Required. The Client Secret generated for your Microsoft Entra ID app.tenant: Optional. Defaults to'common'. Can be'common','organizations','consumers', or a specific tenant ID.
For more details on configuration options, see the configuration section.
Client-side configuration
Add the serverpod_auth_idp_flutter package to your Flutter app. The Microsoft provider uses flutter_web_auth_2 to handle the OAuth2 flow, so any documentation there should also apply to this setup.
iOS and macOS
There is no special configuration needed for iOS and macOS for "normal" authentication flows. However, if you are using Universal Links on iOS, they require redirect URIs to use https. Follow the instructions in the flutter_web_auth_2 documentation.
Android
In order to capture the callback URL, add the following activity to your AndroidManifest.xml. Replace YOUR_CALLBACK_URL_SCHEME_HERE and YOUR_CALLBACK_URL_HOST_HERE with your actual callback URL scheme and host registered in your Microsoft Entra ID app.
<manifest>
    <application>

        <activity
            android:name="com.linusu.flutter_web_auth_2.CallbackActivity"
            android:exported="true"
            android:taskAffinity="">
            <intent-filter android:label="Microsoft Authentication">
                <action android:name="android.intent.action.VIEW" />
                <category android:name="android.intent.category.DEFAULT" />
                <category android:name="android.intent.category.BROWSABLE" />
                <data
                        android:scheme="YOUR_CALLBACK_URL_SCHEME_HERE"
                        android:host="YOUR_CALLBACK_URL_HOST_HERE" />
            </intent-filter>
        </activity>

    </application>
</manifest>
Web
On the web, you need a specific endpoint to capture the OAuth2 callback. To set this up, create an HTML file (e.g., auth.html) inside your project's ./web folder and add the following content:
<!DOCTYPE html>
<title>Authentication complete</title>
<p>Authentication is complete. If this does not happen automatically, please close the window.</p>
<script>
  function postAuthenticationMessage() {
    const message = {
      'flutter-web-auth-2': window.location.href
    };

    if (window.opener) {
      window.opener.postMessage(message, window.location.origin);
      window.close();
    } else if (window.parent && window.parent !== window) {
      window.parent.postMessage(message, window.location.origin);
    } else {
      localStorage.setItem('flutter-web-auth-2', window.location.href);
      window.close();
    }
  }

  postAuthenticationMessage();
</script>
You only need a single callback file (e.g. auth.html) in your ./web folder.
This file is shared across all IDPs that use the OAuth2 utility, as long as your redirect URIs point to it.
Present the authentication UI
Initializing the MicrosoftSignInService
Before presenting any sign-in UI, initialize the Microsoft Sign-In service. This step is necessary to configure the service with your Microsoft app credentials.
await client.auth.initializeMicrosoftSignIn(
  clientId: 'YOUR_MICROSOFT_CLIENT_ID',
  redirectUri: 'YOUR_REGISTERED_REDIRECT_URI',
);
For more information on configuration options and environment variables, see the configuration section.
Using the MicrosoftSignInWidget
If you have configured the SignInWidget as described in the setup section, the Microsoft identity provider will be automatically detected and displayed in the sign-in widget.
You can also use the MicrosoftSignInWidget to include the Microsoft authentication flow in your own custom UI.
import 'package:serverpod_auth_idp_flutter/serverpod_auth_idp_flutter.dart';

MicrosoftSignInWidget(
  client: client,
  onAuthenticated: () {
    // Do something when the user is authenticated.
    //
    // NOTE: You should not navigate to the home screen here, otherwise
    // the user will have to sign in again every time they open the app.
  },
  onError: (error) {
    // Handle errors
    ScaffoldMessenger.of(context).showSnackBar(
      SnackBar(content: Text('Error: $error')),
    );
  },
)
The widget automatically handles:
- Microsoft Sign-In flow for iOS, Android, Web, and macOS.
- OAuth2 authentication flow.
- Token management.
- Underlying OAuth2 package error handling.
For details on how to customize the Microsoft Sign-In UI in your Flutter app, see the customizing the UI section.