Set up Firebase authentication
Firebase authentication lets you use any Firebase sign-in method (email/password, phone, Google, Apple, Facebook, etc.) with your Serverpod backend. Firebase handles the sign-in flow through its own SDKs, while Serverpod syncs the authenticated user and manages the server-side session.
Prerequisites
Before you start, make sure you have:
- A Serverpod project with the new auth module installed. New projects created with
serverpod create(Serverpod 3.4 and later) include it by default. If you are upgrading an older project, follow the auth module setup guide first. - A Google account with access to the Firebase Console.
- The Firebase CLI installed and the FlutterFire CLI activated (
dart pub global activate flutterfire_cli). You will use both later in the guide.
Get your credentials
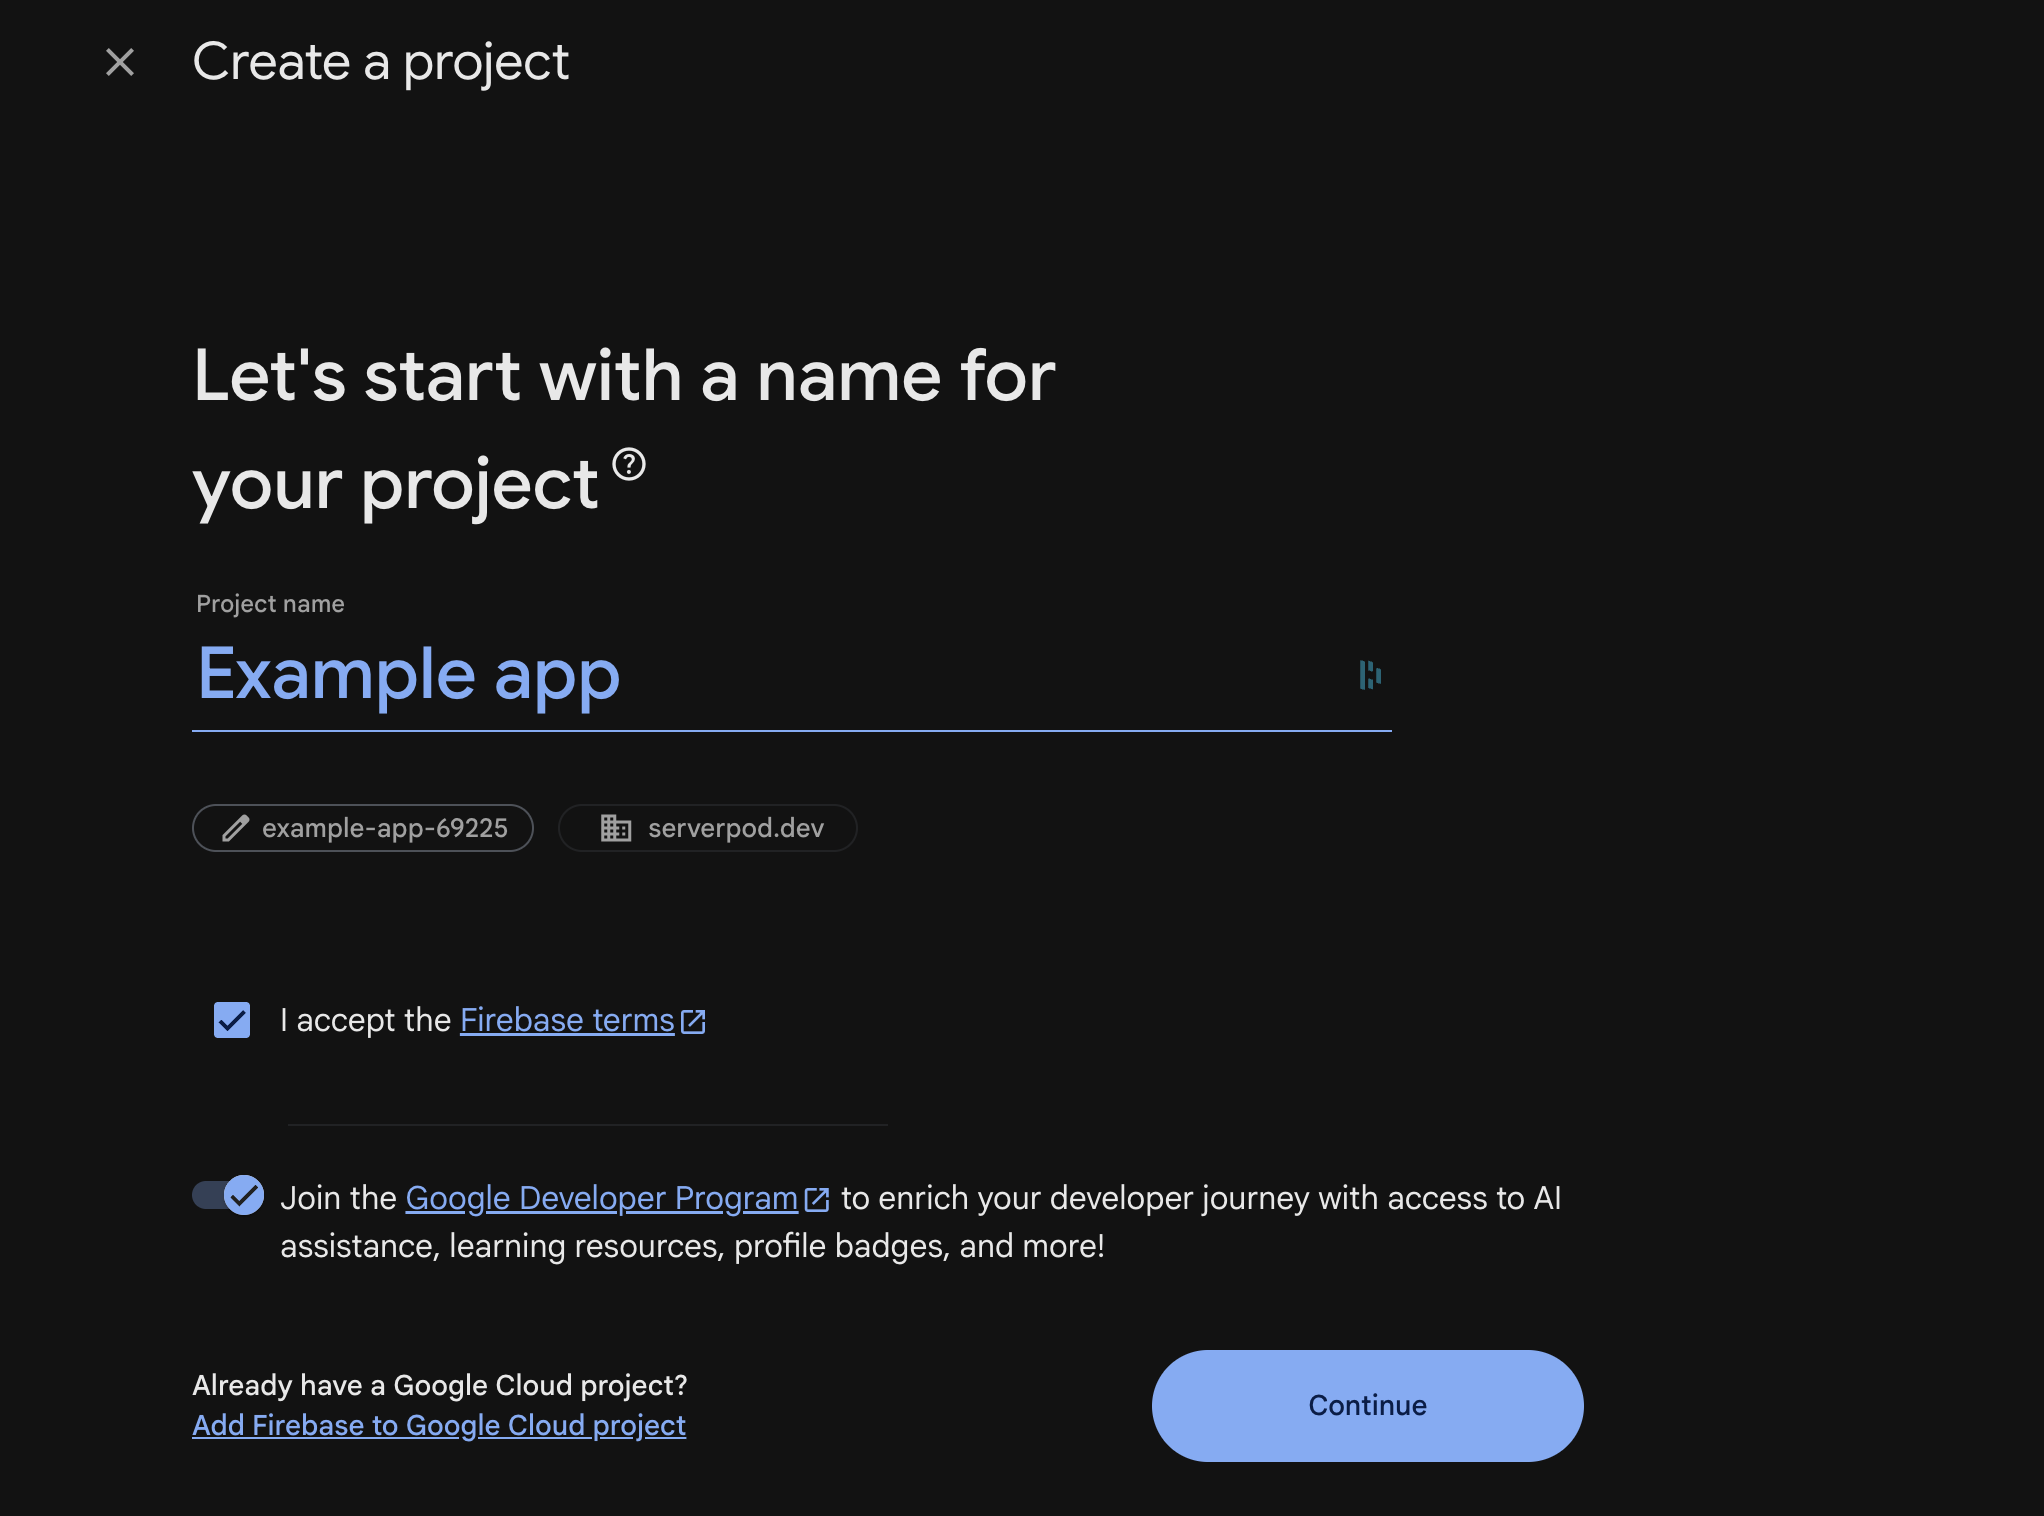
Create a Firebase project
-
Go to the Firebase Console and click Create a project (or Add project if you already have projects).
-
Enter a project name, accept the terms, select a parent resource if needed, and click Continue.
-
Follow the remaining prompts (Google Analytics is optional) and click Create project.
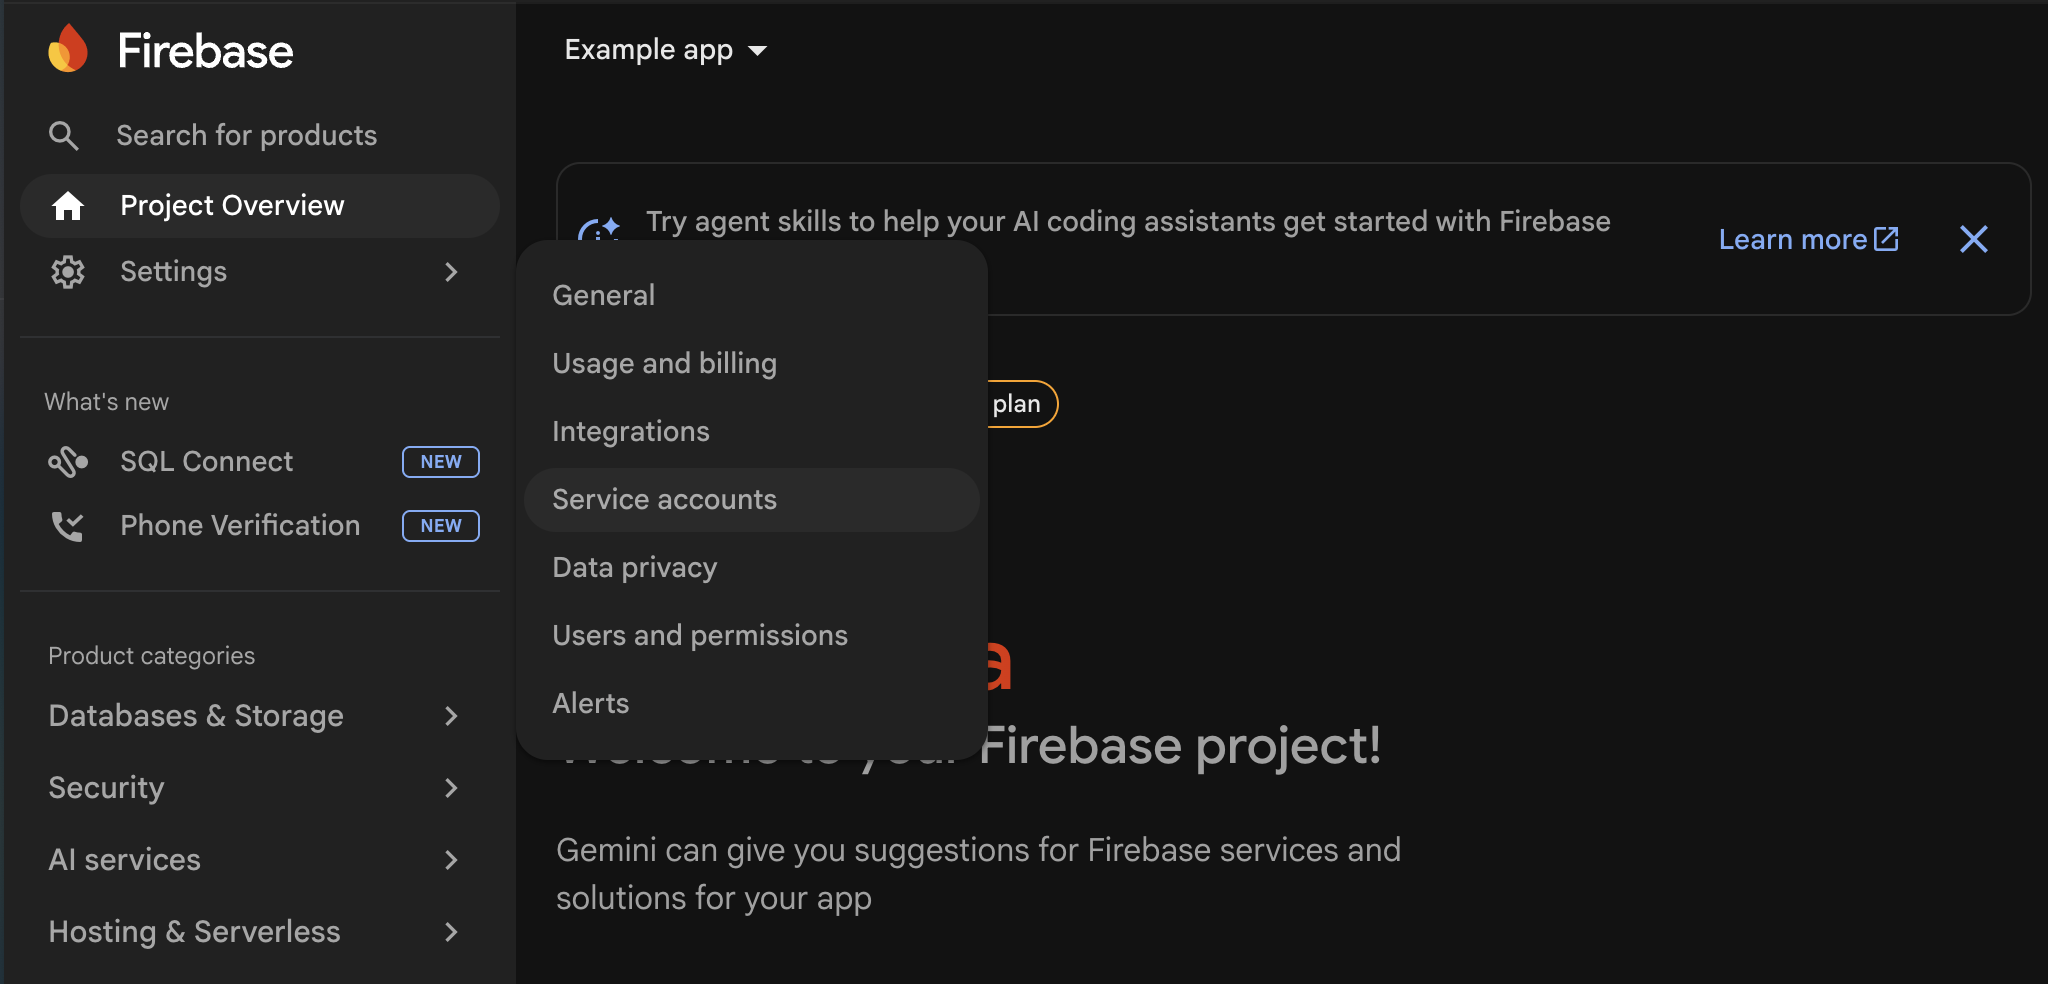
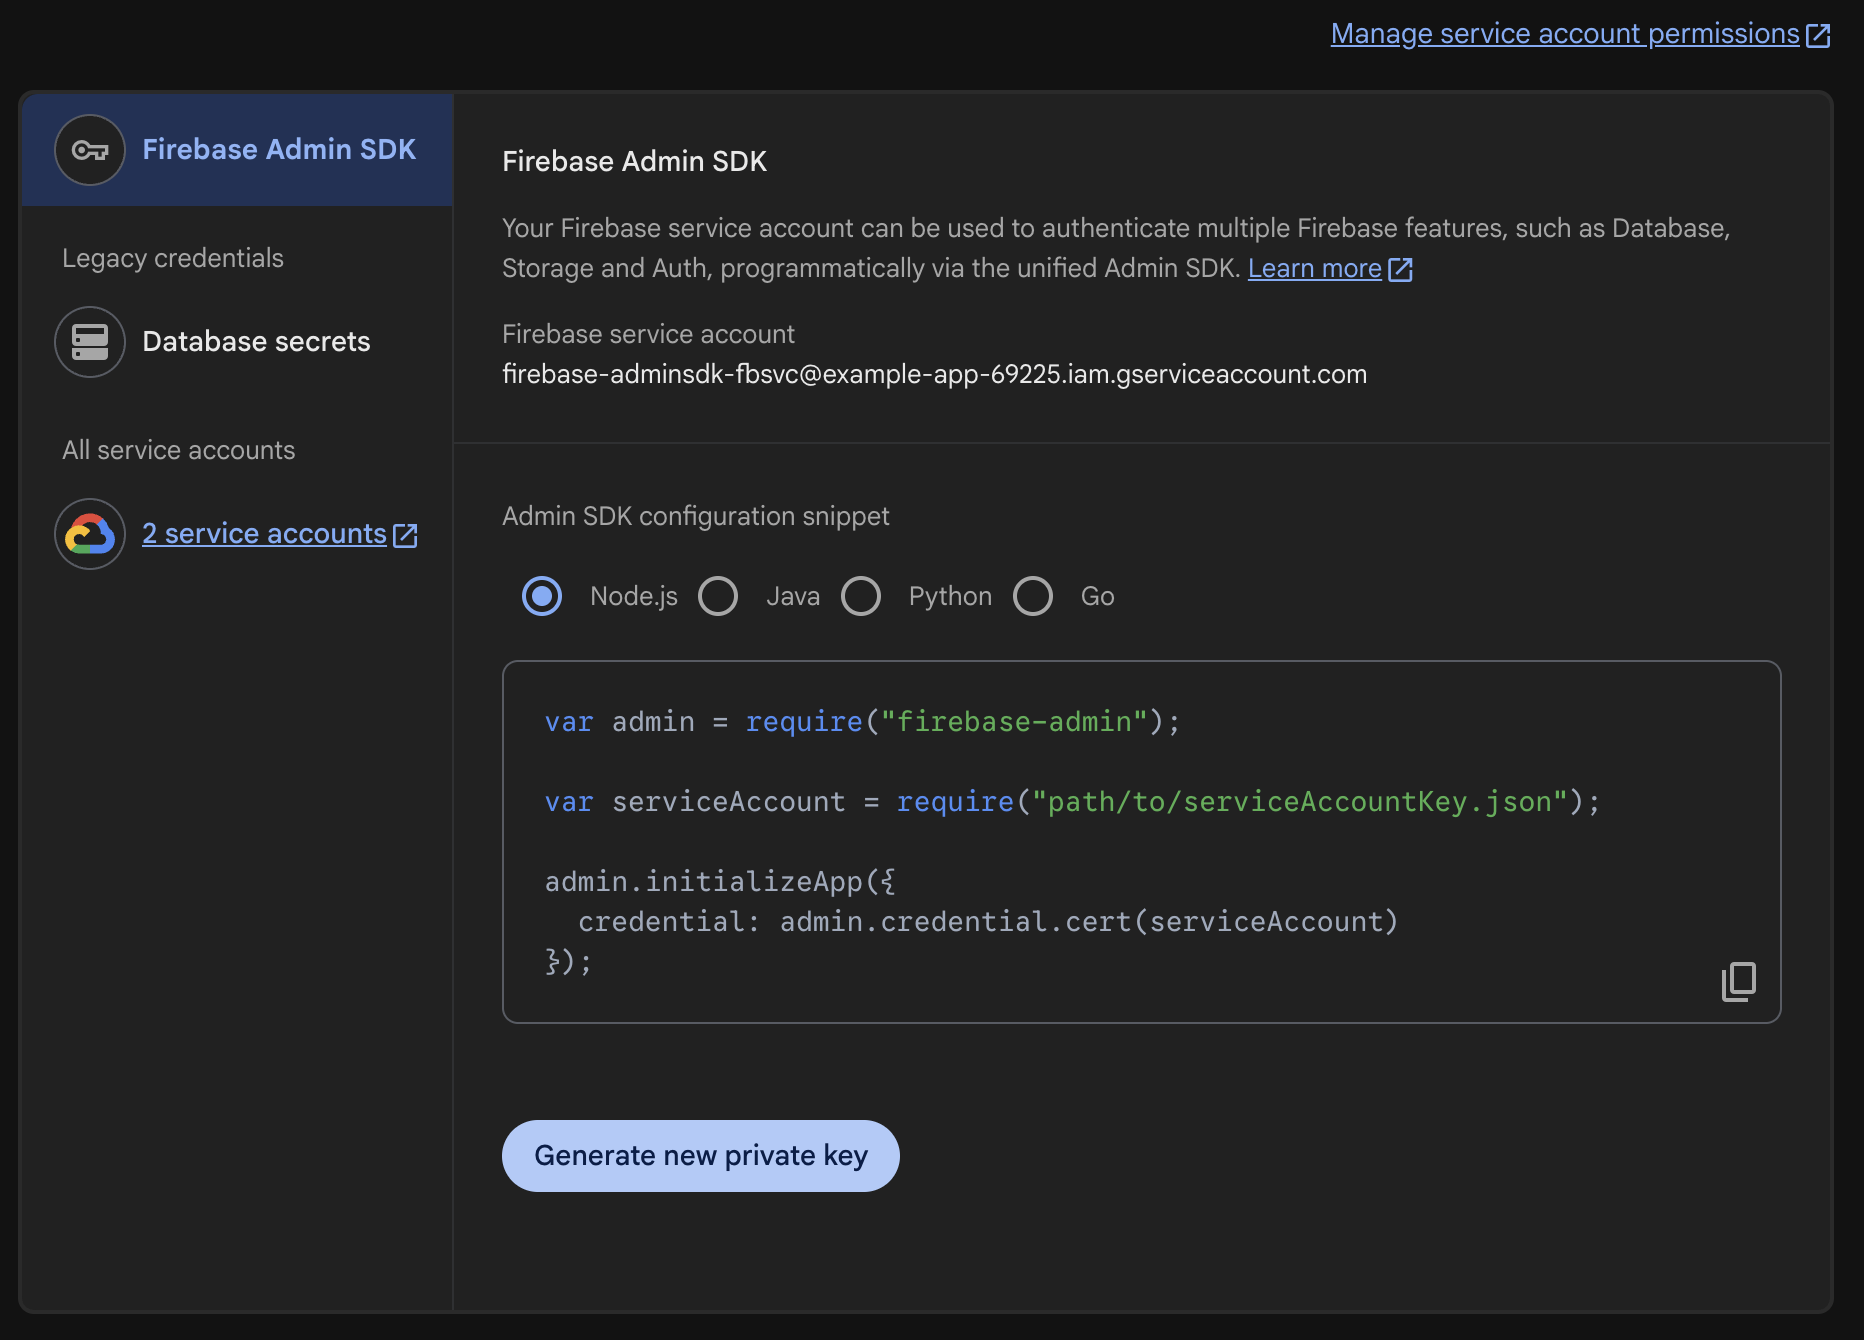
Generate a service account key
The server needs service account credentials to verify Firebase ID tokens.
-
In the Firebase Console, navigate to Project settings > Service accounts.
-
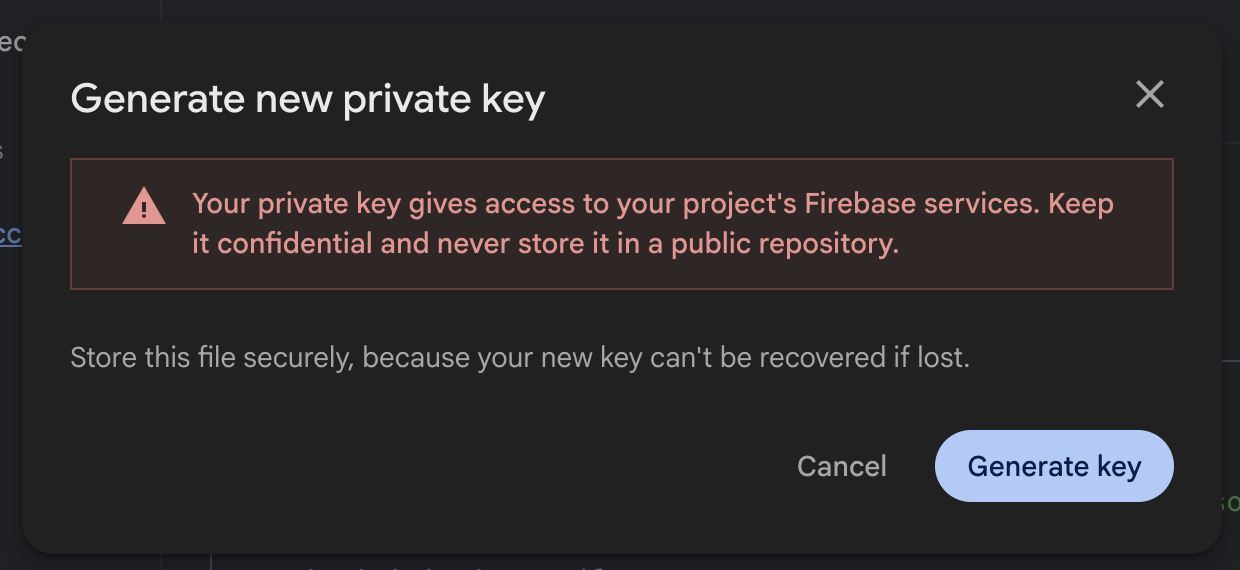
Click Generate new private key.
-
In the confirmation dialog, click Generate key.
-
A JSON file downloads to your machine. This file contains your service account credentials. You will need it in the next step.
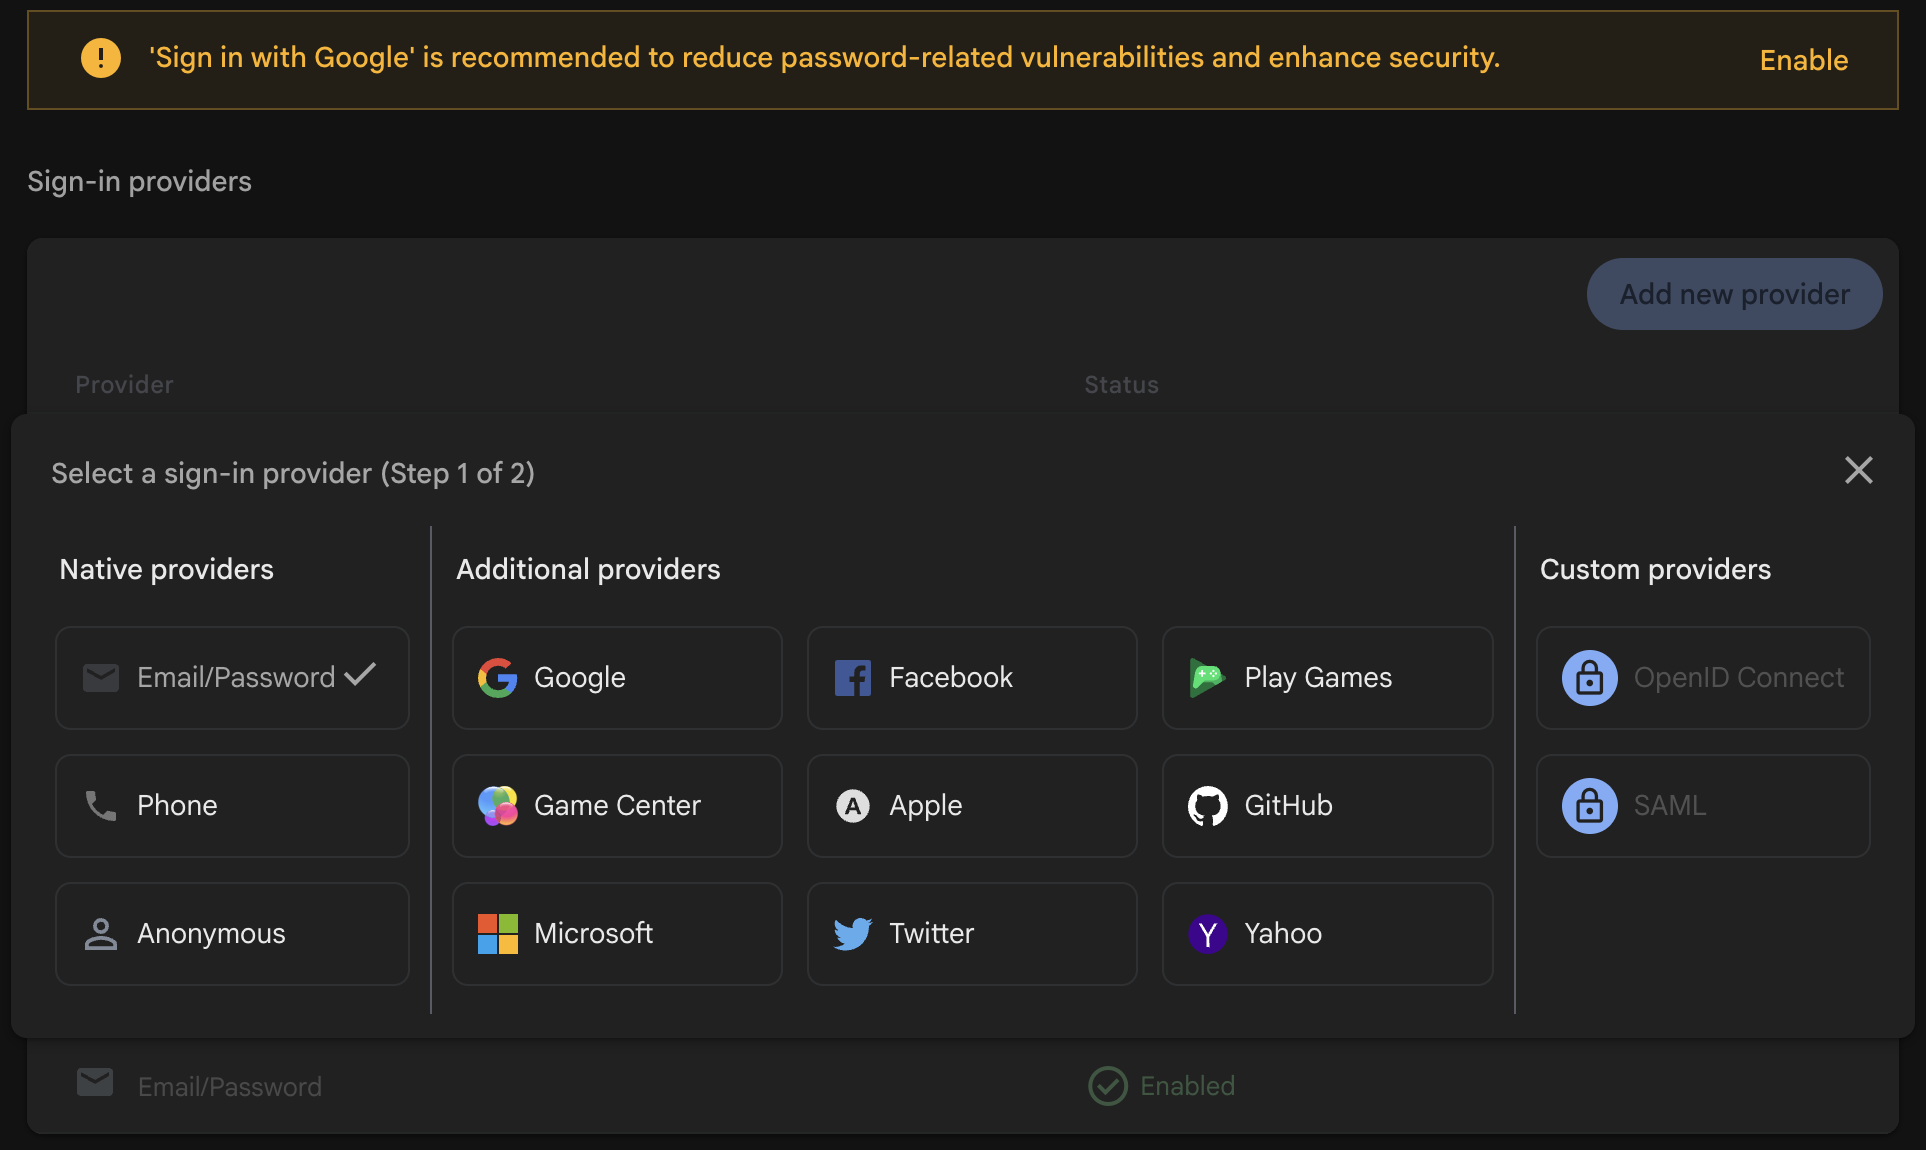
Enable authentication methods
-
In the Firebase Console sidebar, navigate to Product categories > Security > Authentication.
-
If this is your first time, click Get started to enable the Authentication service.
-
Select the Sign-in method tab.
-
Click on the provider you want to enable (e.g., Email/Password) and toggle it on. Click Save.

-
Repeat for each provider you want to support (Phone, Google, Apple, etc.). Configure each provider according to the instructions shown in the Firebase Console.
While enabling providers, you may see a Firebase App Check option in the sidebar or as a checkbox during provider configuration. Leave App Check disabled while you are getting started. Enabling it before your client integration is ready will cause every sign-in to fail with an App Check token error. You can turn it on later once everything works end-to-end.
Store the service account key
Open config/passwords.yaml in your server project. Projects created with serverpod create already have development:, staging:, and production: sections; if yours doesn't, add a development: section. Then add the firebaseServiceAccountKey key under development: using the contents of the JSON file you downloaded:
development:
  # ... existing keys (database, redis, serviceSecret, etc.) ...
  firebaseServiceAccountKey: |
    {
      "type": "service_account",
      "project_id": "your-project-id",
      "private_key_id": "...",
      "private_key": "-----BEGIN PRIVATE KEY-----\n...\n-----END PRIVATE KEY-----\n",
      "client_email": "firebase-adminsdk-xxxxx@your-project-id.iam.gserviceaccount.com",
      "client_id": "...",
      "auth_uri": "https://accounts.google.com/o/oauth2/auth",
      "token_uri": "https://oauth2.googleapis.com/token"
    }
Production credentials are covered in Publishing to production below.
Never commit config/passwords.yaml to version control. It contains your service account key, which gives admin access to your Firebase project. Use environment variables or a secrets manager in production.
Indent the JSON consistently under the | block scalar. Any indentation error will silently break the JSON parser, and authentication will fail at runtime. Mixing tabs and spaces is a common cause.
Server-side configuration
1. Add the Firebase identity provider
Open your server's server.dart file (e.g., my_project_server/lib/server.dart). It should already contain a pod.initializeAuthServices() call from the project template.
If initializeAuthServices is missing, the auth module is not installed. Verify serverpod_auth_idp_server is in your server's pubspec.yaml and follow the auth module setup before continuing.
Add the Firebase import and FirebaseIdpConfigFromPasswords() to the existing identityProviderBuilders list:
import 'package:serverpod_auth_idp_server/providers/firebase.dart';
pod.initializeAuthServices(
  tokenManagerBuilders: [
    JwtConfigFromPasswords(),
  ],
  identityProviderBuilders: [
    // ... any existing providers (e.g., EmailIdpConfigFromPasswords) ...
    FirebaseIdpConfigFromPasswords(),
  ],
);
The FirebaseIdpConfigFromPasswords() constructor automatically loads the service account key from the firebaseServiceAccountKey key in config/passwords.yaml (or the SERVERPOD_PASSWORD_firebaseServiceAccountKey environment variable). For loading credentials from other sources (file, JSON map, project ID only), see the Customizations page.
2. Create the endpoint
Create a new endpoint file in your server project (e.g., my_project_server/lib/src/auth/firebase_idp_endpoint.dart) alongside the existing auth endpoints. Extending the base class registers the sign-in methods with your server so the Flutter client can call them to complete the authentication flow:
import 'package:serverpod_auth_idp_server/providers/firebase.dart';

class FirebaseIdpEndpoint extends FirebaseIdpBaseEndpoint {}
3. Start the server
Start the server from your server project directory (e.g., my_project_server/):
serverpod start
Then create and apply the migration for the provider's tables: in the serverpod start terminal, press M to create the migration, then A to apply it.
Skipping the migration will cause the server to crash at runtime when the Firebase provider tries to read or write user data. More detailed instructions can be found in the general identity providers setup section.
Client-side configuration
1. Install required packages
From your Flutter project directory (e.g., my_project_flutter/), add the Firebase and Serverpod authentication packages along with firebase_ui_auth, which provides the pre-built sign-in screens this guide uses:
flutter pub add firebase_core firebase_auth firebase_ui_auth serverpod_auth_idp_flutter_firebase
The firebase_ui_auth package is the fastest path to a working sign-in screen. If you want to build a fully custom UI on top of firebase_auth directly, see Using firebase_auth directly.
2. Configure FlutterFire
First, log in to Firebase from your terminal:
firebase login
This opens a browser window so you can authenticate with the same Google account you used for the Firebase Console. Then run the FlutterFire CLI from your Flutter project directory to configure Firebase for the platforms you support:
flutterfire configure
Select your Firebase project when prompted, and choose the platforms you want to support.

This generates a firebase_options.dart file with your platform-specific Firebase configuration, and registers each platform app with your Firebase project.
If your Flutter project folder name contains an underscore (or any character that is not valid in a reverse-DNS bundle identifier), FlutterFire's auto-registration step will fail for iOS and macOS. Pass the bundle ID explicitly when this happens. See FlutterFire configure fails for iOS or macOS apps in the troubleshooting guide.
3. Initialize Firebase and Serverpod
In your Flutter app's main.dart file (e.g., my_project_flutter/lib/main.dart), the template already sets up the Client. Initialize both Firebase and the Serverpod auth services:
import 'package:firebase_core/firebase_core.dart';
import 'package:flutter/material.dart';
import 'package:serverpod_flutter/serverpod_flutter.dart';
import 'package:serverpod_auth_idp_flutter_firebase/serverpod_auth_idp_flutter_firebase.dart';
import 'package:your_client/your_client.dart';
import 'firebase_options.dart';

late Client client;

void main() async {
  WidgetsFlutterBinding.ensureInitialized();

  await Firebase.initializeApp(
    options: DefaultFirebaseOptions.currentPlatform,
  );

  client = Client('http://localhost:8080/')
    ..connectivityMonitor = FlutterConnectivityMonitor()
    ..authSessionManager = FlutterAuthSessionManager();

  await client.auth.initialize();

  client.auth.initializeFirebaseSignIn();

  runApp(const MyApp());
}
The initializeFirebaseSignIn() call ensures that the user gets automatically signed out from Firebase when signing out from Serverpod, keeping both systems in sync.
Present the authentication UI
New Serverpod Flutter projects ship with a sign_in_screen.dart file (typically under lib/screens/sign_in_screen.dart) that gates the app behind authentication. Replace its contents with the gate widget below, which uses firebase_ui_auth together with FirebaseAuthController to sync the Firebase user with Serverpod:
import 'package:flutter/material.dart';
import 'package:firebase_auth/firebase_auth.dart' as firebase_auth;
import 'package:firebase_ui_auth/firebase_ui_auth.dart' as firebase_ui;
import 'package:serverpod_auth_idp_flutter_firebase/serverpod_auth_idp_flutter_firebase.dart';
import '../main.dart';
/// A screen that manages sign-in flow and wraps the rest of the app after authentication.
class SignInScreen extends StatefulWidget {
/// The widget to display after authentication.
final Widget child;
const SignInScreen({super.key, required this.child});
State<SignInScreen> createState() => _SignInScreenState();
}
class _SignInScreenState extends State<SignInScreen> {
// Controller to help with Firebase authentication.
late final FirebaseAuthController controller;
void initState() {
super.initState();
// Initialize the controller with callbacks for authentication events.
controller = FirebaseAuthController(
client: client,
onAuthenticated: () => context.showSnackBar(
message: 'User authenticated.',
backgroundColor: Colors.green,
),
onError: (error) => context.showSnackBar(
message: 'Authentication failed: $error',
backgroundColor: Colors.red,
),
);
}
/// Handle changes in authentication state: Log in a new Firebase user with Serverpod, if any.
Future<void> _handleAuthStateChange() async {
final user = firebase_auth.FirebaseAuth.instance.currentUser;
if (user != null) await controller.login(user);
}
Widget build(BuildContext context) {
// If already authenticated, display the main app.
if (controller.isAuthenticated) return widget.child;
// Otherwise, display the sign-in screen.
return Center(
child: firebase_ui.SignInScreen(
providers: [
// Use email/password sign-in provider.
firebase_ui.EmailAuthProvider(),
],
actions: [
// Handle when a user has signed in.
firebase_ui.AuthStateChangeAction<firebase_ui.SignedIn>(
(context, state) => _handleAuthStateChange(),
),
// Handle when a user is created (first sign-in).
firebase_ui.AuthStateChangeAction<firebase_ui.UserCreated>(
(context, state) => _handleAuthStateChange(),
),
],
),
);
}
}
// Extension to show a snackbar from a BuildContext.
extension SnackbarExtension on BuildContext {
/// Shows a [SnackBar] with a custom message and optional background color.
void showSnackBar({
required String message,
Color? backgroundColor,
}) {
ScaffoldMessenger.of(this).showSnackBar(
SnackBar(
content: Text(message),
backgroundColor: backgroundColor,
duration: const Duration(seconds: 5),
),
);
}
}
For a breakdown of the controller, action handlers, and how to build a custom authentication UI, see Customizing the UI.
If you run into issues, see the Troubleshooting guide.
Publishing to production
Before going live, complete every step below. Skipping any of these is the most common cause of "works in dev, fails in prod" reports.
1. Decide which Firebase project production should use
Most teams keep a separate Firebase project for production so dev experiments do not affect real users. If that is your setup, create the production Firebase project now and generate a fresh service account key from it (same steps as in Generate a service account key above). You can also reuse your dev Firebase project in production; in that case the service account key carries over and you can skip straight to step 2.
2. Add the production service account key
Production credentials are added alongside your development: ones, not swapped in. Dev keeps using the development: key when you run locally, and production uses whatever you wire up below. Pick the path that matches your deployment:
Self-hosted
Add firebaseServiceAccountKey to the production: section of config/passwords.yaml using the same | block scalar shown earlier, or set it as the SERVERPOD_PASSWORD_firebaseServiceAccountKey environment variable on the production server. The env var path avoids committing the JSON to disk on the server. Whichever path you pick, keep passwords.yaml out of version control.
Serverpod Cloud
Use scloud password set and pass the JSON file with --from-file:
scloud password set firebaseServiceAccountKey --from-file ./firebase-service-account.json
Run this from your linked server project directory, or pass --project <project-id> on each call. See the Serverpod Cloud passwords guide for project linking and the passwords vs secrets vs variables note for when to use each.
3. Authorize your production domain
In the Firebase Console, go to Authentication > Settings > Authorized domains and add the domain your app runs on (e.g., my-awesome-project.serverpod.space). Without this entry, OAuth-based sign-in (Google, Apple, etc.) will fail with a redirect URI mismatch in production.
4. Configure each platform app for production
Depending on which sign-in methods and platforms you support, complete the steps that apply:
- Android (Google sign-in via Firebase): Add your release SHA-1 fingerprint to the Android app in your Firebase project. If you use Google Play App Signing (the default for new apps), get the SHA-1 from the Play Console: Setup > App integrity > App signing key certificate. Use the app signing key SHA-1, not the upload key SHA-1. If you manage your own release keystore, run
keytool -list -v -keystore your-release-key.jks -alias your-key-alias. Then re-runflutterfire configuresogoogle-services.jsonis updated. - iOS (phone or Apple sign-in): Verify your bundle identifier is registered with the Firebase iOS app, and that
GoogleService-Info.plistis included in the Xcode project's Runner target. Phone authentication also requires you to upload an APNs authentication key in Project settings > Cloud Messaging. - Web: Add every domain that will host your app (including custom domains and preview URLs) to the Authorized domains list from step 3.
Forgetting the release SHA-1 is the single most common reason Google sign-in works in debug builds but silently fails after publishing to the Play Store.
5. Re-verify Firebase App Check
If you disabled App Check for development, decide now whether to enable it. Enabling App Check requires extra integration on the client (attest tokens via Play Integrity, App Attest, or reCAPTCHA). Do not enable it without that integration in place, otherwise every authenticated request will be rejected.