Setup
To set up Sign in with Google, you will need a Google account for your organization and set up a new project. You will also need to add the serverpod_auth_idp_flutter package to your app and do some additional setup depending on each platform.
Right now, we have official support for iOS, Android, and Web for Google Sign In.
You need to install the auth module before you continue, see Setup.
Create your credentials
To implement Google Sign In, you need a Google Cloud project. You can create one in the Google Cloud Console.
Enable People API
To be allowed to access user data and use the authentication method in Serverpod we have to enable the People API in our project.
Enable it here or find it yourself by navigating to the Library section under APIs & Services. Search for Google People API, select it, and click on Enable.
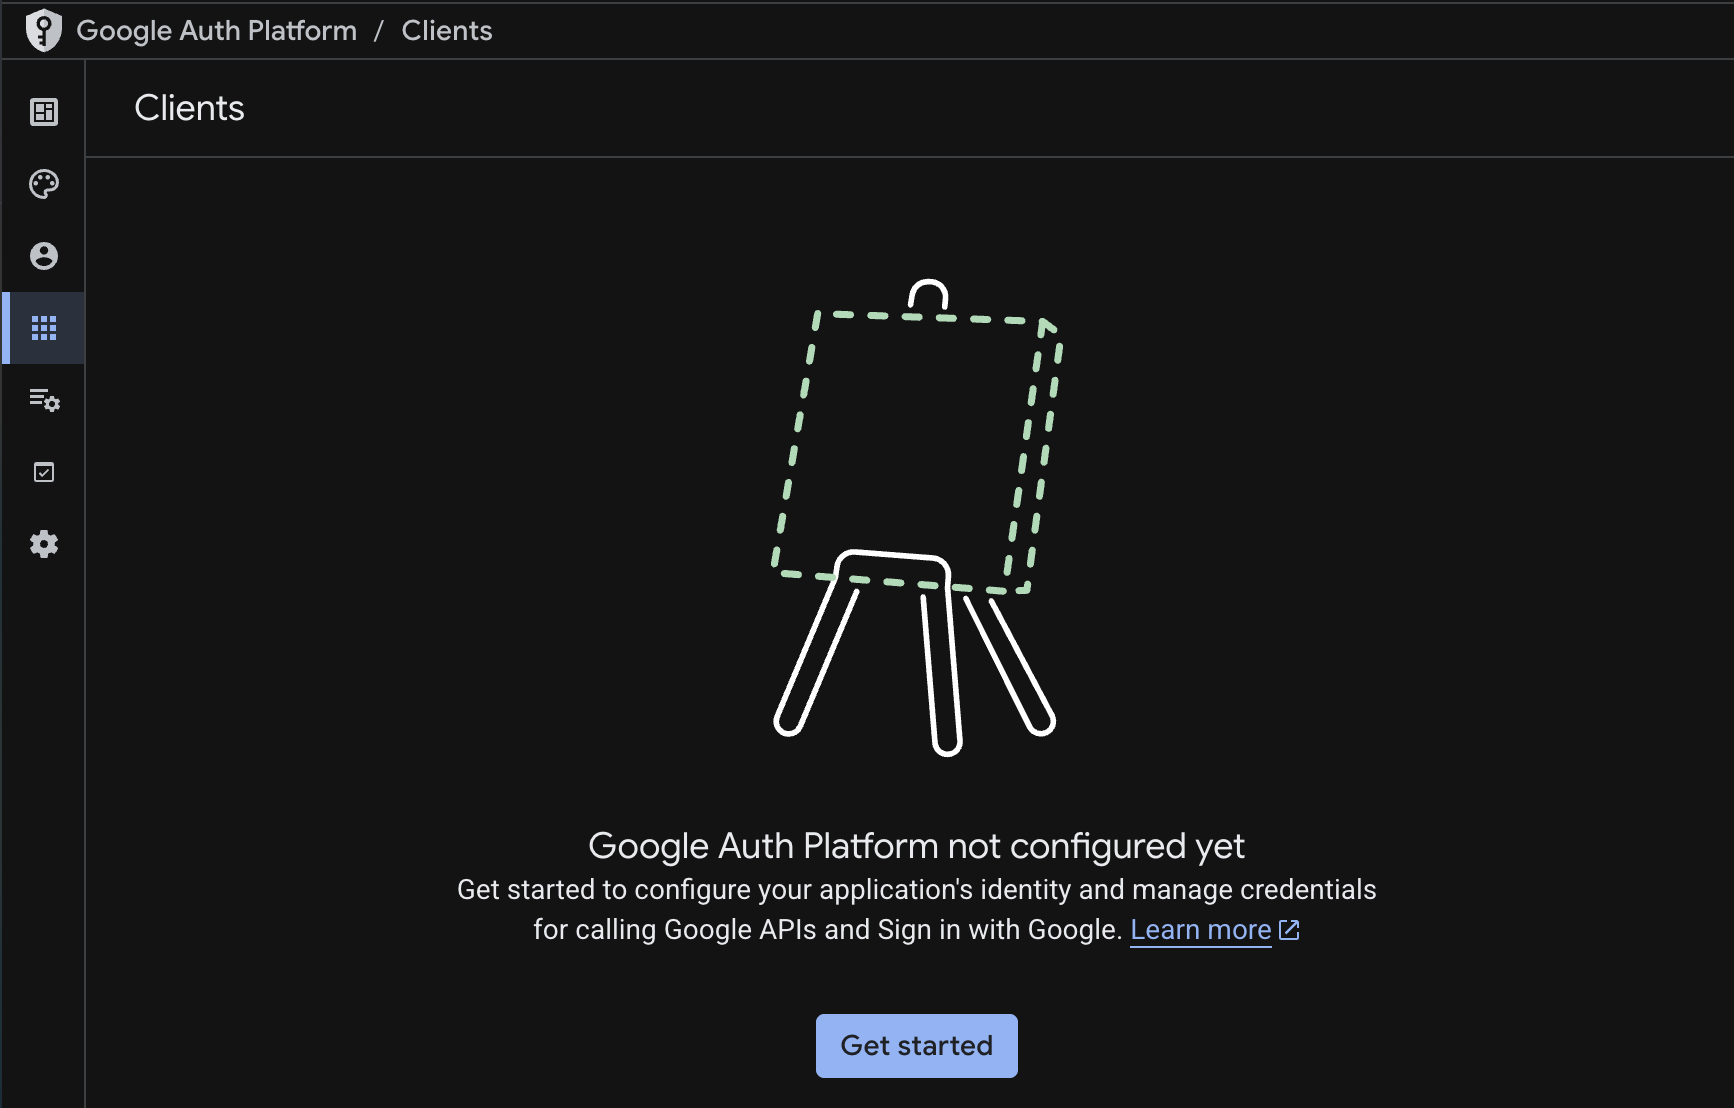
Configure Google Auth Platform
If you haven't already, enable the Google Auth Platform for your project. Navigate to the Google Auth Platform overview and click Get started.
Configure the following settings in the Google Auth Platform:
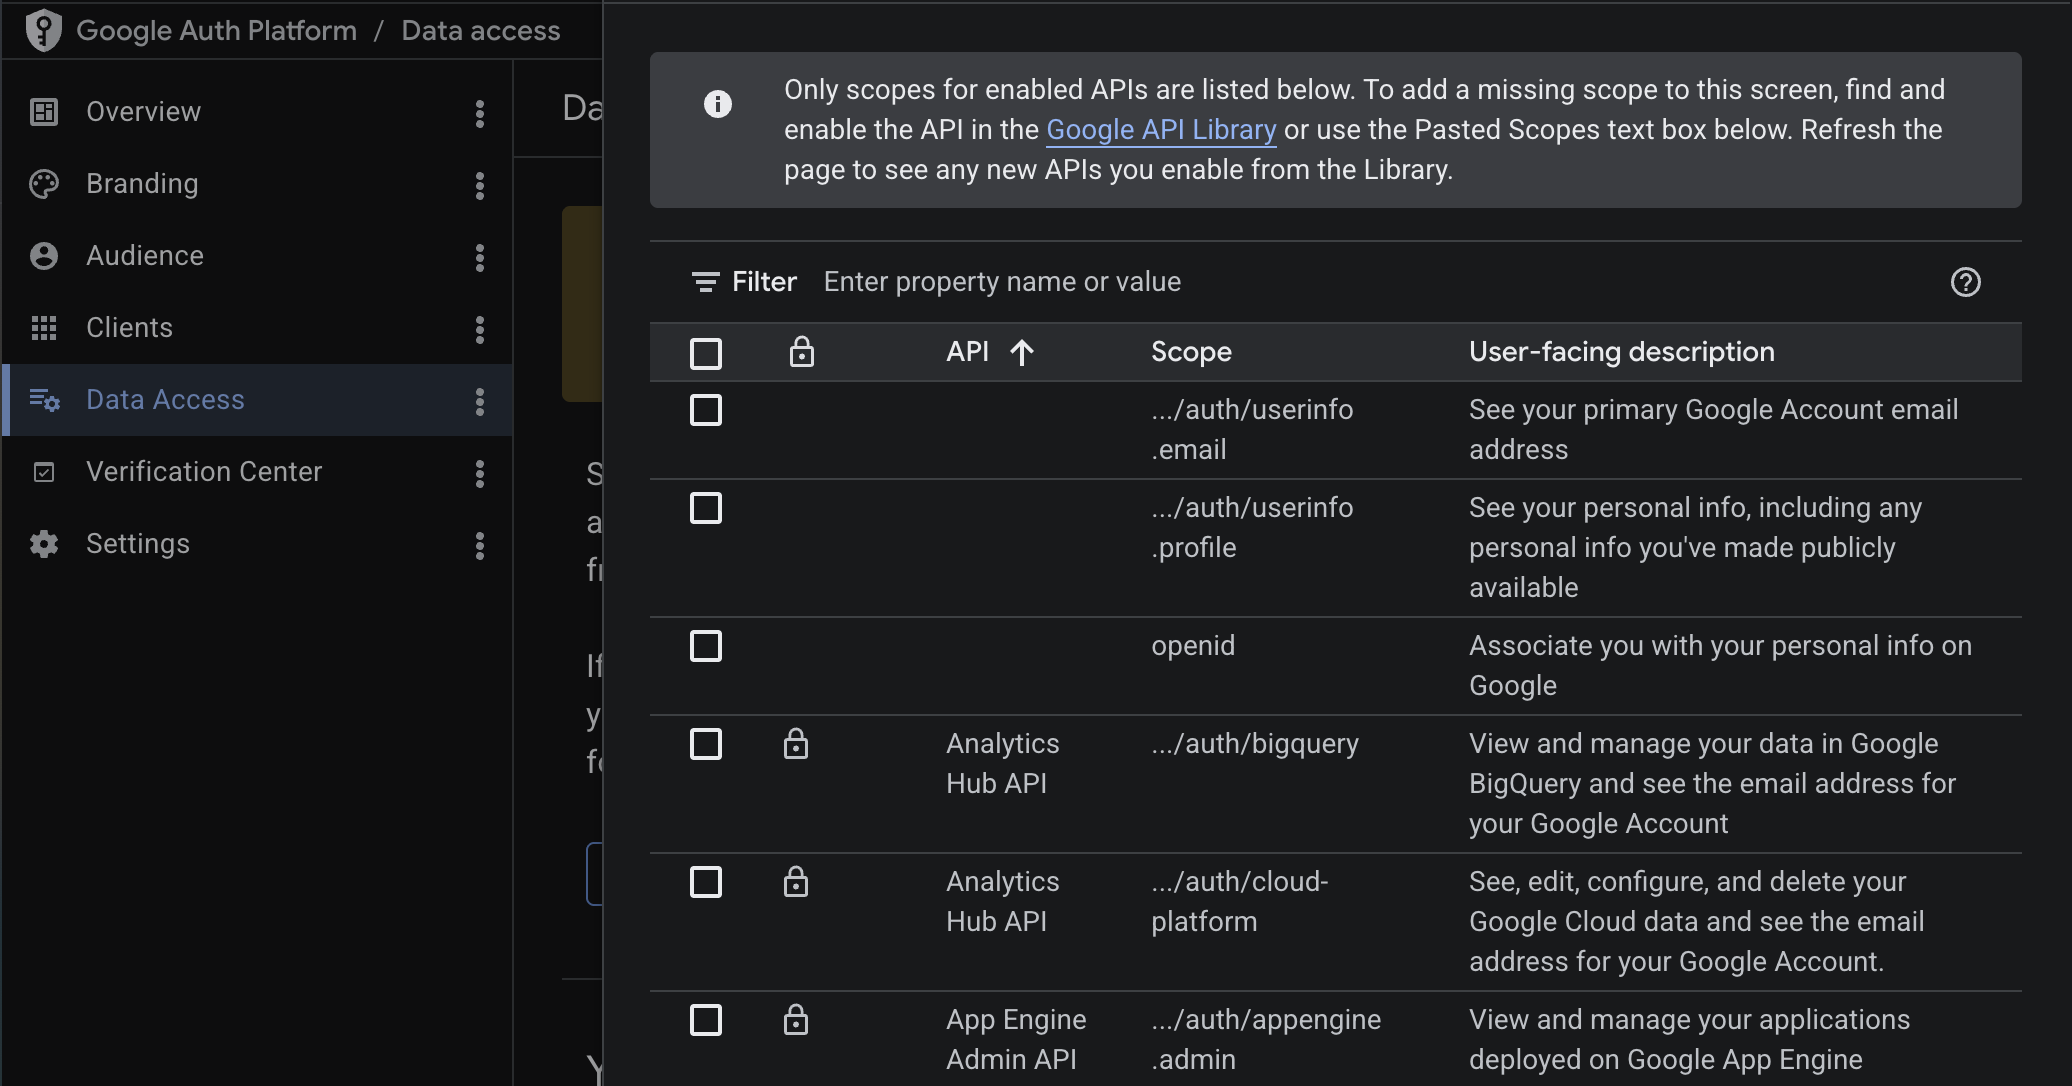
- Data Access: Navigate to the Data Access page to add the required scopes. Add the scopes
.../auth/userinfo.emailand.../auth/userinfo.profile.
If you need access to additional Google APIs (e.g., Calendar, Drive), you can add more scopes here. See Accessing Google APIs for details on requesting additional scopes and using them with the getExtraGoogleInfoCallback on the server.
- Audience: Navigate to the Audience page to add test users. Add your email so you can test your integration in development mode.
For production apps, you can configure additional branding options on the Branding page. See the Google Auth Platform documentation for more details.
Server-side configuration
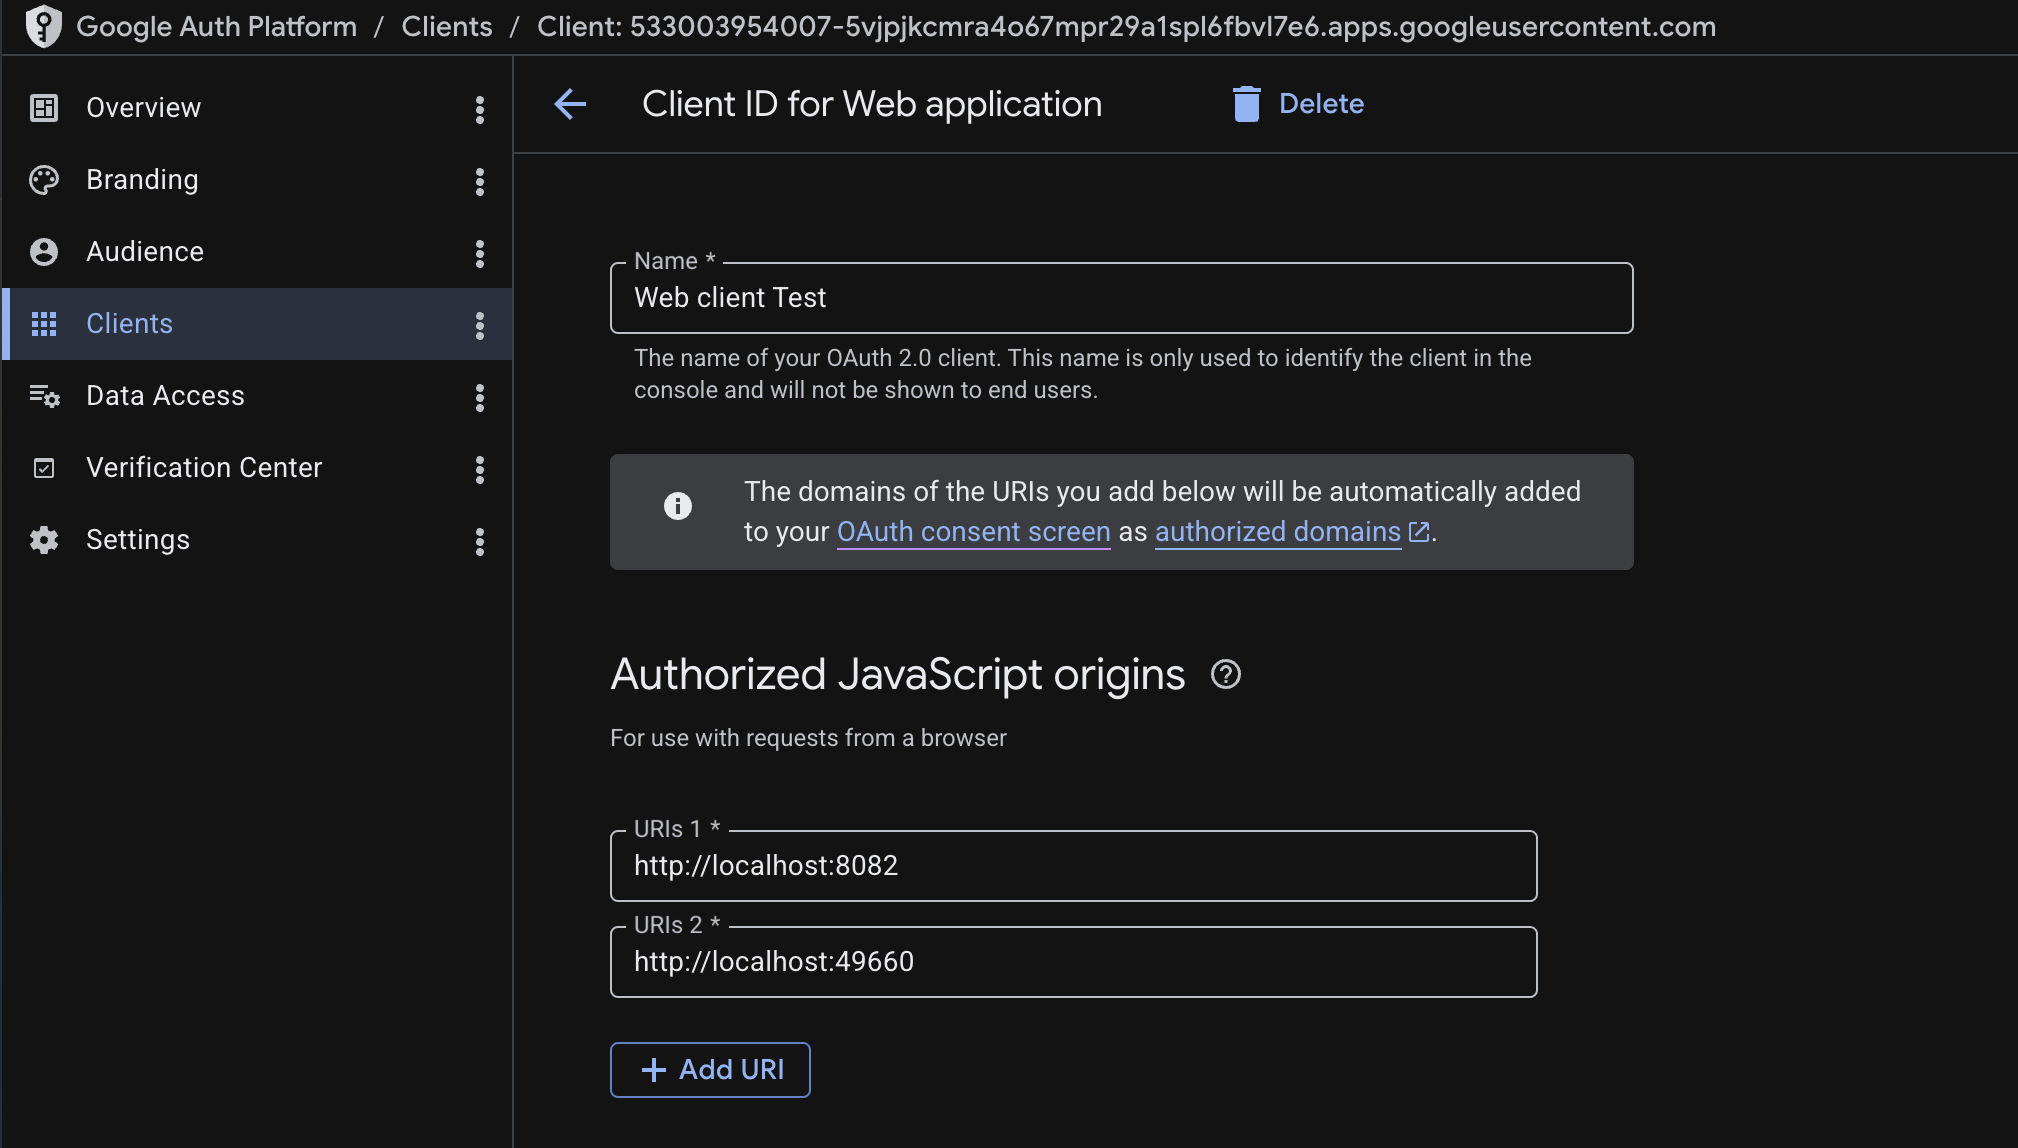
Create the server credentials in the Google Auth Platform. Navigate to Clients and click Create Client. Configure the OAuth client as a Web application. If you have a domain add it to the Authorized JavaScript origins and Authorized redirect URIs. For development purposes, we can add http://localhost:8082 to both fields, which is the address to the web server.

Download the JSON file for your web application OAuth client. This file contains both the client id and the client secret. You will need to supply the contents of the file to the clientSecret property of the GoogleIdpConfig object.
This can be done by pasting the contents of the JSON file into the googleClientSecret key in the config/passwords.yaml file or setting as value of the SERVERPOD_PASSWORD_googleClientSecret environment variable. Alternatively, you can read the file contents directly using the GoogleClientSecret.fromJsonFile() method.
development:
  googleClientSecret: |
    {
      "web": {
        "client_id": "your-client-id.apps.googleusercontent.com",
        "project_id": "your-project-id",
        "auth_uri": "https://accounts.google.com/o/oauth2/auth",
        "token_uri": "https://oauth2.googleapis.com/token",
        "auth_provider_x509_cert_url": "https://www.googleapis.com/oauth2/v1/certs",
        "client_secret": "your-client-secret",
        "redirect_uris": ["http://localhost:8082"]
      }
    }
In your main server.dart file, configure the Google identity provider:
import 'package:serverpod/serverpod.dart';
import 'package:serverpod_auth_idp_server/core.dart';
import 'package:serverpod_auth_idp_server/providers/google.dart';

void run(List<String> args) async {
  final pod = Serverpod(
    args,
    Protocol(),
    Endpoints(),
  );

  pod.initializeAuthServices(
    tokenManagerBuilders: [
      JwtConfigFromPasswords(),
    ],
    identityProviderBuilders: [
      GoogleIdpConfig(
        clientSecret: GoogleClientSecret.fromJsonString(
          pod.getPassword('googleClientSecret')!,
        ),
      ),
    ],
  );

  await pod.start();
}
You can use the GoogleIdpConfigFromPasswords constructor in replacement of the GoogleIdpConfig above to automatically load the client secret from the config/passwords.yaml file or environment variables. It will expect the googleClientSecret key on the file or the SERVERPOD_PASSWORD_googleClientSecret environment variable.
Then, extend the abstract endpoint to expose it on the server:
import 'package:serverpod_auth_idp_server/providers/google.dart';

class GoogleIdpEndpoint extends GoogleIdpBaseEndpoint {}
Finally, run serverpod generate to generate the client code and create a migration to initialize the database for the provider. More detailed instructions can be found in the general identity providers setup section.
Basic configuration options
clientSecret: Required. Google OAuth client secret loaded from JSON. See the configuration section for details on different ways to load the client secret.
For more details on configuration options, such as customizing account validation, accessing Google APIs, and more, see the configuration section.
The google_client_secret.json contains a private key and should not be version controlled. Store it securely using environment variables or secret management.
Client-side configuration
For our client-side configurations, we have to first create client-side credentials and include the credentials files in our projects. The Android and iOS integrations use the google_sign_in package under the hood, so any documentation there should also apply to this setup.
iOS
Create the client credentials in the Google Auth Platform. Navigate to Clients and click Create Client. Configure the OAuth client as Application type iOS.
Fill in all the required information and create the credentials. Download the plist file - you'll need to extract values from it to configure your app.
Open your ios/Runner/Info.plist file and add the following keys:
<dict>
  ...
  <key>GIDClientID</key>
  <string>your_ios_client_id</string>
  <key>GIDServerClientID</key>
  <string>your_server_client_id</string>
</dict>
Replace your_ios_client_id with the CLIENT_ID value from the downloaded plist file, and your_server_client_id with the client ID from the server credentials JSON file.
Add the URL scheme
To allow navigation back to the app after sign-in, add the URL scheme to your Info.plist. The scheme is the reversed client ID of your iOS app (found as REVERSED_CLIENT_ID in the downloaded plist file).
<dict>
  ...
  <key>CFBundleURLTypes</key>
  <array>
    <dict>
      <key>CFBundleTypeRole</key>
      <string>Editor</string>
      <key>CFBundleURLSchemes</key>
      <array>
        <string>com.googleusercontent.apps.your_client_id</string>
      </array>
    </dict>
  </array>
</dict>
Replace the URL scheme with your actual reversed client ID.
If you have any social logins in your app you also need to integrate "Sign in with Apple" to publish your app to the app store. (Read more).
Android
Create the client credentials in the Google Auth Platform. Navigate to Clients and click Create Client. Configure the OAuth client as Application type Android.
Fill in all required information, you can get the debug SHA-1 hash by running ./gradlew signingReport in your Android project directory. Create the credentials and download the JSON file.
Put the file inside the android/app/ directory and rename it to google-services.json.
If your google-services.json does not include a web OAuth client entry, you may need to provide client IDs programmatically as described on the configuration page.
For a production app you need to get the SHA-1 key from your production keystore! This can be done by running this command: (Read more).
$ keytool -list -v -keystore /path/to/keystore
If you encounter issues with Google Sign-In on Android, check the official troubleshooting guide for common solutions.
Web
There is no need to create any client credentials for the web, since it uses the same client ID as the server. However, you have to modify the server credentials in the Google Auth Platform.
Navigate to Clients and select the server credentials (the one configured as a Web application). Under Authorized JavaScript origins and Authorized redirect URIs add the domain for your Flutter app, for development, this is http://localhost:<port> where the port is the port you are using.
Force flutter to run on a specific port by running.
$ flutter run -d chrome --web-port=49660
Set up the redirect URI where the user will navigate after sign-in. For development, add http://localhost:8082 inside Authorized redirect URIs. In production, use your server's domain (e.g., https://example.com).
Then, on the web/index.html file, add the following to the <head> section:
<head>
  ...
  <meta name="google-signin-client_id" content="your_server_client_id">
</head>
Present the authentication UI
Initializing the GoogleSignInService
To use the GoogleSignInService, you need to initialize it in your main function. The initialization is done from the initializeGoogleSignIn() extension method on the FlutterAuthSessionManager.
import 'package:serverpod_auth_idp_flutter/serverpod_auth_idp_flutter.dart';
import 'package:your_client/your_client.dart';

final client = Client('http://localhost:8080/')
  ..authSessionManager = FlutterAuthSessionManager();

void main() {
  client.auth.initialize();
  client.auth.initializeGoogleSignIn();
}
Using GoogleSignInWidget
If you have configured the SignInWidget as described in the setup section, the Google identity provider will be automatically detected and displayed in the sign-in widget.
You can also use the GoogleSignInWidget to include the Google authentication flow in your own custom UI.
import 'package:serverpod_auth_idp_flutter/serverpod_auth_idp_flutter.dart';

GoogleSignInWidget(
  client: client,
  onAuthenticated: () {
    // Do something when the user is authenticated.
    //
    // NOTE: You should not navigate to the home screen here, otherwise
    // the user will have to sign in again every time they open the app.
  },
  onError: (error) {
    // Handle errors
    ScaffoldMessenger.of(context).showSnackBar(
      SnackBar(content: Text('Error: $error')),
    );
  },
)
The widget automatically handles:
- Google Sign-In flow for iOS, Android, and Web.
- Lightweight sign-in (One Tap, FedCM) support.
- Token management.
- Underlying Google Sign-In package error handling.
For details on how to customize the Google Sign-In UI in your Flutter app, see the customizing the UI section.