Real-time communication
Have you ever found real-time communication in apps challenging? It doesn't have to be. Today, we're diving into how to build a collaborative drawing experience using Flutter and Serverpod. We'll call our app Pixorama - a fun and interactive project inspired by Reddit's r/place. Pixorama lets users draw together on a shared grid, with every pixel placed updating in real-time across all connected devices.
This tutorial is also available as a video.
Before you begin, make sure that you have installed Serverpod. It's also recommended that you read the Get started with Mini guide.
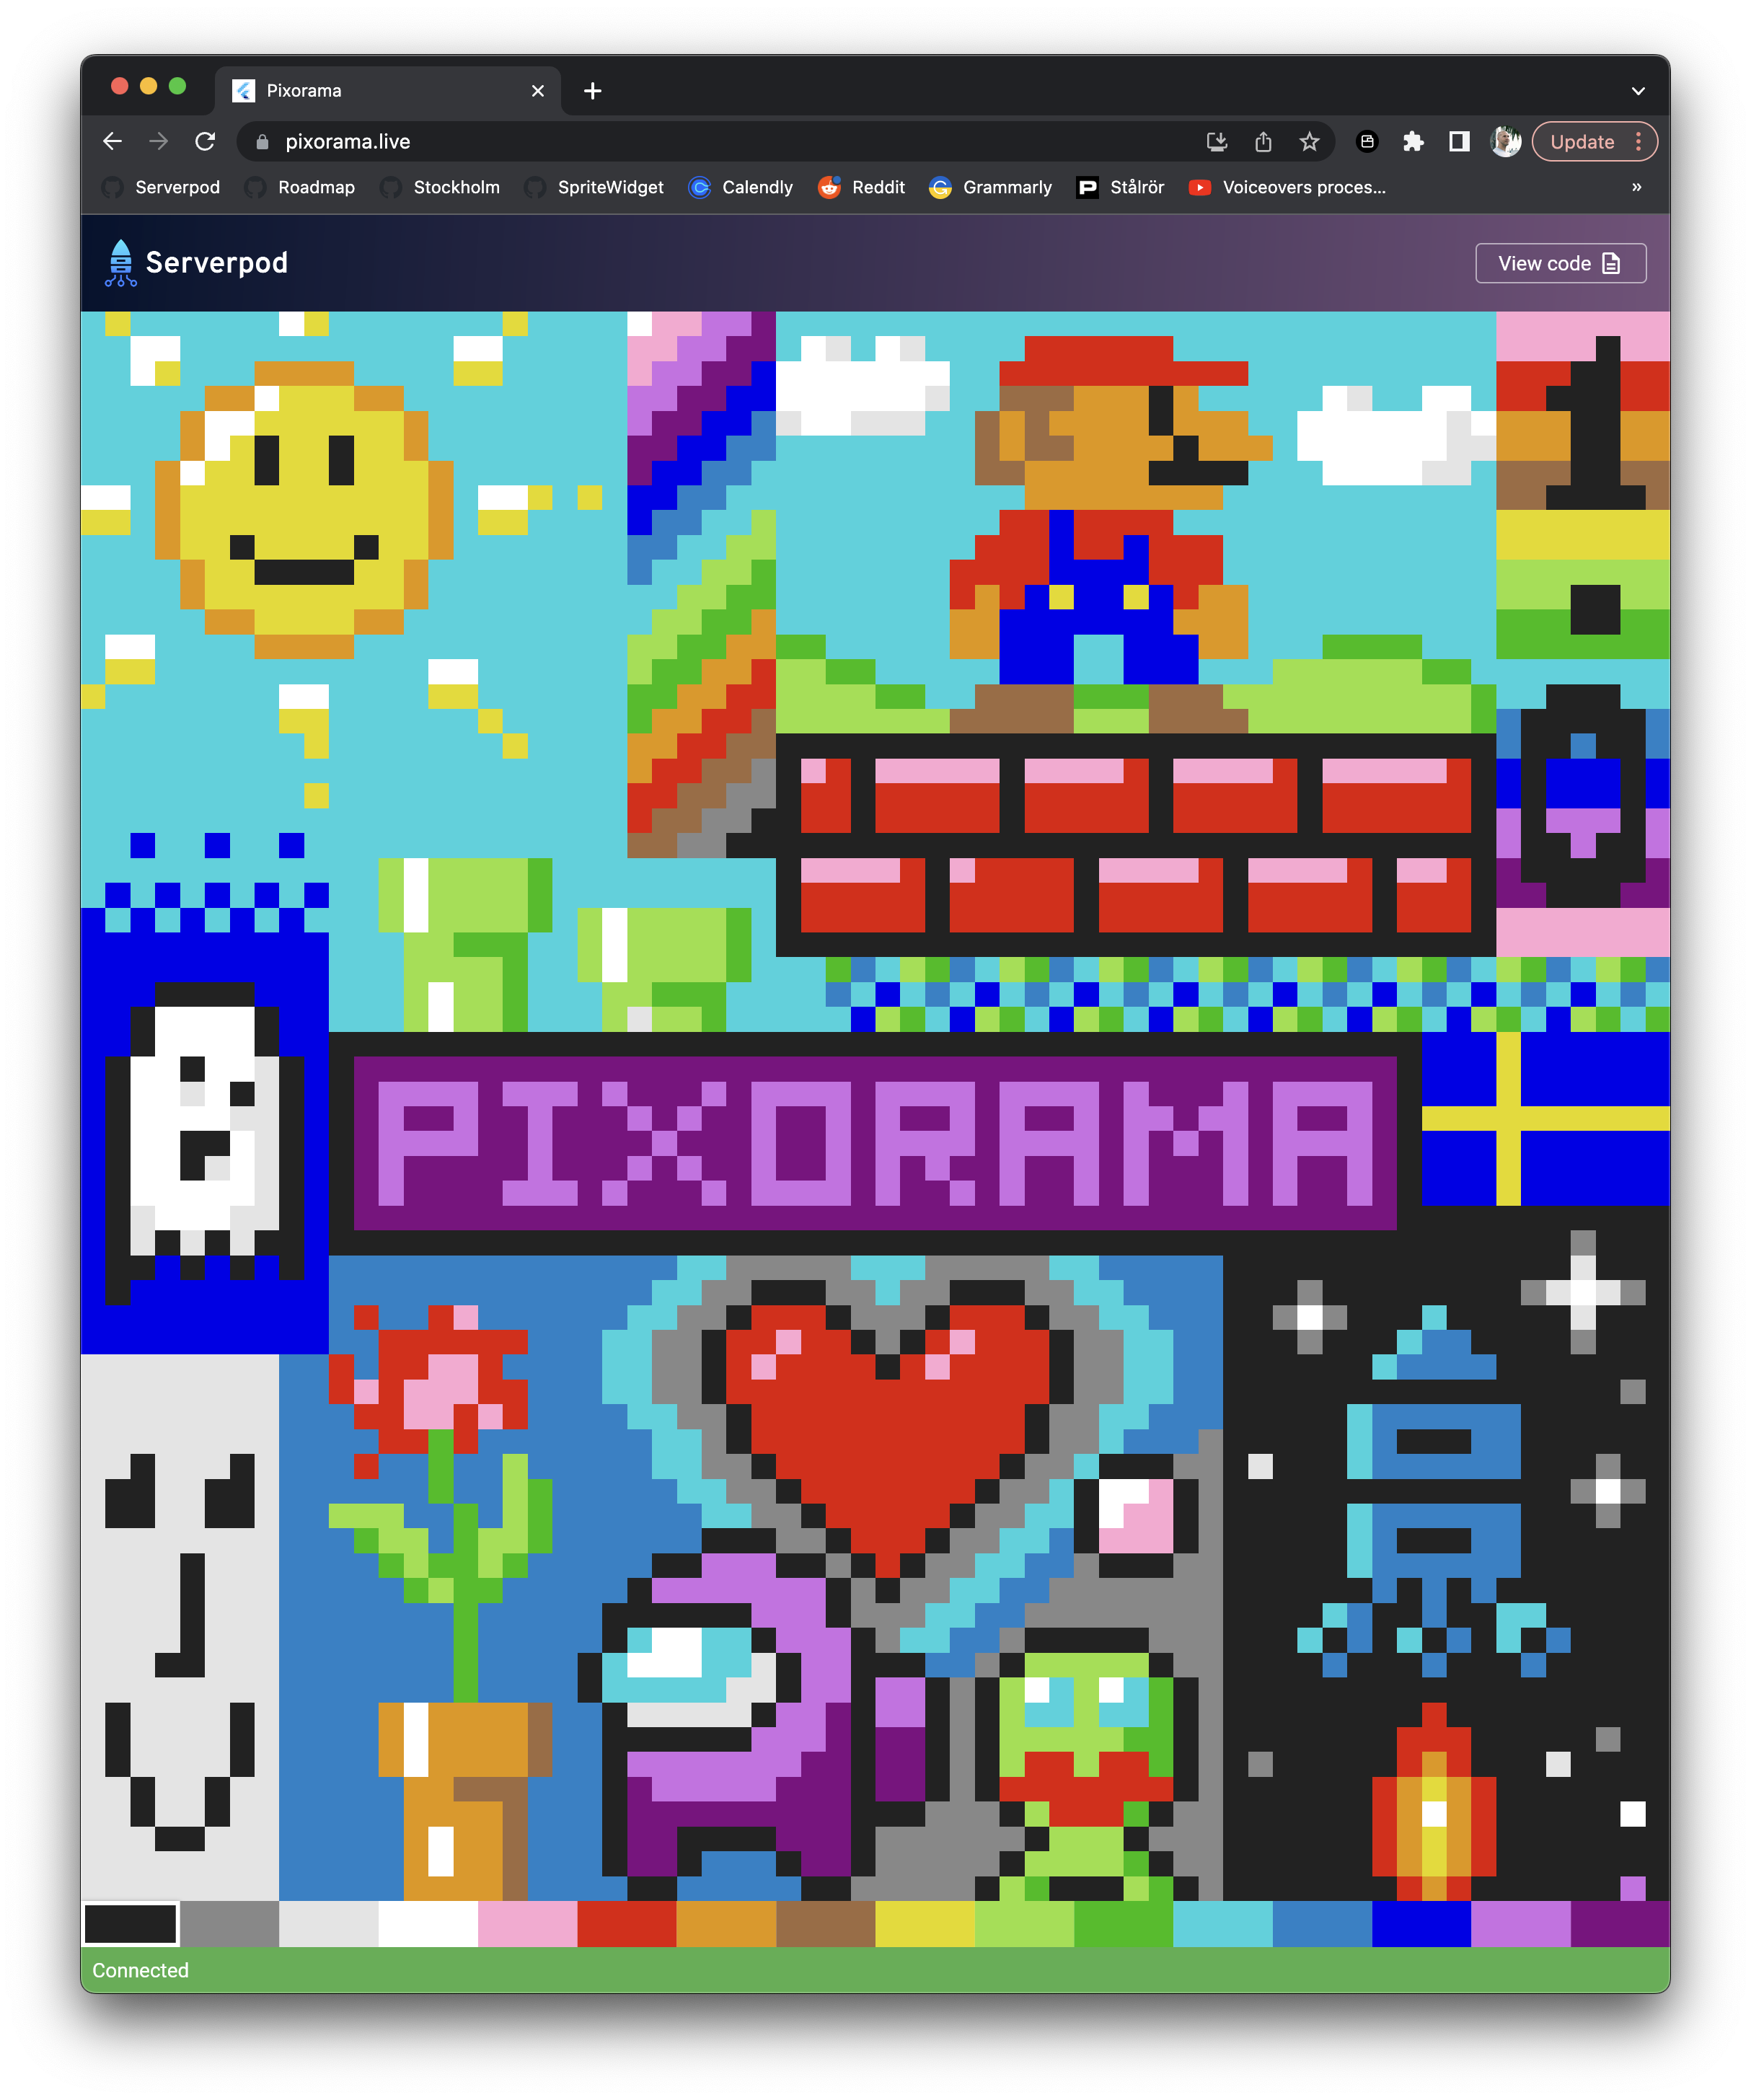
You can try out the final app here: https://pixorama.live
What is Pixorama?
Pixorama is a collaborative drawing app where users can place pixels on a grid to create images together. Imagine two instances of the app running simultaneously - draw a pixel on one and watch it instantly appear on the other. This seamless synchronization happens because each time you draw a pixel, a message is sent to the server, which then broadcasts it to all connected clients.
Understanding real-time communication
In traditional REST APIs, communication with the server involves sending a request and receiving a response. However, real-time communication requires the server to push updates to clients as they happen. This is commonly achieved using web sockets, which maintain an open connection between the server and client, allowing for continuous data exchange. While web sockets can be tricky, requiring data serialization and connection management, Serverpod simplifies this process.
With the release of Serverpod 2.1, a new feature called streaming methods was introduced. This feature allows us to return a stream from a server method and call it from our app. Serverpod handles the underlying web socket connection for us. Now, let's get started with building Pixorama.
Setting up the project
We begin by creating a new project with the serverpod create command. Since we don't need to store data in a database, we'll use the Mini version of Serverpod. Serverpod Mini is a lightweight version of Serverpod without a database, advanced logging, and other features - perfect for our needs. Create the project with the command:
serverpod create pixorama --mini
Now, let's open the project in VS Code and explore the structure. The server code resides in the pixorama_server package. We'll start by creating models - classes that we can serialize and pass between the client and server. Our models will be placed in the lib/src/models directory.
Creating models
First, we remove the example.spy.yaml model, as we won't need it. We'll create two new models: ImageData and ImageUpdate. Place them in the lib/src/models directory and call them image_data.spy.yaml and image_update.spy.yaml.
# lib/src/models/image_data.spy.yaml

class: ImageData
fields:
  pixels: ByteData
  width: int
  height: int
The ImageData model represents the entire image that will be sent to the app when it connects to the server. It stores the image's pixels as ByteData, where each byte represents a pixel. Additionally, it includes the image's width and height.
# lib/src/models/image_update.spy.yaml

class: ImageUpdate
fields:
  pixelIndex: int
  colorIndex: int
The ImageUpdate model captures changes to individual pixels, including the pixel's index in the byte array and its new color value.
With our models defined, we run serverpod generate to create the actual Dart files for these models. Run the command from your server's root directory (pixorama_server).
cd pixorama_server
serverpod generate
Building the server
Next, we'll build the server. We need to create a new endpoint. An endpoint is a connection point for the client to interact with the server. In Serverpod, you create endpoints by extending the Endpoint class and placing it in the lib/src/endpoints directory. The endpoint will manage our pixel data and handle client updates.
We will start by creating a PixoramaEndpoint class, which we place in a file called pixorama_endpoint.dart in the lib/src/endpoints directory.
// lib/src/endpoints/pixorama_endpoint.dart

import 'dart:typed_data';

import 'package:serverpod/serverpod.dart';

class PixoramaEndpoint extends Endpoint {
  static const _imageWidth = 64;
  static const _imageHeight = 64;
  static const _numPixels = _imageWidth * _imageHeight;

  static const _numColorsInPalette = 16;
  static const _defaultPixelColor = 2;

  final _pixelData = Uint8List(_numPixels)
    ..fillRange(
      0,
      _numPixels,
      _defaultPixelColor,
    );
}
We define a number of constants that define the dimensions of our image. We represent the image itself with a Uint8List. Each byte in the list will be a pixel in our image.
Handling pixel updates
The core functionality of Pixorama lies in how the server passes image data to clients and keeps them updated. Serverpod's built-in messaging system, Message Central, allows us to publish and subscribe to events. We create a channel named pixel-added to handle pixel updates in our PixoramaEndpoint class.
// lib/src/endpoints/pixorama_endpoint.dart

class PixoramaEndpoint extends Endpoint {
  // ...

  static const _channelPixelAdded = 'pixel-added';
}
When a user draws a pixel, the setPixel endpoint method is called. This method verifies the validity of the input (ensuring the color index is within the valid range and the pixel index is within bounds). If valid, it updates our pixel data and broadcasts the update to all listeners within the server via the pixel-added channel.
// lib/src/endpoints/pixorama_endpoint.dart

// Here we need to import the model files from our generated protocol.
import 'package:pixorama_server/src/generated/protocol.dart';

class PixoramaEndpoint extends Endpoint {
  // ...

  static const _channelPixelAdded = 'pixel-added';

  /// Sets a single pixel and notifies all connected clients about the change.
  Future<void> setPixel(
    Session session, {
    required int colorIndex,
    required int pixelIndex,
  }) async {
    // Check that the input parameters are valid. If not, throw a
    // `FormatException`, which will be logged and thrown as
    // `ServerpodClientException` in the app.
    if (colorIndex < 0 || colorIndex >= _numColorsInPalette) {
      throw FormatException('colorIndex is out of range: $colorIndex');
    }
    if (pixelIndex < 0 || pixelIndex >= _numPixels) {
      throw FormatException('pixelIndex is out of range: $pixelIndex');
    }

    // Update our global image.
    _pixelData[pixelIndex] = colorIndex;

    // Notify all connected clients that we set a pixel, by posting a message
    // to the _channelPixelAdded channel.
    session.messages.postMessage(
      _channelPixelAdded,
      ImageUpdate(
        pixelIndex: pixelIndex,
        colorIndex: colorIndex,
      ),
    );
  }
}
Finally, we create an imageUpdates method, which returns a stream of updates to clients. This method first sends the full image data to the client, followed by any subsequent pixel updates. This method will listen to updates from our pixel-added channel and relay them to the client. By creating the stream from the message channel before sending the first update to our client, we ensure no message risks being lost between the first full update and the first individual pixel being sent.
// lib/src/endpoints/pixorama_endpoint.dart
class PixoramaEndpoint extends Endpoint {
  // ...

  /// Returns a stream of image updates. The first message will always be a
  /// `ImageData` object, which contains the full image. Sequential updates
  /// will be `ImageUpdate` objects, which contains a single updated pixel.
  Stream imageUpdates(Session session) async* {
    // Request a stream of updates from the pixel-added channel in
    // MessageCentral.
    var updateStream =
        session.messages.createStream<ImageUpdate>(_channelPixelAdded);

    // Yield a first full image to the client.
    yield ImageData(
      pixels: _pixelData.buffer.asByteData(),
      width: _imageWidth,
      height: _imageHeight,
    );

    // Relay all individual pixel updates from the pixel-added channel to
    // the client.
    await for (var imageUpdate in updateStream) {
      yield imageUpdate;
    }
  }
}
That's all the code we need to write for the server side. To make the new endpoint available to our Flutter app, we run serverpod generate in the root directory of our server.
cd pixorama_server
serverpod generate
Building the Flutter app
With the server side complete, it's time to build the Flutter app. When we created the project, Serverpod set up a basic Flutter app for us in the pixorama_flutter package.
First, we will use the pixels package to draw our pixel editor. Import it by running the following command in your pixorama_flutter directory:
cd pixorama_flutter
flutter pub add pixels
Next, let's open the main.dart file and rename the MyHomePage class to PixoramaApp. We also remove the demo code and replace it with a Scaffold containing a Pixorama widget. This is our new main file:
// lib/main.dart
import 'package:pixorama_client/pixorama_client.dart';
import 'package:flutter/material.dart';
import 'package:serverpod_flutter/serverpod_flutter.dart';
import 'src/pixorama.dart';
var client = Client('http://$localhost:8080/')
..connectivityMonitor = FlutterConnectivityMonitor();
void main() {
// Start the app.
runApp(const PixoramaApp());
}
class PixoramaApp extends StatelessWidget {
const PixoramaApp({super.key});
Widget build(BuildContext context) {
return MaterialApp(
title: 'Pixorama',
theme: ThemeData(
primarySwatch: Colors.blue,
),
home: Scaffold(
body: const Pixorama(),
),
);
}
}
Now, we will create the Pixorama widget. This is where all the drawing magic will happen. Create a new file called pixorama.dart and place it in lib/src. Start by creating a new stateful widget called Pixorama. We are also importing a few of the packages and files we are going to use:
// lib/src/pixorama.dart
import 'package:flutter/material.dart';
import 'package:pixels/pixels.dart';
import 'package:pixorama_client/pixorama_client.dart';
import '../../main.dart';
class Pixorama extends StatefulWidget {
const Pixorama({super.key});
State<Pixorama> createState() => _PixoramaState();
}
class _PixoramaState extends State<Pixorama> {
}
The Pixorama widget draws the image using the PixelEditor from the pixels package. A PixelImageController manages the pixel data, and in the initState method, we call a _listenToUpdates method to connect to the server and listen for updates. Let's add the PixelImageController and initState method to our _PixoramaState class:
// lib/src/pixorama.dart
class _PixoramaState extends State<Pixorama> {
// The pixel image controller contains our image data and handles updates.
// If it is null, the image has not yet been loaded from the server.
PixelImageController? _imageController;
void initState() {
super.initState();
// Connect to the server and start listening to updates.
_listenToUpdates();
}
}
Next, let's implement the _listenToUpdates method. The _listenToUpdates method runs indefinitely, maintaining a connection to the server and processing updates as they arrive. It handles both ImageData (the full image) and ImageUpdate (individual pixel changes), updating the PixelImageController accordingly. If the connection is lost, it will wait 5 seconds before it tries to reconnect to the server.
// lib/src/pixorama.dart

class _PixoramaState extends State<Pixorama> {
  // ...

  Future<void> _listenToUpdates() async {
    // Indefinitely try to connect and listen to updates from the server.
    while (true) {
      try {
        // Get the stream of updates from the server.
        final imageUpdates = client.pixorama.imageUpdates();

        // Listen for updates from the stream. The await for construct will
        // wait for a message to arrive from the server, then run through the
        // body of the loop.
        await for (final update in imageUpdates) {
          // Check which type of update we have received.
          if (update is ImageData) {
            // This is a complete image update, containing all pixels in the
            // image. Create a new PixelImageController with the pixel data.
            setState(() {
              _imageController = PixelImageController(
                pixels: update.pixels,
                palette: PixelPalette.rPlace(),
                width: update.width,
                height: update.height,
              );
            });
          } else if (update is ImageUpdate) {
            // Got an incremental update of the image. Just set the single
            // pixel.
            _imageController?.setPixelIndex(
              pixelIndex: update.pixelIndex,
              colorIndex: update.colorIndex,
            );
          }
        }
      } on MethodStreamException catch (_) {
        // We lost the connection to the server, or failed to connect.
        setState(() {
          _imageController = null;
        });
      }

      // Wait 5 seconds until we try to connect again.
      await Future.delayed(Duration(seconds: 5));
    }
  }
}
Worth noting is that the MethodStreamException is a superclass of a set of more detailed exceptions. It's often sufficient to catch all types of failures (like what we do here) that can happen when streaming data, but it's possible to detect if the stream failed because we failed to connect, if the server went down, or if the connection was lost.
Building the Interface
Finally, we need to implement the widget's build method, where we create the user interface for drawing pixels. We display a progress indicator if the _imageController is null (indicating no image has been received yet). Once the image is received, we use the PixelEditor widget to render it, and any pixel changes made by the user are sent to the server via the setPixel method.
// lib/src/pixorama.dart
class _PixoramaState extends State<Pixorama> {
// ...
Widget build(BuildContext context) {
return Center(
child: _imageController == null
? const CircularProgressIndicator()
: PixelEditor(
controller: _imageController!,
onSetPixel: (details) {
// When a user clicks a pixel we will get a callback from the
// PixelImageController, with information about the changed
// pixel. When that happens we call the setPixels method on
// the server.
client.pixorama.setPixel(
pixelIndex: details.tapDetails.index,
colorIndex: details.colorIndex,
);
},
),
);
}
}
Running Pixorama
To test Pixorama, start the server by navigating to the pixorama_server directory and running:
dart bin/main.dart
Then, launch the Flutter app by changing to the pixorama_flutter directory and running:
flutter run -d chrome
You can also start a second instance of the app to see real-time updates reflected across both instances.
Conclusion
This project was a brief introduction to building real-time apps with Flutter and Serverpod. With less than a page of code on the server side, we created a collaborative drawing app that's both fun and functional. You can find the full Pixorama code on GitHub here: https://github.com/serverpod/pixorama
Happy coding!