Get started with authentication
When you create a project with serverpod create, email sign-in is already built in. The server is configured, the database is ready, and your app is connected to it. You only need to turn on the sign-in screen and run the app.
This guide walks you through that, then shows how to test signing up and signing in.
Prerequisites
- A project created with
serverpod createon Serverpod 4.0 or later. For older projects, see Setup first to add the auth module. - The Flutter SDK installed, so you can run the app.
- Docker installed and running, if your project uses a Docker Postgres. Projects on the embedded Postgres option don't need Docker.
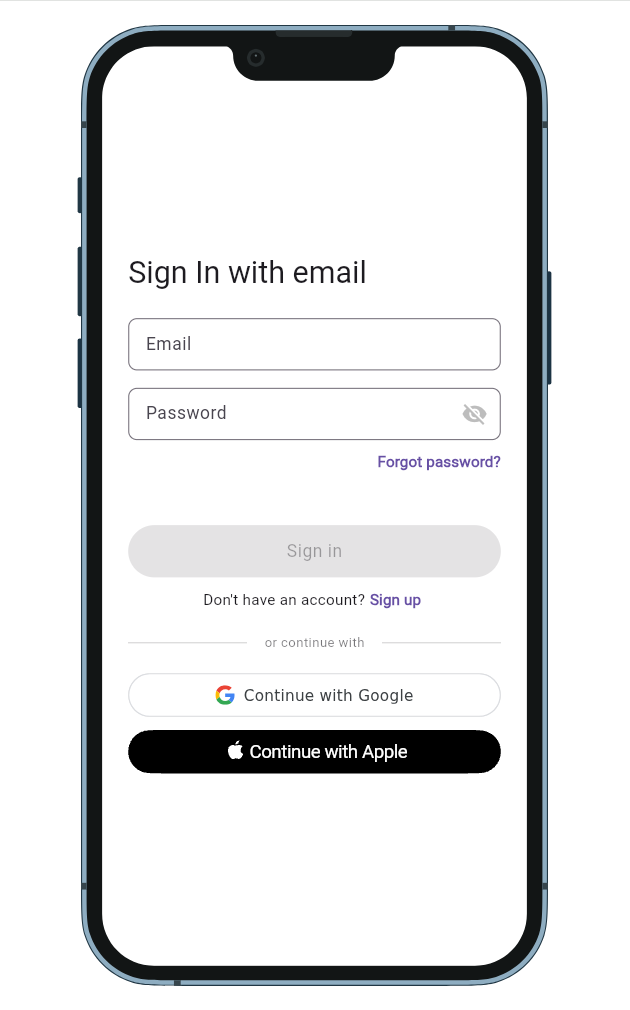
Show the sign-in screen
Your app already includes a sign-in screen. It is turned off by default. Turn it on with two small edits to your app's main.dart.
First, import the screen:
import 'screens/sign_in_screen.dart';
Then show it as the home screen. In MyHomePage.build(), comment out the existing body: line and uncomment the SignInScreen block right below it, so it reads:
// body: const GreetingsScreen(),
body: SignInScreen(
  child: GreetingsScreen(
    onSignOut: () async {
      await client.auth.signOutDevice();
    },
  ),
),
That is the only change your app needs.
Start your project
From the project root, start everything with one command:
serverpod start
This sets up the database and starts the server and your app.
The app opens on the sign-in screen. To create an account:
-
Choose to create a new account, enter your email, and continue.
-
Look in the server console for the verification code. While testing, it is logged instead of emailed:
[EmailIdp] Registration code (you@example.com): 12345678 -
Enter the code, then set a password to finish.
Once you are signed in, the app shows your content with a sign-out button.
Next steps
- Send real verification emails through an email service. See Email provider setup.
- Customize the sign-in screen or build your own. See Customizing the UI.
- Change password rules, code length, and rate limits. See Email configuration.
- Require sign-in on your endpoints. See The basics.
- Add more sign-in options, like Google or Apple. See Identity providers configuration.